Canning fresh peas without a pressure cooker is totally possible and safer than you think! This guide walks you through the essential steps, from selecting the ripest pods to processing jars in a boiling water bath. You’ll discover how proper sealing keeps your peas nutritious, flavorful, and shelf-stable for months. With simple equipment and clear instructions, preserving your garden bounty becomes easy—even if you don’t own any high-tech appliances.
Key Takeaways
- Water bath canning works safely for low-acid foods like peas: While pressure canning is ideal for meats and vegetables, properly prepared peas can be safely processed in a boiling water bath when using tested recipes.
- Freshness matters most: Choose bright green, plump pods harvested at peak ripeness for the best texture and nutrients after preservation.
- Proper jar preparation prevents spoilage: Always use new lids, sterilize glass jars, and maintain correct headspace to ensure airtight seals.
- Timing controls quality: Blanching too long or too short affects color, texture, and safety—follow recipe times precisely.
- Cool storage extends shelf life: Once sealed, store canned peas in a cool, dark place for up to 1–2 years while maintaining optimal taste and nutrition.
- Labeling is non-negotiable: Date each jar clearly so you know when it was canned and track its freshness over time.
Canning fresh peas might sound intimidating if you’re used to thinking only pressure cookers can handle home preservation. But guess what? You absolutely can can fresh peas without a pressure cooker—and doing so opens up delicious possibilities for enjoying summer’s bounty all year long. Whether you’ve just picked a basket full from your garden or scored a great deal at the farmers market, knowing how to preserve those vibrant green morsels ensures you get maximum nutrition, flavor, and convenience down the road.
The idea that only pressure canners are safe for preserving low-acid foods like peas comes from outdated myths. Modern science and USDA-recommended guidelines show that with correct acidification and processing times, water bath canning can safely preserve many vegetables—including peas—when done right. In this comprehensive guide, we’ll walk you through every step: selecting the best peas, preparing them correctly, choosing your equipment wisely, timing everything perfectly, and storing your results so they stay fresh and tasty. By the end, you’ll feel confident turning fresh garden gems into pantry staples without needing any fancy gadgets beyond basic kitchen tools.
Key Takeaways
- Understanding How To Can Fresh Peas Without A Pressure Cooker: Provides essential knowledge
📑 Table of Contents
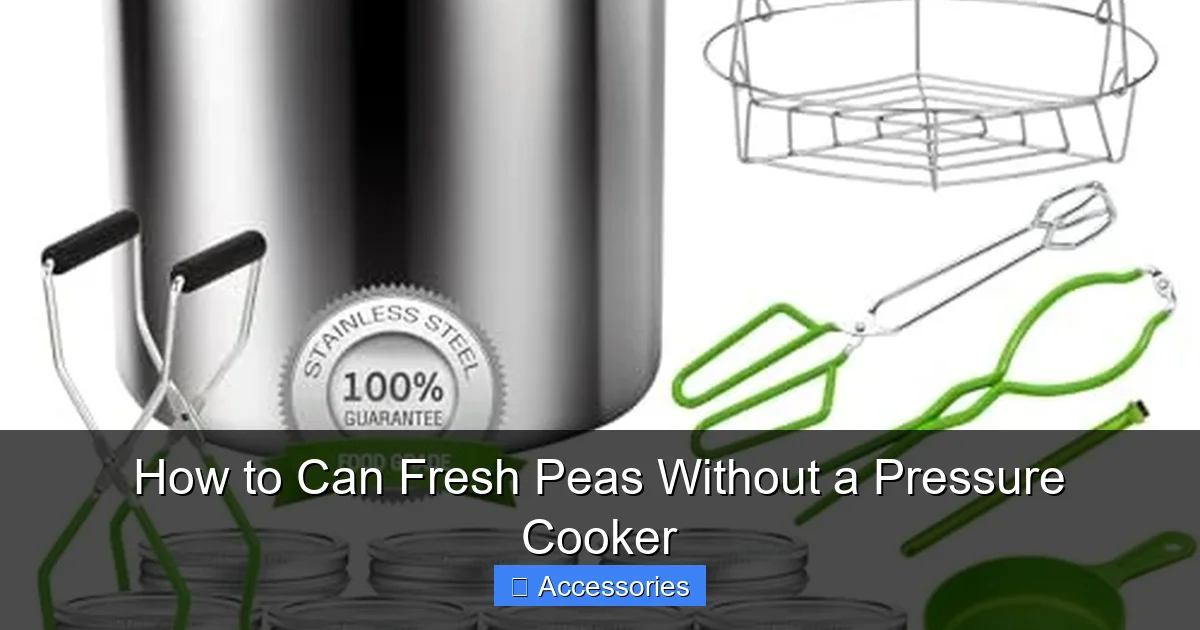
Gathering Your Equipment and Supplies
Before you start peeling off those pea pods, make sure you have everything ready. The beauty of canning fresh peas without a pressure cooker lies in its simplicity—but simplicity doesn’t mean cutting corners. You’ll need reliable, food-safe containers designed specifically for home canning. Never use old mason jars with scratched rims or dented lids; these compromise seal integrity and invite contamination.
Start with **new glass canning jars** (quart or pint sizes work well). Look for jars labeled “for canning” or check with your local extension office for approved brands. Alongside jars, grab brand-new **two-piece canning lids**—these include both the flat ring and the rubberized sealing disc. Old lids lose their pliability and won’t create proper vacuum seals. Don’t forget heavy-duty **canning tongs**, a **non-reactive pot large enough to hold your jars upright**, a **timer**, a **funnel**, and a **ladle**. These tools prevent cross-contamination and help you transfer hot contents safely into jars.
You’ll also want a **large stockpot** (at least 6 quarts) with a tight-fitting lid and a **wire rack or canning rack** that fits inside. If you don’t have one, stack several clean saucers or oven mitts lined up vertically—just ensure jars sit securely without touching the bottom directly. Finally, gather fresh peas, water, salt (optional), and possibly vinegar or lemon juice if following an acidified recipe. Having everything laid out before you begin saves time and reduces stress during the actual canning process.
Essential Tools Checklist
- New canning jars (pint/quart)
- Brand-new two-piece lids
- Canning tongs
- Large stockpot (≥6 qt)
- Wire canning rack
- Timer
- Canning funnel & ladle
- Non-reactive pot for blanching
Selecting and Preparing Fresh Peas
Quality starts at harvest. For best results, choose **fresh, tender-shelled English peas**—the kind you pop whole into your mouth straight from the pod. Avoid wrinkled, yellowing, or mushy pods; these indicate overripeness and will yield inferior canned product. Harvest early morning when dew has evaporated but plants are still cool for peak sweetness.
Once home, sort through your haul immediately. Discard any damaged, discolored, or insect-damaged pods. Then rinse gently under cold running water to remove dirt or debris. Now comes the crucial step: **shelling**. Unlike frozen peas sold in bags, fresh garden peas must be removed from their pods before canning. Use your fingers to snap open each pod and slide out the tiny round peas. It’s surprisingly quick once you get the rhythm!
After shelling, sort peas by size if your recipe calls for it—some prefer uniform batches for consistent texture. Then **blanch** them: bring a large pot of water to a rolling boil, add peas for exactly 2 minutes (adjust slightly based on variety), then plunge into ice water until cooled. Blanching stops enzyme activity that causes spoilage and helps retain color and nutrients during storage. Drain thoroughly before proceeding to packing.
Blanching Tips for Perfect Peas
If you’re new to blanching, practice makes perfect. Too little time leaves enzymes active; too much turns peas soft and pale. A good rule: blanch no more than 2–3 minutes total. After shocking in ice water, pat dry with paper towels or let air-dry completely—any residual moisture risks botulism growth.
Visual guide about How to Can Fresh Peas Without a Pressure Cooker
Image source: m.media-amazon.com
Choosing Between Water Bath and Acidified Methods
Now for the big decision: should you use a plain water bath or add acid? Most home canners rely on **plain water bath canning** for fresh peas because they’re naturally low-acid (pH above 4.6). However, some recipes call for **acidification** using lemon juice or vinegar. Why? Because certain bacteria—specifically Clostridium botulinum—thrive in low-acid, anaerobic environments (like sealed jars). Adding acid lowers the pH below 4.6, creating an inhospitable environment for these dangerous microbes.
That said, **USDA guidelines state that properly processed fresh peas in a boiling water bath (212°F/100°C for 25–35 minutes depending on altitude) are safe without added acid**. So unless you have specific health concerns or are following a special dietary protocol, skip the vinegar and stick with standard recipes. Just remember: never alter processing times or jar fill levels—these are scientifically tested parameters.
If you do decide to acidify, use **fresh lemon juice** (not bottled unless verified as pasteurized) at a rate of ½ teaspoon per quart of peas. Mix well before filling jars. But again, this isn’t necessary for typical home preservation of fresh peas.
Why Not Just Pressure Can?
Pressure canning remains the gold standard for low-acid foods like green beans, carrots, and meat. Yet many home cooks avoid it due to cost, space, or intimidation factor. Water bath canning is gentler on equipment, cheaper to set up, and produces excellent results for properly prepared peas. As long as you follow trusted recipes and process correctly, water bath is safe and effective.
Visual guide about How to Can Fresh Peas Without a Pressure Cooker
Image source: homepressurecooking.com
Packing Jars Correctly
With blanched peas drained and ready, it’s time to pack them into sterilized jars. First, **sterilize your jars**: wash in hot soapy water, rinse thoroughly, then place upside down in a preheated oven (225°F/107°C) for 10 minutes. Keep them warm until needed—hot jars prevent thermal shock when filled with boiling contents.
Next, **heat peas slightly** if using room-temperature peas—this helps expel air bubbles. Using your funnel, pack peas firmly into jars, leaving **1-inch headspace** at the top. Gently tap jars on countertop to settle peas and release trapped air. Wipe rim and sealing surface with damp cloth to remove residue—grease interferes with sealing.
Now decide whether to add **salt** (¼ teaspoon per pint or ½ teaspoon per quart) or not. Salt enhances flavor and acts as a natural preservative, but many modern recipes omit it since refrigeration isn’t needed post-processing. Fill jars with **boiling water** (or light syrup if preferred), adjusting headspace to maintain 1 inch. Remove air bubbles by running a non-metallic spatula around inner jar wall. Re-adjust liquid level if necessary, wipe rim again, center lid, screw bands fingertip-tight (don’t overtighten).
Avoid Common Packing Mistakes
- Never pack jars too tightly—air pockets reduce heat penetration during processing
- Don’t overfill—headspace protects against expansion and ensures proper seal
- Avoid metal utensils near lids—they can scratch sealing surfaces
Processing in a Boiling Water Bath
This is where patience pays off. Set up your water bath canner by filling it with enough water to cover jars by 1–2 inches after placing racks inside. Bring water to a rolling boil (212°F/100°C) before adding jars. Carefully lower jars using tongs—never drop them.
Place jars on rack, spacing them apart so water circulates freely. Cover pot tightly and **start timing immediately**. Process pints for **25 minutes**, quarts for **30 minutes** at sea level. If you live above 1,000 feet elevation, add extra 5 minutes per 1,000 ft (e.g., 25 min + 5 = 30 min at 1,000–2,000 ft).
Keep water at a steady boil throughout—if it simmers instead, lift lid slightly to release steam, but don’t peek! Residual heat will finish cooking peas. When timer ends, turn off heat, wait **5 minutes**, then carefully remove jars with tongs and place on towel-lined countertop away from drafts.
What Happens During Processing?
Boiling water transfers heat evenly through jars, killing bacteria and creating negative pressure (vacuum) as contents cool. This sucks the lid inward, forming a hermetic seal. Proper sealing prevents oxygen from re-entering and spoiling your peas.
Visual guide about How to Can Fresh Peas Without a Pressure Cooker
Image source: homepressurecooking.com
Testing Seals and Storage
After 12–24 hours, check seals by pressing centers of lids—they shouldn’t flex. If any popped up, refrigerate and use within days. Label jars with **date and contents**—this is critical for tracking shelf life. Unsealed jars may spoil quickly; always err on side of caution.
Store finished jars in a **cool, dark, dry place** away from direct sunlight or temperature fluctuations. Ideal storage temp is 50–70°F (10–21°C). Under these conditions, properly canned fresh peas last **12–18 months** while retaining most nutrients and flavor. Check periodically for bulging lids, rust, or off odors—signs of spoilage requiring immediate discard.
Creative Uses for Canned Peas
Once opened, canned peas behave like fresh ones—great in salads, soups, stir-fries, or as a quick side dish reheated in butter. They also freeze beautifully for future use!
Troubleshooting Common Issues
Even experienced canners hit snags sometimes. Here’s how to fix common problems:
– **Lids didn’t seal**: Recheck headspace, wipe rims clean, reprocess unsealed jars within 24 hours (add 10 minutes processing time). If still failing, replace lids.
– **Peas turned gray**: Over-blanching or poor quality produce causes dullness. Future batches: reduce blanch time by 30 seconds and select brighter peas.
– **Liquid cloudy**: Normal for fresh-packed peas—it’s natural starch from peas. Doesn’t affect safety or taste.
– **Bulging jars**: Discard immediately—bulging indicates bacterial growth. Never taste questionable cans.
For persistent issues, consult your local county extension office—they offer free canning classes and troubleshooting support.
Safety First: Why Proper Technique Matters
Home canning carries real risks if shortcuts are taken. Botulism, though rare, is fatal if untreated. That’s why following **tested recipes**, **correct headspace**, and **accurate processing times** isn’t optional—it’s mandatory. Never experiment with new combinations without verifying safety first. Stick to trusted sources like the National Center for Home Food Preservation (nchfp.uga.edu) or Ball Blue Book guides.
Also, always wear **oven mitts** when handling hot jars—burns are preventable. Work slowly and deliberately; rushing leads to mistakes that compromise safety. Remember: preserving food isn’t about speed—it’s about respect for the process and the people who’ll eat your creations later.
When in Doubt, Throw It Out
If something looks, smells, or feels wrong—even slightly—discard it. Better safe than sorry when it comes to foodborne illness. Your health is worth the extra caution.
In closing, canning fresh peas without a pressure cooker is not only achievable but rewarding. It connects you to your food source, reduces waste, and gives you convenient, healthy ingredients anytime. With attention to detail and adherence to proven methods, you’ll build confidence season after season. Happy preserving!
Frequently Asked Questions
Can I really can fresh peas without a pressure cooker safely?
Yes! According to USDA guidelines, fresh peas processed in a boiling water bath at proper temperatures are safe without pressure canning. Just follow tested recipes and maintain correct headspace and processing times.
How long do canned fresh peas last?
Under ideal storage conditions (cool, dark, dry), properly sealed canned fresh peas remain safe for 12–18 months. Always date jars and check for signs of spoilage before use.
Do I need to add vinegar or lemon juice to fresh peas for canning?
No, it’s not required. Standard water bath recipes for fresh peas are safe without added acid as long as processing times are followed accurately.
What if my jars don’t seal after processing?
Reprocess unsealed jars within 24 hours using a new lid and adding 10 minutes to processing time. If they still don’t seal, discard them and inspect your technique for errors like improper headspace or dirty rims.
Can I mix different varieties of peas when canning?
It’s best to keep varieties separate to maintain consistent texture and appearance. However, small amounts can be mixed if processed identically. Avoid combining sweet peas with field peas unless specified in a tested recipe.
Should I blanch fresh peas before canning?
Absolutely. Blanching stops enzyme action that causes spoilage and helps retain color, texture, and nutrients during storage. Follow timing closely—typically 2 minutes in boiling water followed by an ice bath.