Sharpening a single bevel knife starts with selecting the right angle—typically 20° to 25°—to match the blade’s design. Once the angle is set, use a honing rod or sharpening stone in a consistent, slow motion, gradually building a razor‑sharp edge while maintaining the bevel’s integrity. Mastering this technique transforms your cooking experience, delivering precision cuts and extended blade life with every sharpening session.
Key Takeaways
- Identify the correct bevel angle: Typically 15°‑20° for Japanese single‑bevel knives.
- Use a coarse stone first: Remove nicks and set the edge before refining.
- Maintain consistent pressure: Keep the blade flat on the stone for even sharpening.
- Progress to finer grits: Smooth the edge and achieve a razor‑sharp finish.
- Strop the edge: Remove burrs and polish the bevel for optimal performance.
- Test sharpness safely: Slice paper or a tomato to confirm a clean cut.
📑 Table of Contents
How to Sharpen a Single Bevel Knife
Picture this: you’re standing in your kitchen, a block of fresh fish on the counter, and the single‑bevel knife in your hand looks like it’s been through a war. The edge feels dull, the fish slides off instead of gliding, and you’re left with an uneven mess of scales and edges. I’ve been there. The frustration, the wasted time, and the endless search for a quick fix are all too familiar. But what if I told you that a sharp single‑bevel knife can be reclaimed with a few simple steps, and that the process is actually easier than you think?
In this guide, I’ll walk you through everything you need to know to sharpen a single‑bevel knife. From the science behind the blade to hands‑on techniques that even a kitchen novice can master, you’ll leave with a razor‑sharp edge and confidence in your culinary tools. And if you’re new to single‑bevel knives, stick around – I’ll explain the unique quirks that set them apart from their double‑bevel cousins.
1. Understanding the Single‑Bevel Design
What Makes a Single‑Bevel Knife Different?
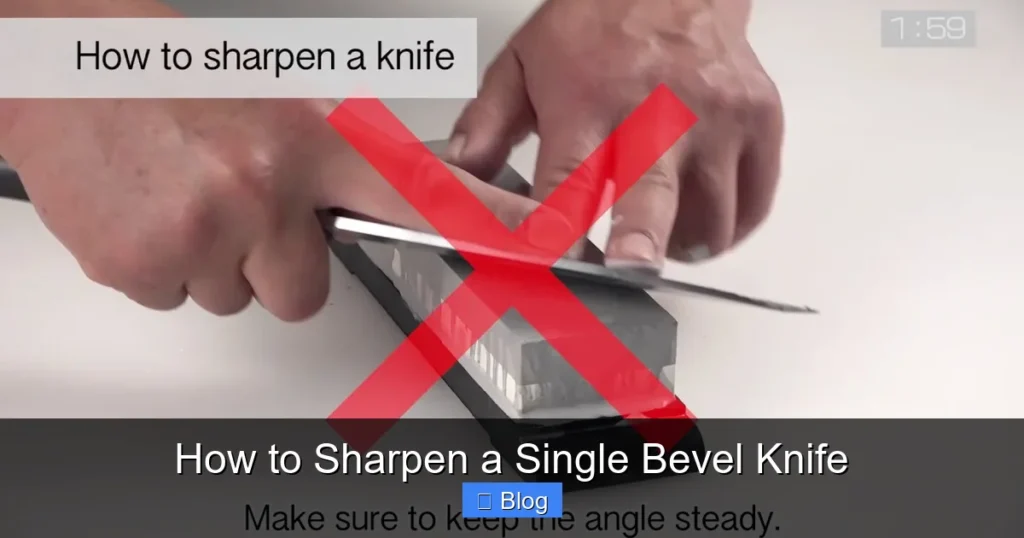
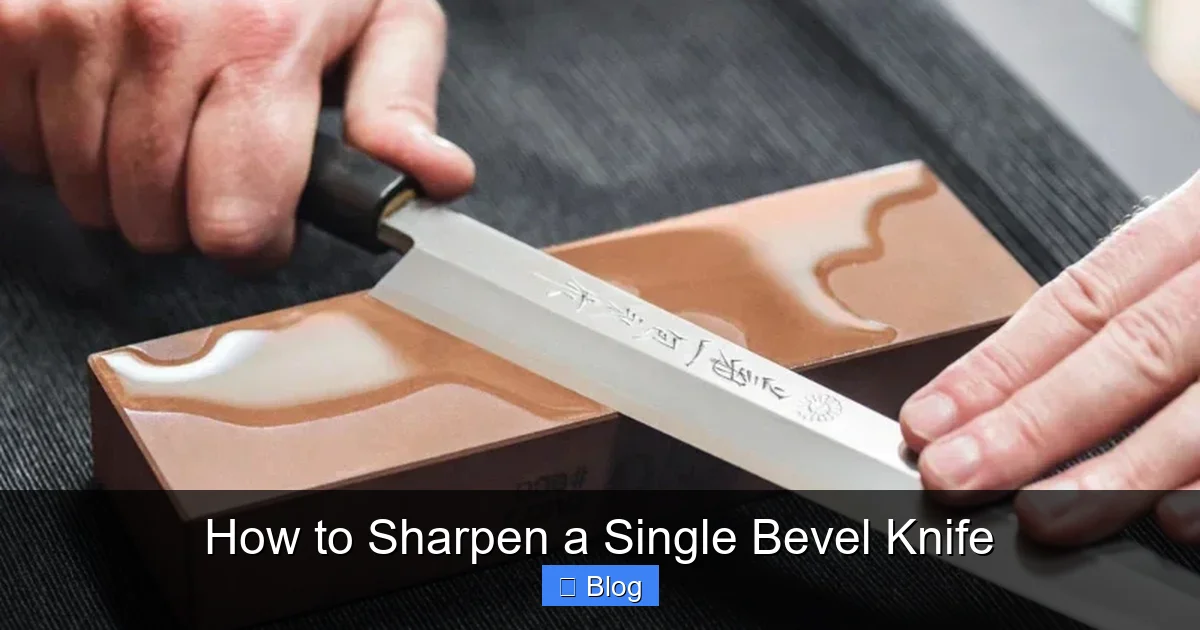
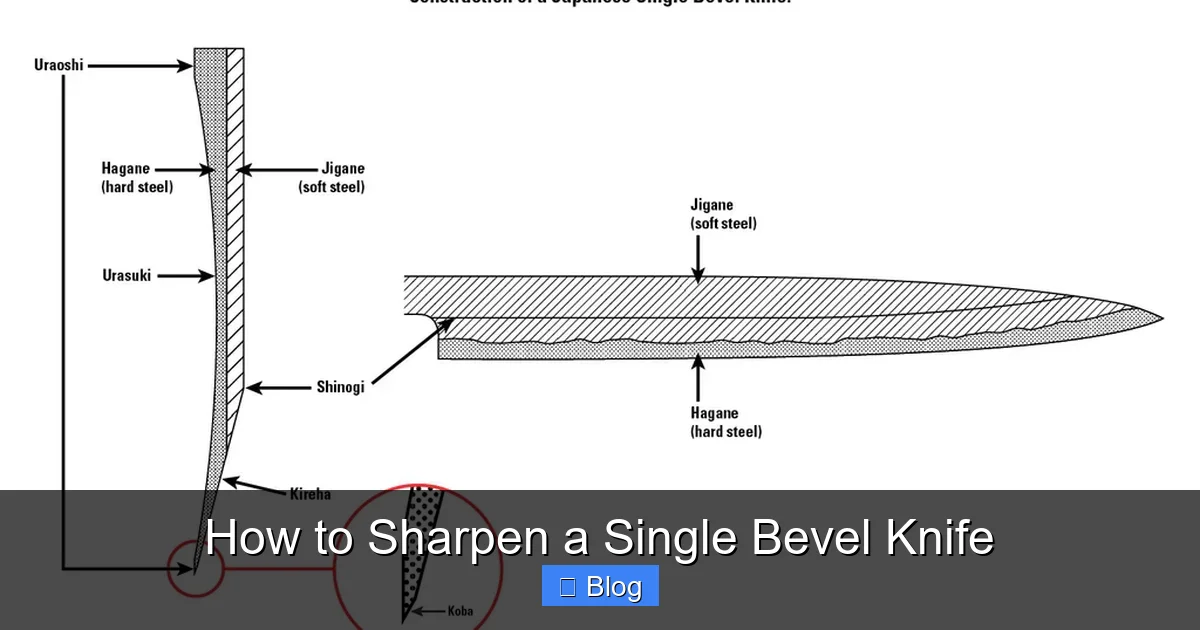
A single‑bevel knife has an edge on only one side of the blade. The other side is flat or slightly convex. Think of a Japanese Santoku or a traditional Japanese fillet knife. This design offers a razor‑thin edge that’s perfect for precise cuts, but it also means you only sharpen one side.
Visual guide about How to Sharpen a Single Bevel Knife
Image source: cdn.shopify.com
Why Sharpening Matters for Single‑Bevel Knives
- Longevity: A consistently sharp edge wears down more evenly, extending the knife’s life.
- Precision: Sharpness reduces the force needed, giving you cleaner cuts.
- Safety: A dull knife can slip and cause cuts; a sharp knife stays in control.
Common Myths Debunked
Many people think you need a professional sharpening service for single‑bevel knives. In truth, most home cooks can sharpen one in just a few minutes with the right tools and technique.
2. Gather the Right Tools
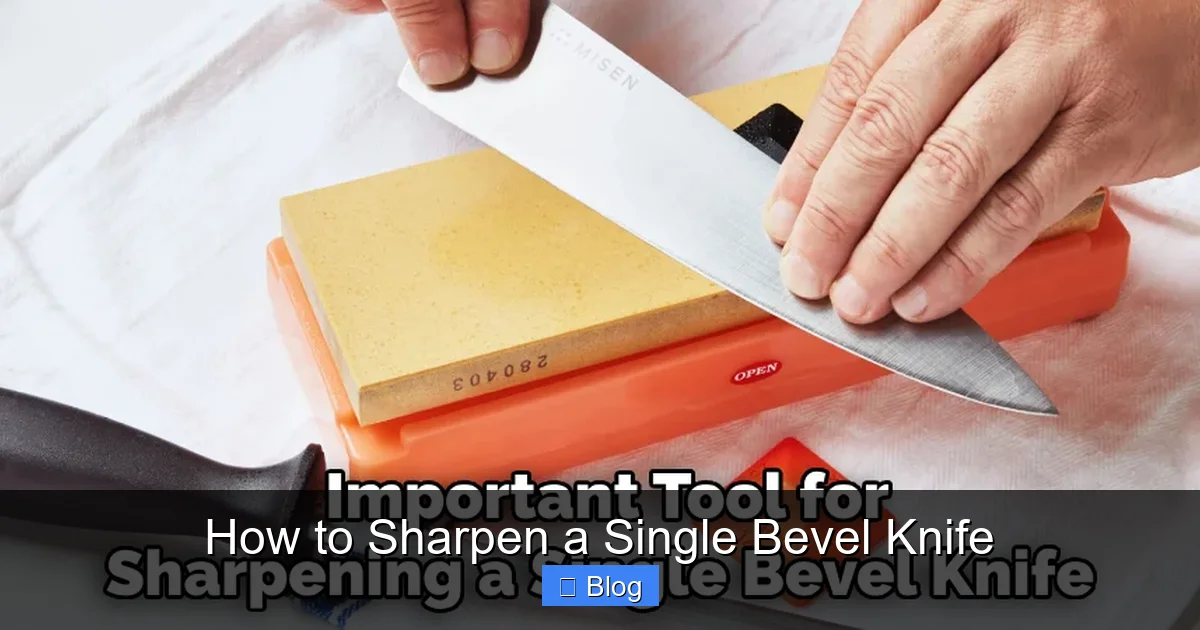
Essential Sharpening Stones
There are three main types of stones that work well for single‑bevel knives:
Visual guide about How to Sharpen a Single Bevel Knife
Image source: cdn.shopify.com
- Water Stones: Easy to use, great for beginners, and come in a range of grits.
- Oil Stones: Durable and can hold a fine edge, but require oil for lubrication.
- Diamond Stones: Extremely quick to sharpen but can be pricey.
For a balanced approach, I recommend a 2000‑grit water stone for the final honing.
Other Helpful Accessories
- Stone Holders: Keep the stone stable.
- Weighted Stone or Hones: For traditional sharpening.
- Angle Guide: Helps maintain a consistent angle.
- Cleaning Brush: To clean grit from the blade.
3. Step‑by‑Step Sharpening Technique
Step 1: Prepare the Stone
If you’re using a water stone, soak it for 10–15 minutes before use. For oil stones, apply a thin layer of honing oil. Diamond stones can be used dry.
Visual guide about How to Sharpen a Single Bevel Knife
Image source: thekitchenix.com
Step 2: Establish the Right Angle
Single‑bevel knives are typically sharpened at a 15–20° angle. A 15° angle gives a sharper edge but is more prone to damage, while 20° offers durability. Use an angle guide or simply imagine the blade hugging a pencil’s edge.
Step 3: Sharpen the Sharp Side First
Place the blade heel on the stone. Push the blade in a sweeping motion from heel to tip, maintaining the angle. Repeat 5–10 strokes. Keep the motion consistent—think of a slow, steady glide.
Step 4: Clean and Inspect
Wipe the blade with a damp cloth. Look for a smooth, silky edge. If you see a burr (a tiny, raised edge), it’s time to remove it.
Step 5: Remove the Burr with a Honing Stone
Use a finer stone or a honing rod. Run the blade along the stone at the same angle, but with lighter pressure. This step removes any roughness and polishes the edge.
Step 6: Polish with a 10,000‑Grit Stone
If you have a 10,000‑grit stone, finish with a few gentle strokes to bring out that shimmering glow and ensure a razor‑sharp edge.
4. Practical Tips for Consistent Results
Tip 1: Keep the Stone Flat
Any wobble in the stone translates to an uneven edge. Use a stone holder or a towel under the stone to keep it level.
Tip 2: Use Light, Even Pressure
Heavy pressure can damage the blade. Think of a light feather tap rather than a hammer blow.
Tip 3: Sharpen in the Same Direction
Always go from heel to tip. Switching directions can create a rippled edge.
Tip 4: Patience Over Speed
Rushing leads to mistakes. Take a few seconds between strokes to let the stone rest and the blade cool.
Tip 5: Store Sharpened Knives Properly
Keep them in a knife block or magnetic strip. Avoid stacking them, which can dull the edge.
5. Data Table: Recommended Grits for Single‑Bevel Knives
| Stone Type | Grit Range | Usage |
|---|---|---|
| Water Stone | 600–2000 | Initial sharpening |
| Oil Stone | 800–3000 | Fine edge maintenance |
| Diamond Stone | 1000–5000 | Quick touch‑ups |
| Honing Rod | N/A | Burr removal and edge polishing |
6. Common Mistakes and How to Avoid Them
Misstep 1: Sharpening the Wrong Side
Remember, only one side needs sharpening. The flat side should stay flat, as it provides stability during cuts.
Misstep 2: Using Too Much Pressure
Excessive force can chip the blade and damage the stone. Light, steady strokes are key.
Misstep 3: Ignoring the Angle
Even the best stone can’t fix an incorrect angle. Use a guide or practice on a scrap piece first.
Misstep 4: Skipping the Burr Removal
A burr can make the blade feel uneven. Always finish with a honing rod or fine stone.
Conclusion
Sharpening a single‑bevel knife isn’t a daunting task when you know the right approach. With a few quality tools, a steady hand, and a clear understanding of the blade’s unique geometry, you can bring your knife back to its former glory in minutes. Remember the five core steps—prep the stone, set the angle, sharpen, clean, and hone—and you’ll be cutting like a pro before you know it.
Next time you see that dull blade staring back at you, take a breath, grab your stone, and give it the care it deserves. Your kitchen will thank you with cleaner cuts, more confidence, and the satisfaction that comes from working with tools that feel as good as they look.
🎥 Related Video: The Comprehensive Single Bevel Knife Sharpening Guide – Yanagiba, Deba, Usuba
📺 Knifewear
How do you sharpen a single bevel knife? Sharpening a yanagiba, usuba, or deba is much different than sharpening a regular …
Frequently Asked Questions
What is the best way to sharpen a single bevel knife?
Sharpening a single bevel knife requires a dedicated sharpening jig or a high-quality whetstone set. Start by aligning the blade at the correct angle (typically 15–20 degrees) and work in a consistent, back-and-forth motion to build a smooth edge.
How to sharpen a single bevel knife at home?
Begin with a coarse stone to remove bumps, then progress to a finer grit for honing. Keep the blade at a steady angle, using a sharpening guide if available, and finish with a polishing wheel or leather strop to ensure a razor‑sharp edge.
Can I use a standard whetstone for a single bevel knife?
Yes, a standard whetstone works well, but you’ll need to manually maintain the correct angle and alternate sides carefully. Using a sharpening jig can greatly improve consistency and reduce the risk of uneven edges.
What angle should I use when sharpening a single bevel knife?
The ideal angle ranges from 15 to 20 degrees, depending on the knife’s intended use. A lower angle offers a sharper edge for slicing, while a slightly higher angle provides durability for heavier tasks.
Do I need a sharpening guide for single bevel knives?
A sharpening guide isn’t mandatory, but it helps maintain a consistent angle, especially for beginners. It also prevents accidental over‑sharpening or uneven wear on the blade’s bevel side.
How often should I sharpen a single bevel knife?
Frequency depends on usage; a heavy‑use chef’s knife may need sharpening every few weeks, while occasional use could extend it to several months. Regular honing with a leather strop can prolong the time between full sharpenings.

