Need to replace a faucet or fix a leak? Removing a tap head is simpler than it sounds. Follow our easy guide to gather the right tools, loosen the head, and avoid damage. Whether you’re a DIY novice or a seasoned hand, this article gives you confidence and clear instructions for a smooth job.
Key Takeaways
- Preparation matters: Gather all necessary tools and safety gear before starting.
- Correct tool selection: A basin wrench or adjustable pliers often do the trick.
- Protect the surface: Use a rag or towel to cushion the tap head and prevent scratches.
- Gentle force: Turn counter‑clockwise and avoid excessive torque to prevent breaking the tap head.
- Know when to stop: If resistance is too high, look for hidden nuts or consider professional help.
- Clean up: Remove debris and check for leaks before reinstalling.
- Aftercare: Replace washers or O‑rings if needed and test the faucet for proper function.
📑 Table of Contents
Introduction
Picture this: you’re standing in your kitchen, holding a stubborn tap head that won’t budge. Maybe you’re swapping out an old faucet for a newer, more efficient model, or perhaps a leak has forced you to disassemble the plumbing. Either way, the first step is to remove that tap head. It sounds like an intimidating task, but with the right approach it’s a straightforward process that any homeowner can tackle.
In this guide, we’ll walk you through the entire process—from picking the right tools to ensuring your tap is free of debris before you reassemble. We’ll also share common pitfalls and how to avoid them. By the end, you’ll have the confidence to remove a tap head in no time.
1. Gather Your Tools and Supplies
What You’ll Need
- Adjustable basin wrench or channel‑locking pliers
- Protective rubber or plastic cover for the tap head
- Foam or rubber pad to cushion the surface
- Pipe wrench (if a nut is present)
- Hex key set (if the tap head uses a hex socket)
- Lubricant or penetrating oil (e.g., WD‑40)
- Cleaning rag or towel
- Plumber’s tape (Teflon tape) for future reassembly
- New washers or O‑rings (if necessary)
Why This List?
Having everything in one place saves time and reduces frustration. A basin wrench is especially useful because it can grip the tap head from the side, which is common in kitchen faucets. If your tap head is threaded with a hex socket, a set of hex keys will allow you to apply torque without slipping.
Visual guide about How to Remove a Tap Head
Image source: i.ytimg.com
2. Turn Off the Water Supply
Safety First
Before you touch any plumbing, shut off the water. Most homes have a main shutoff valve near the water meter. If your tap is under a sink, there may be individual shutoffs for hot and cold lines. Turn them clockwise until they stop.
Visual guide about How to Remove a Tap Head
Image source: i.ytimg.com
Check for Leaks
Once the valves are closed, open the faucet to drain any remaining water. Watch the drain for any leaks—this will make the next steps easier and help you spot any damage early.
3. Protect the Faucet and Surrounding Area
Use a Rubber Pad
Place a rubber or foam pad under the tap head. This cushion protects the metal from scratches when you apply force. A towel or rag can also serve as a soft barrier.
Visual guide about How to Remove a Tap Head
Image source: i.ytimg.com
Cover Sensitive Surfaces
In kitchens, the countertop or cabinet surfaces can get scratched. A small piece of cardboard or a plastic sheet will keep things clean.
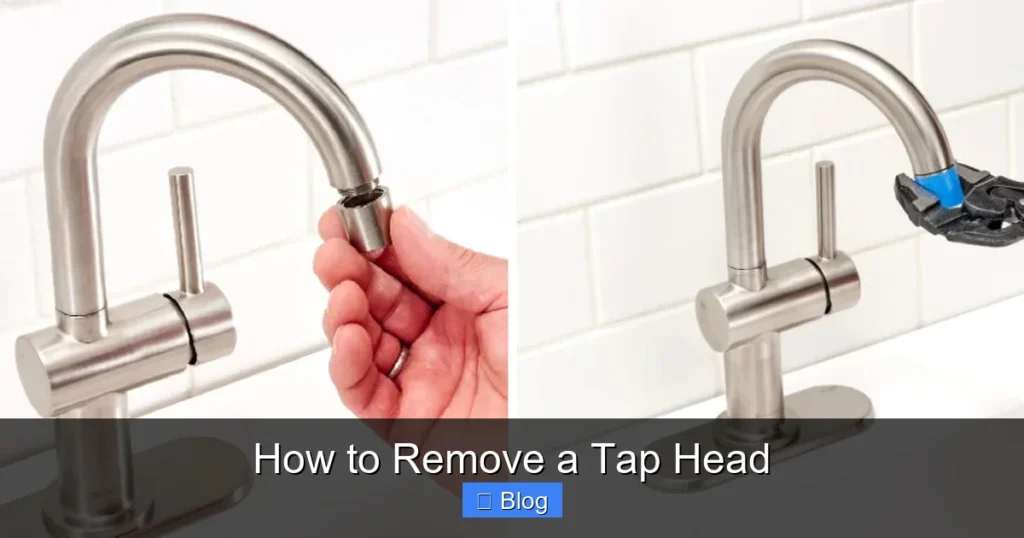
4. Loosen the Tap Head
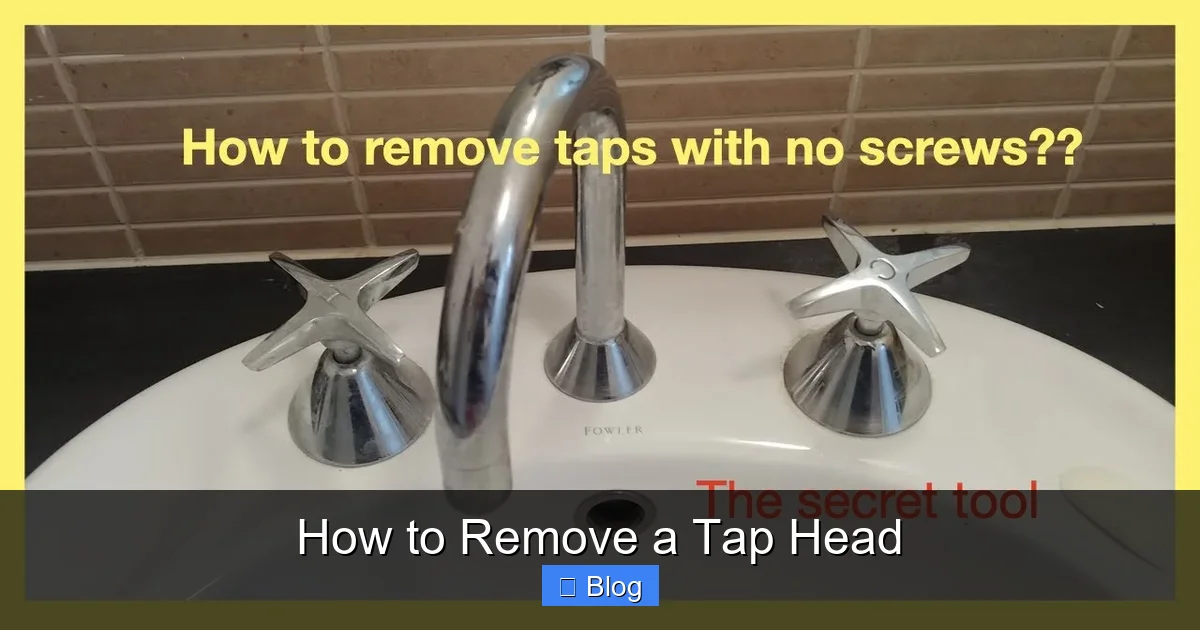
Identify the Fastening Method
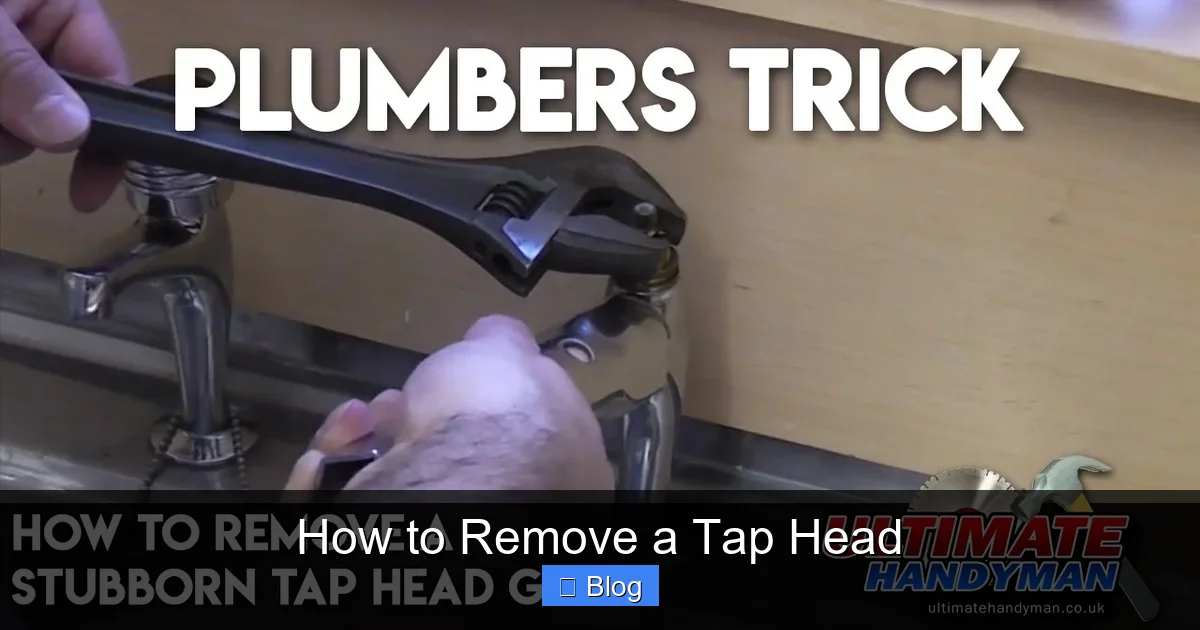
Most tap heads are secured by a simple screw or a threaded nut. If you see a small screw on the top, that’s usually the easiest to remove. If the head is threaded into the faucet body, you’ll need a basin wrench or pliers.
Using a Basin Wrench
- Position the wrench so the jaw grips the tap head’s side.
- Turn the wrench counter‑clockwise (left‑hand rule) to loosen.
- Apply steady pressure—do not yank.
Using Pliers or a Pipe Wrench
For threaded heads, a pair of channel‑locking pliers can grip the head securely. If the head is very tight, a pipe wrench with a rubber pad can add grip. Remember to keep the pad in place to avoid scratching.
Applying Penetrating Oil
If resistance is high, spray a small amount of penetrating oil around the joint. Wait 10–15 minutes, then try again. The oil loosens rust or mineral buildup.
5. Remove the Tap Head Completely
What to Do When It Comes Off
Once the head is loose, gently pull it straight up. If it still feels stuck, rotate it a few degrees while pulling. Do not use excessive force—this could crack the head or damage the faucet body.
Inspect the Threaded Joint
- Look for debris, mineral buildup, or damaged threads.
- Clean the threads with a rag or a soft brush.
- Check for cracks in the metal—if you see any, replace the head.
6. Clean and Prepare for Reassembly
Remove Old Washers or O‑rings
If you’re replacing the tap head, remove the old seals. These are often small rubber rings that seal against the faucet body. Replace them with new ones to prevent future leaks.
Apply Teflon Tape
Wrap the threads of the new tap head with plumber’s tape. This ensures a tight seal when you screw it back on.
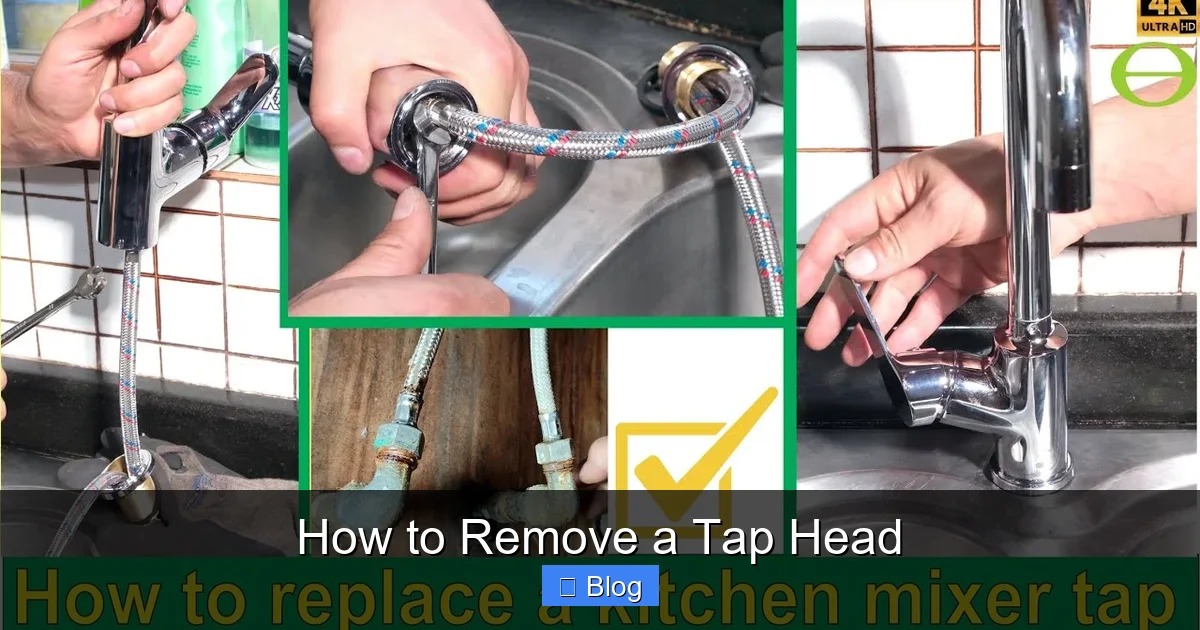
7. Reinstall the Tap Head (If Needed)
Step-by-Step
- Place the new washer or O‑ring onto the faucet body.
- Insert the tap head, aligning the threads.
- Turn it clockwise (right‑hand rule) to tighten.
- Use a basin wrench or pliers to give a final snug fit, but stop before the head feels too tight.
- Test for leaks by turning the water back on and running the faucet.
8. Test and Troubleshoot
Check for Leaks
Open the faucet and observe the joint. If you see any drips, tighten the head a little more or reapply plumber’s tape. If the leak persists, disassemble again to check for misaligned washers.
Listen for Unusual Sounds
Unusual hissing or whistling can indicate a poor seal. Reassess the installation. If the problem remains, consider consulting a professional.
Conclusion
Removing a tap head doesn’t have to be a headache. With the right tools, a little patience, and careful attention to detail, you can free that stubborn fixture and start your faucet upgrade or repair. Remember to protect surfaces, use proper wrenches, and always test for leaks after reassembly. Armed with these steps, you’re now ready to tackle any tap head removal project with confidence.
🎥 Related Video: How to start dismantling knob/round tap (Watertec/DOE)
📺 Voyeurs of the Kantin Table
Frequently Asked Questions
What if my tap head is completely rusted and won’t budge?
Try spraying penetrating oil and letting it sit for 15–20 minutes. If it still won’t move, gently tap the wrench with a rubber mallet to break the rust. Avoid using excessive force that could crack the head.
Can I use a regular wrench instead of a basin wrench?
A regular pipe wrench can work, but it may damage the tap head or the faucet body. A basin wrench is designed for the tight spaces under sinks, so it’s usually the safest choice.
Do I need to replace washers when I remove a tap head?
It’s a good idea to replace old washers or O‑rings because they wear out over time and can cause leaks. New seals ensure a tight connection.
Is it safe to leave the tap head off for a long time?
Yes, but it’s best to keep the head in a clean, dry place to prevent dust or debris from settling on the threads, which could make reassembly harder.
What should I do if I accidentally break the tap head?
Do not force it further. If the head cracks, you’ll need to replace it entirely. Measure the diameter and thread pitch to find an exact match.
Can I use a hacksaw to cut the tap head off if it’s stuck?
A hacksaw can damage the faucet body and create a mess. It’s better to use penetrating oil, a basin wrench, and patience before considering cutting. If you must cut, do so carefully and replace the entire head.

