
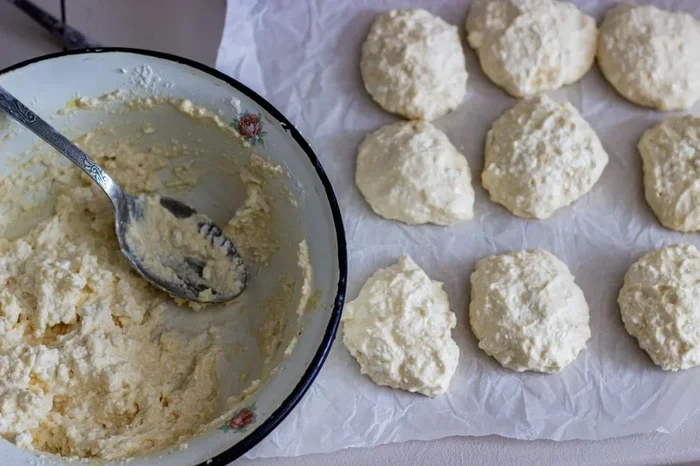
Easily transform regular milk into tangy, versatile buttermilk with these simple methods. Perfect for baking and cooking, learn how in minutes!
Hello, kitchen explorers! Are you tired of running to the store every time your recipe calls for buttermilk? We’ve got great news! You can easily make buttermilk at home using regular milk. No more last-minute trips or wasted ingredients. Let’s dive in and learn three simple methods to make buttermilk now.
Why Make Your Own Buttermilk?
Buttermilk is a versatile ingredient that adds tanginess and richness to various dishes, from pancakes to marinades. While you can find it in stores, homemade buttermilk is often fresher and more economical. Plus, it’s easy to make with ingredients you likely already have on hand. So, let’s get started!
Method 1: Quick Buttermilk with Lemon Juice or Vinegar
The quickest way to make buttermilk is by adding an acidic ingredient like lemon juice or vinegar to regular milk. This method curdles the milk, giving it a similar consistency to store-bought buttermilk. Here’s how:
1. Measure your ingredients: For every 1 cup of milk, you’ll need 1 tablespoon of lemon juice or vinegar.
2. Combine and let it sit: Pour the milk into a glass or bowl, add the lemon juice or vinegar, and stir gently. Let it sit at room temperature for 5-10 minutes, allowing the milk to curdle.
3. Stir and use*: After the milk has curdled, give it a quick stir, and it’s ready to use in your recipe.
Pro tip: For a thicker consistency, let the mixture sit for a little longer or use a higher ratio of acid to milk.
Method 2: Souring Milk Naturally
If you’re looking for a hands-off approach, you can let milk sour naturally at room temperature. This method takes longer but results in a tangier, somewhat thicker buttermilk. Here’s how:
1. Pour the milk: Pour the desired amount of milk into a clean glass or bowl.
2. Cover and let it sit: Cover the milk loosely with a clean cloth or paper towel to allow air circulation. Place it in a warm, draft-free area, like on top of your refrigerator.
3. Check for souring: Depending on the temperature and humidity, the milk can take anywhere from 12 to 24 hours to sour. Check it periodically by tasting a small amount or using a pH test strip (available at hardware stores or online). Once it reaches a pH between 4.4 and 4.8, it’s ready to use.
4. Store: Once soured, stir the milk and store it in an airtight container in the refrigerator until ready to use.
Caution: If the milk develops mold or an off smell, it has gone bad and should be discarded.
Method 3: Using Buttermilk Powder
Buttermilk powder is a convenient, shelf-stable alternative that can be mixed with regular milk to create instant buttermilk. Here’s how:
1. Measure your ingredients: Mix 1 tablespoon of buttermilk powder with 1 cup of milk.
2. Stir and use: Combine the ingredients in a glass or bowl, stir well, and let it sit for a few minutes. The milk will thicken slightly, and the buttermilk powder will dissolve completely. Your instant buttermilk is now ready to use.
Pro tip: Buttermilk powder can be found in the baking aisle of most grocery stores or online. It has a longer shelf life than fresh buttermilk and is perfect for keeping on hand for unexpected recipes.
Storing Homemade Buttermilk
Homemade buttermilk will keep refrigerated in an airtight container for up to 10 days. Give it a good stir before using, as the solids may separate during storage. You can also freeze homemade buttermilk for up to 3 months. Thaw it overnight in the refrigerator before using.
Buttermilk Substitutes
If you’re short on time or ingredients, you can use one of these substitutes in a pinch:
– Lemon juice or vinegar: For every 1 cup of buttermilk needed, use 1 tablespoon of lemon juice or vinegar plus enough milk to make 1 cup. Let it sit for 5 minutes before using.
– Sour cream or plain yogurt: Use an equal amount of sour cream or plain yogurt as a substitute for buttermilk. This works well in baking recipes but may not be suitable for all applications.
Using Homemade Buttermilk
Now that you know how to make buttermilk at home, it’s time to put it to use! Here are some ideas to get you started:
– Baking: Use homemade buttermilk in recipes for pancakes, waffles, muffins, biscuits, and cakes. It adds a delightful tanginess and helps create a tender crumb.
– Marinades: Incorporate buttermilk into marinades for chicken, beef, or pork. The acid in the buttermilk helps tenderize the meat, while the fat adds richness and moisture.
– Dips and dressings: Use buttermilk as a base for creamy dips, dressings, and sauces. It adds a unique flavor that complements various dishes, from fried foods to salads.
Common Mistakes to Avoid
– Using expired or spoiled milk: Always check the expiration date on your milk before making buttermilk. Using spoiled milk can result in an off taste or even food poisoning.
– Not shaking or stirring: Before using homemade buttermilk, give it a good shake or stir to mix the solids back in. This ensures a consistent texture and flavor in your recipes.
– Not adjusting for liquid content: Keep in mind that homemade buttermilk has a higher liquid content than store-bought. You may need to adjust the liquid ingredients in your recipe accordingly.
Expert Tips
– For a thicker consistency: Let your homemade buttermilk sit in the refrigerator for a few hours or overnight. The solids will separate and thicken, creating a richer buttermilk.
– Use it up: Since homemade buttermilk has a shorter shelf life than store-bought, make only what you need. Alternatively, freeze excess buttermilk for later use.
– Make a big batch: If you find yourself frequently using buttermilk, consider making a larger batch and freezing it in portion-sized containers. That way, you’ll always have some on hand.
Conclusion
Making buttermilk at home is easy, economical, and surprisingly versatile. With just a few simple methods, you can transform regular milk into tangy, delicious buttermilk that’s perfect for baking, cooking, and more. So, the next time a recipe calls for buttermilk, don’t let it hold you back – make your own and enjoy the process! Happy cooking!
*
Key Takeaways
- Method 1: Use lemon juice or vinegar to curdle milk.
- Method 2: Let milk sit at room temperature to sour naturally.
- Method 3: Use buttermilk powder for a quick and easy alternative.
- Storage: Keep homemade buttermilk refrigerated for up to 10 days.
- Substitute: For every 1 cup of buttermilk, use 1 tablespoon of lemon juice or vinegar plus enough milk to make 1 cup.
- Versatility: Use homemade buttermilk in baking, marinades, and more.
Frequently Asked Questions
**
How long does homemade buttermilk last in the refrigerator?
Homemade buttermilk will keep in the refrigerator for up to 10 days. Store it in an airtight container and give it a good stir before using.
Can I freeze homemade buttermilk?
Yes, you can freeze homemade buttermilk for up to 3 months. Thaw it overnight in the refrigerator before using.
What can I use if I don’t have buttermilk powder?
You can use a combination of milk and lemon juice or vinegar as a substitute. Mix 1 tablespoon of lemon juice or vinegar with enough milk to make 1 cup, and let it sit for 5 minutes before using.
How can I thicken homemade buttermilk?
To thicken homemade buttermilk, let it sit in the refrigerator for a few hours or overnight. The solids will separate and create a richer, thicker consistency.
Can I use sour cream or plain yogurt as a buttermilk substitute?
Yes, you can use an equal amount of sour cream or plain yogurt as a substitute for buttermilk in baking recipes. However, this may not be suitable for all applications, as the texture and flavor will differ slightly.
Why does my homemade buttermilk have a different consistency than store-bought?
Homemade buttermilk often has a higher liquid content than store-bought due to the curdling process. This results in a thinner consistency. To achieve a similar consistency to store-bought buttermilk, you can let your homemade buttermilk sit in the refrigerator for a few hours or overnight to allow the solids to separate and thicken.



