Your toaster isn’t working properly—but don’t panic. A toaster that won’t go down can be caused by mechanical issues like broken levers or worn-out springs, electrical faults, or even simple dirt buildup. Most problems are fixable at home with basic tools and a little patience.
Have you ever tried to make toast only to find your toaster won’t go down? You push the lever, hear a click, but nothing happens. The bread stays in the slots like it’s glued there. It’s frustrating, inconvenient, and honestly kind of annoying. You might blame yourself for not cleaning it enough or assume the appliance has just given up. But here’s the truth: a toaster that won’t drop usually isn’t broken beyond repair—it’s just stuck.
Toasters work by using a simple mechanical system to lower bread into the heating elements and then pop it back up when done. When that system fails, the result is a toaster that refuses to operate. But before you start shopping for a new one, let’s walk through why this happens and how you can fix it. Whether it’s a broken spring, a dirty mechanism, or something else entirely, we’ll cover everything you need to know to get your toast-making machine working again.
In this article, we’ll explore the most common reasons your toaster won’t go down, step-by-step troubleshooting methods, and when it’s time to call it quits. We’ll also share tips on preventing future issues so you can enjoy perfectly toasted bread every time. So grab your screwdriver, unplug that toaster, and let’s figure out what’s going on.
Key Takeaways
- Broken or loose lever: The most common cause of a toaster that won’t descend is a malfunctioning lever mechanism, often due to wear or misalignment.
- Faulty springs or latches: Over time, internal springs and latches can weaken or break, preventing the toaster from dropping bread safely.
- Dirt and crumb buildup: Food debris trapped in the mechanism can block movement and interfere with the lowering action.
- Electrical or heating element issues: While rare, power supply problems or damaged components may affect the motorized lowering system.
- Improper use or overloading: Forcing bread or using thick items can jam the mechanism and damage internal parts.
- Age and wear: Older toasters are more prone to mechanical failure as components degrade over time.
- Safety first: Always unplug the toaster before attempting any repairs to avoid electric shock.
📑 Table of Contents
Understanding How a Toaster Works
Before diving into fixes, it helps to understand how your toaster operates. Most modern toasters use a combination of mechanical and electrical systems to control the lowering and popping of bread.
At the heart of the operation is the **bail lever**—the handle you press to start toasting. When you push it down, it triggers a series of actions. First, the lever engages a set of **springs** and **latches**. These components hold the bread tray in place until the toasting cycle completes. Once the timer runs out, an electromagnetic coil or motor (depending on the model) releases the latch, allowing the spring-loaded tray to pop up automatically.
Some toasters, especially older models, rely entirely on mechanical timing. Others have electronic controls that regulate heat and timing via circuits. In either case, the core function—lowering and popping—depends on the smooth interaction between moving parts.
If any part of this system is compromised—whether it’s a loose screw, a bent spring, or dust blocking movement—the entire process can fail. That’s why a toaster that won’t go down often signals a mechanical issue rather than an electrical one.
Common Causes of a Toaster Not Going Down
Visual guide about Why Wont My Toaster Go Down
Image source: firstgradeappliances.com
Let’s break down the most frequent culprits behind a stubborn toaster. Understanding these will help you diagnose the problem faster and avoid unnecessary replacements.
1. Broken or Loose Lever Mechanism
The **lever mechanism** is the first thing you interact with when using a toaster. If it’s broken, loose, or misaligned, the toaster simply won’t respond. This often happens after accidental drops or excessive force.
For example, imagine placing a heavy bagel in a small slot and pressing down too hard. The lever arm might bend slightly, preventing proper engagement. Or, over time, the pivot point (usually a small metal rod) can wear out, causing wobbliness or total detachment.
Check this first: open the toaster and look at the lever assembly. Is it still attached? Does it move freely? If it feels shaky or detached, that’s your answer.
2. Faulty Springs or Latches
Springs and latches do the heavy lifting when it comes to holding and releasing the bread tray. These components are under constant tension, which means they can fatigue, break, or lose elasticity over time.
A common sign of weak springs is when the toaster lowers but doesn’t pop back up. However, if the spring is completely broken, the tray might stay down—or worse, not come down at all. Latches can also become misaligned, preventing the tray from locking into position during use.
Inspect the underside of the toaster. You should see metal arms and hooks that connect the lever to the tray. If these are rusted, cracked, or missing, replacement parts may be needed.
3. Dirt, Crumbs, or Grease Buildup
We’ve all been guilty of ignoring the crumb tray. But what starts as a minor nuisance quickly becomes a mechanical roadblock. Crumbs and grease accumulate around the lever pivot, spring housings, and tray rails. This debris acts like glue, restricting movement.
Think about it: when was the last time you thoroughly cleaned inside your toaster? Even if you empty the crumb tray regularly, microscopic particles can still find their way into tight spaces.
A simple test: unplug the toaster, remove the bread tray, and look inside. Do you see dark spots or sticky residue near the lever area? That’s likely your culprit.
4. Electrical Issues (Less Common)
While most toaster failures are mechanical, electrical problems can occasionally cause the lever to stick. This usually happens in models with motorized lowering systems—though true motorized toasters are relatively rare compared to manual ones.
If your toaster uses electricity to control the descent (via solenoids or relays), a blown fuse or damaged circuit board could prevent activation. However, standard pop-up toasters don’t rely heavily on motors; they’re mostly spring-driven.
Still, if you suspect an electrical fault, check the power cord for damage and ensure the outlet works with other devices. If everything else checks out, the issue is likely mechanical.
5. Improper Use or Overloading
Using your toaster incorrectly can lead to serious internal damage. For instance, inserting thick bread slices or frozen waffles without adjusting the browning control can strain the mechanism. Similarly, forcing the lever down when resistance is felt can bend plastic or metal parts.
Another mistake is stacking multiple slices or placing unevenly cut bread. This imbalance puts uneven pressure on the tray, making it harder for the system to engage smoothly.
Always follow the manufacturer’s guidelines regarding slice thickness and weight. And never force the lever—if it doesn’t go down easily, stop and investigate.
Step-by-Step Troubleshooting Guide
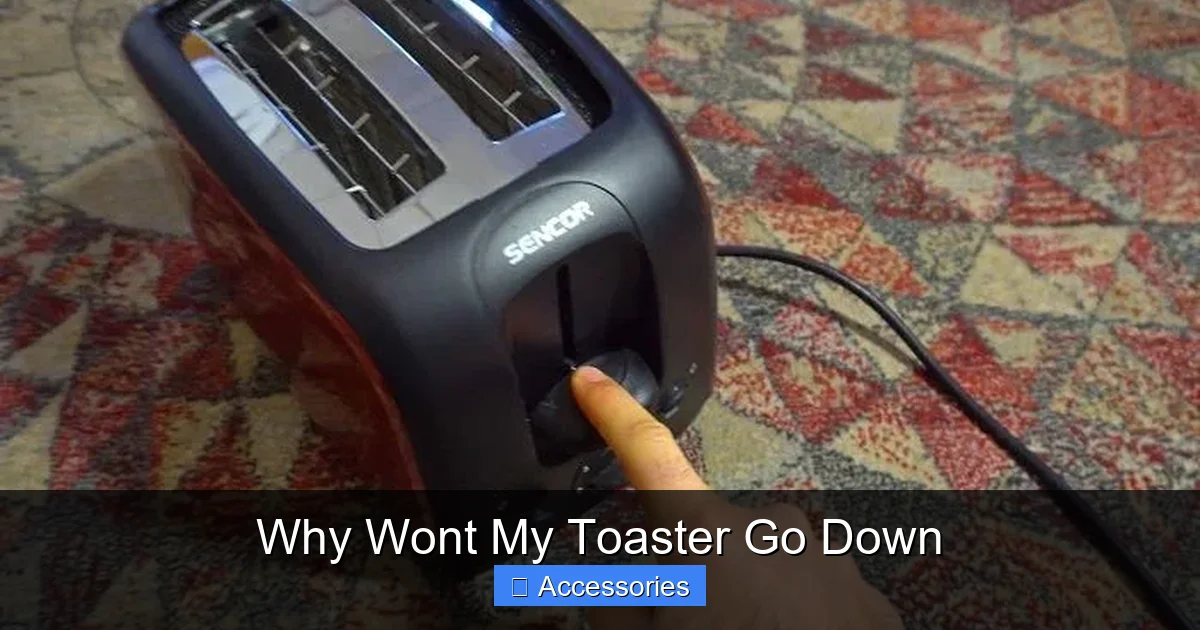
Visual guide about Why Wont My Toaster Go Down
Image source: i.ytimg.com
Now that we know what might be wrong, let’s walk through how to fix it. Remember: **safety first!** Always unplug your toaster before inspecting or repairing it.
Step 1: Inspect the Lever Assembly
Start by opening the toaster and examining the lever. Look for:
– Visible cracks or breaks
– Loose screws or bolts
– Bent or twisted arms
If the lever is detached, gently reattach it using the original screws. Tighten them just enough to secure—don’t overtighten, or you’ll restrict movement.
Step 2: Check the Springs and Latches
Look beneath the bread tray. You should see two metal arms connected to springs and latches. Test their flexibility by gently pulling them. If they feel stiff, rusty, or detached, they may need replacement.
Many appliance stores carry generic toaster springs, but it’s best to consult your toaster’s manual for exact part numbers. Some manufacturers sell replacement kits online.
Step 3: Clean Out Debris
Use a soft brush or compressed air to clear crumbs from around the lever and tray rails. A toothbrush works well for tight spaces. For grease, dip a cloth in warm, soapy water—but never spray liquid directly into the toaster.
After cleaning, wipe dry thoroughly before reassembling.
Step 4: Test the Mechanism Manually
With the toaster open, try manually lowering the tray. Does it move smoothly? If it jams, identify where the obstruction is. Sometimes a single crumb lodged deep inside is enough to block motion.
If manual movement is possible, the problem may lie in the electrical trigger rather than the mechanics. But if it still won’t budge, further disassembly may be required.
Step 5: Replace Damaged Parts
If inspection reveals broken springs, bent latches, or corroded contacts, consider replacing them. Many toasters use standardized components, so universal parts are available. Search for your toaster model number + “repair kit” or “spring replacement.”
Avoid DIY welding or makeshift fixes—these can create safety hazards.
Preventive Maintenance Tips
Visual guide about Why Wont My Toaster Go Down
Image source: i.ytimg.com
Once your toaster is working again, keep it running smoothly with regular care.
Clean Weekly
Empty the crumb tray after each use. Give the interior a quick wipe monthly. Avoid using harsh chemicals—just mild soap and water.
Avoid Overloading
Stick to recommended slice sizes. Don’t stack slices or insert foreign objects.
Store Properly
Keep your toaster in a dry area away from moisture. Humidity promotes rust, especially in metal springs.
Handle With Care
Don’t slam the lever or drop the appliance. Gentle operation extends lifespan.
Unplug When Not in Use
This prevents accidental activation and reduces wear on internal switches.
By following these steps, you can avoid many common issues—including the dreaded “won’t go down” syndrome.
When to Replace Your Toaster
Sometimes, despite your best efforts, the toaster remains uncooperative. In such cases, replacement may be the most practical solution.
Consider replacing if:
– Repairs cost more than 50% of a new model
– Multiple components are failing
– The appliance is over 10 years old
– Safety concerns arise (e.g., exposed wiring)
Newer toasters come with improved features like auto-eject, cool-touch exteriors, and better crumb trays. Plus, modern designs are often more energy-efficient.
Before buying, compare models based on durability, warranty, and customer reviews. Brands like Breville, Cuisinart, and Hamilton Beach consistently rank high for reliability.
Alternative Ways to Toast Bread Without a Working Toaster
Need toast now? No problem. Try these alternatives while your toaster gets fixed or replaced:
– **Skillet method**: Heat a nonstick pan over medium-low, add a pat of butter, and toast slices until golden.
– **Oven broiler**: Place bread on a baking sheet under the broiler, watching closely to avoid burning.
– **Microwave trick**: Spray bread lightly with water, microwave for 10 seconds, then finish in a pan.
– **Air fryer**: Many air fryers have toasting modes. Just watch closely—they heat quickly!
These methods won’t give you that crisp texture of a toaster, but they’ll keep hunger at bay.
Final Thoughts
A toaster that won’t go down is more common than you think—and almost always fixable. Whether it’s a simple crumb jam, a loose screw, or worn-out springs, understanding the underlying cause empowers you to solve the problem yourself. With patience, the right tools, and a little elbow grease, you can restore your kitchen staple to full functionality.
Remember: prevention beats repair. Regular cleaning and careful handling go a long way. And when in doubt, consult your manual or reach out to the manufacturer.
So next time your toaster refuses to cooperate, don’t throw it away. Open it up, take a close look, and give it the TLC it needs. Before you know it, you’ll be enjoying perfectly golden-brown toast again—just like you used to.
Frequently Asked Questions
Why won’t my toaster go down even though the lever moves?
If the lever moves but the tray doesn’t descend, the issue is likely internal—such as broken springs, misaligned latches, or debris blocking the mechanism. Start by cleaning the area and checking for visible damage. Often, a simple adjustment or part replacement resolves the problem.
Can I fix my toaster myself, or should I call a professional?
Most toaster issues are DIY-friendly, especially mechanical ones like loose levers or dirty mechanisms. As long as you unplug the appliance and follow safety precautions, you can likely fix it with basic tools. Electrical faults may require professional help, so proceed cautiously.
How often should I clean my toaster?
Clean your toaster weekly by emptying the crumb tray and wiping the interior. Monthly, give it a deeper clean with a brush and damp cloth. Regular maintenance prevents crumb buildup, which is a leading cause of stuck mechanisms.
What if my toaster pops up but doesn’t go down?
This usually indicates a reversed or broken spring system. The tray may be locked in place by faulty latches or tension issues. Inspect the underside for loose or damaged components and replace them if necessary.
Is it safe to use a toaster that won’t go down?
No. Using a malfunctioning toaster risks electrical hazards, burns, or fire. Always unplug it immediately and inspect before reuse. Never attempt to force the lever or operate it while damaged.
Where can I buy replacement parts for my toaster?
Search online retailers like Amazon or manufacturer-specific sites using your toaster’s model number. Appliance stores and repair shops also carry common parts such as springs, latches, and levers. Always verify compatibility before purchasing.