Why won’t your toaster stay down? The most common causes include a faulty latch mechanism, worn-out heating elements, or a broken spring release. This issue not only ruins your toast but can also pose safety risks. Fortunately, with a few basic checks and repairs, you can restore your toaster to working condition in minutes. Whether it’s a mechanical jam or an electrical glitch, understanding the root cause is key to solving the problem.
Have you ever been mid-bite into a perfectly golden slice of toast when—*pop*—the toaster suddenly springs back up, leaving your breakfast unfinished and your frustration rising? You’re not alone. One of the most annoying kitchen malfunctions is when your toaster refuses to stay down. It’s like it has a mind of its own, slamming up and down without warning. But don’t blame your bread just yet. The real culprit is usually something inside that simple-looking appliance—a tiny spring, a bent latch, or even dust bunnies deep in the mechanism.
Understanding why your toaster won’t stay down isn’t just about convenience; it’s about safety, efficiency, and extending the life of your appliance. A toaster that won’t hold its position can lead to uneven toasting, wasted energy, or even potential fire hazards if internal components overheat. In this guide, we’ll walk through every possible reason behind this frustrating issue, from basic cleaning hacks to advanced repair steps. By the end, you’ll know exactly what’s going on—and how to fix it for good.
Key Takeaways
- Bent Latch Mechanism: A misaligned or bent latch prevents the toaster from staying down, often due to repeated forceful closing.
- Worn-Out Springs: Over time, internal springs lose tension, causing the toaster to pop back up prematurely.
- Faulty Thermostat or Bimetallic Strip: Electrical components may fail, disrupting the control system that keeps the lever engaged.
- Dust and Crumb Buildup: Accumulated debris under the lever can interfere with smooth operation.
- Power Surge Damage: Sudden voltage spikes can fry internal circuits, affecting the release mechanism.
- Age and Wear: Older toasters are more prone to mechanical failure as parts degrade over years of use.
- Safety First: Always unplug the toaster before attempting any repairs to avoid electric shock.
📑 Table of Contents
Common Causes of a Toaster That Won’t Stay Down
Before diving into fixes, let’s explore the most frequent reasons your toaster acts up. Most problems stem from mechanical wear, dirt buildup, or minor electrical faults. Unlike complex kitchen gadgets like blenders or food processors, toasters have fewer moving parts—but those parts matter a lot when they start failing.
The core function of a toaster is simple: lower the lever, heat the coils, and pop out the toast when done. When that cycle breaks—especially at the “lower” step—it’s usually because something is blocking, weakening, or misaligning the components responsible for holding the lever down. Let’s break down each cause in detail.
The Latches and Release Mechanism
At the heart of your toaster’s operation is the **latch mechanism**. This small but mighty part holds the lever in place once you press it down. Think of it like a door hinge with a catch—without it, everything goes haywire. If your toaster won’t stay down, the first suspect should be the latch.
Over time, repeated use can bend or warp this component. Imagine closing the toaster too hard every morning; over weeks and months, that extra pressure takes its toll. You might notice the lever feels loose or doesn’t click firmly into place. Sometimes, the latch gets stuck due to crumbs lodged between it and the housing. Even a single piece of stale bread crust can create enough friction to prevent proper engagement.
Another related issue involves the **bimetallic strip** or thermostat. This strip monitors temperature and controls how long the toaster runs before popping up. If it’s damaged or misaligned, the toaster may interpret the heating cycle as complete too early—causing the lever to rise prematurely. This isn’t always a hardware defect; sometimes it’s just a calibration error.
Internal Springs Losing Tension
Springs are the unsung heroes of your toaster. They provide the upward force needed to eject the toast and—importantly—help reset the lever after each cycle. When these springs weaken or break, the toaster loses its ability to stay down. You might hear a faint *ping* when the lever rises, signaling a weak return spring.
This is especially common in older models or those used heavily. High-quality toasters use durable steel springs designed to last thousands of cycles. But cheap alternatives may use plastic or thin metal that degrades faster. If your toaster is more than five years old, worn-out springs are likely the root cause.
You can test this by gently pressing the lever down and releasing it without inserting bread. If it snaps back up immediately instead of staying lowered, the spring isn’t holding tension. Don’t worry—replacing springs is often easier than you think, and many repair guides online walk you through it step-by-step.
Dust, Crumbs, and Debris Buildup
We all love toast—but we don’t always clean behind the scenes. Every time you toast bread, crumbs fall into the toaster’s interior. Over weeks, these tiny particles accumulate beneath the lever and around the heating elements. Eventually, they form a crusty layer that interferes with smooth movement.
Imagine trying to push a door open while sandpaper is glued to the frame. That’s what happens when crumbs gum up the works. The lever can’t travel fully downward because resistance builds up. Or worse, debris jams the latch, preventing it from locking securely.
Regular cleaning is non-negotiable here. Most modern toasters come with a removable crumb tray at the bottom—take advantage of it! Empty it weekly, and consider vacuuming the area around the slots monthly. For stubborn residue, dip a toothpick in rubbing alcohol to dissolve hardened grime.
Electrical Issues and Power Surges
While less common, electrical faults can also cause erratic behavior. If your toaster suddenly stops staying down after a power surge or brownout, internal circuitry may have been damaged. Components like capacitors or control boards rely on stable voltage to function correctly.
Signs of electrical trouble include unusual buzzing, burning smells, or visible scorch marks inside the unit (after unplugging, of course). In such cases, professional repair might be necessary—or replacement may be the safest option.
It’s worth noting that some budget toasters skimp on safety features, making them more vulnerable to surges. If you live in an area with frequent voltage fluctuations, investing in a surge protector for your kitchen appliances is a smart move.
How to Diagnose the Problem Yourself
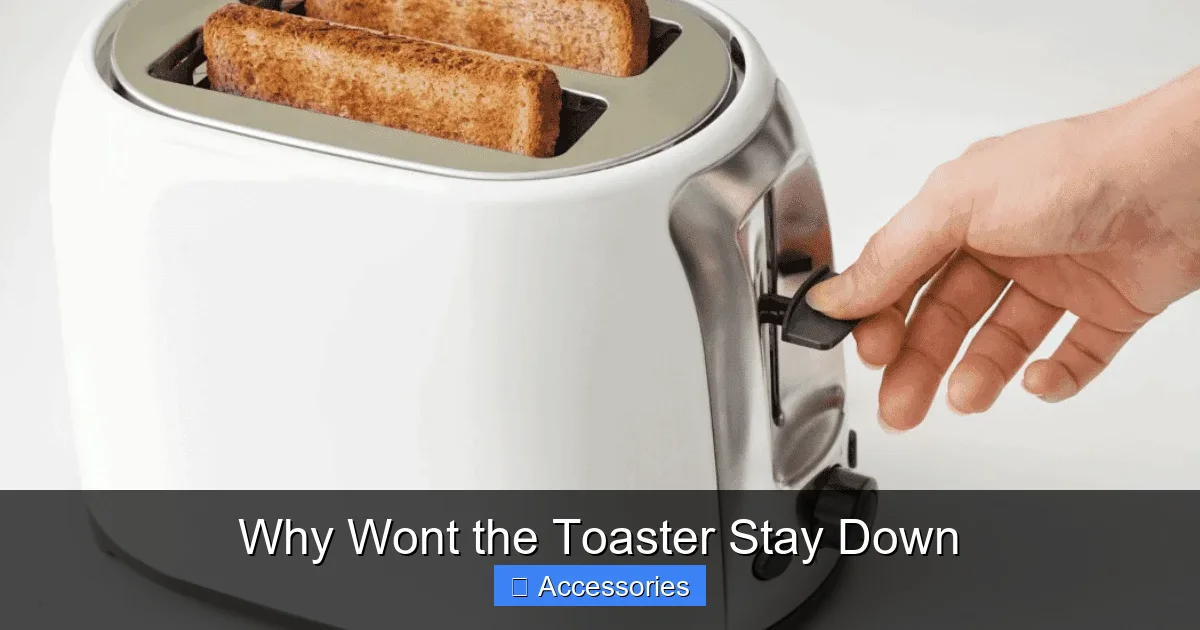
Visual guide about Why Wont the Toaster Stay Down
Image source: cookeryspace.com
Diagnosing a toaster issue doesn’t require a lab coat or expensive tools. With patience and a screwdriver, you can pinpoint the source of the problem. Here’s a practical checklist:
1. **Unplug the toaster** before doing anything else. Safety first!
2. **Check for visible damage**: Look inside (through the slots) for bent latches, broken springs, or burnt wires.
3. **Inspect the crumb tray**: Is it full? Clean it thoroughly.
4. **Test the lever manually**: Press it down without bread. Does it stay? If not, springs or latches are likely weak.
5. **Feel for resistance**: Gently wiggle the lever. Any stiffness could indicate debris buildup.
If you’re still unsure, consult your user manual—many manufacturers include diagrams of internal components. Alternatively, search YouTube for “toaster repair [your model number]”—visual guides make diagnosis much easier.
Remember, if the toaster shows signs of smoke, sparks, or strange odors, stop using it immediately and contact a technician. Better safe than sorry!
Step-by-Step Fixes for Common Issues
Visual guide about Why Wont the Toaster Stay Down
Image source: missvickie.com
Now that you’ve identified the likely culprit, let’s get hands-on. Below are actionable solutions tailored to each common cause.
Fixing a Bent Latch Mechanism
If the latch appears crooked, try straightening it carefully with needle-nose pliers. Apply gentle pressure to bend it back into alignment. Avoid forcing it—if it snaps, replacement is safer.
Alternatively, lubricate the area with a drop of silicone-based lubricant (not oil, which attracts more dirt). This reduces friction and helps the latch slide smoothly.
For severe bends, order a replacement latch online. Many e-commerce sites sell universal toaster parts. Just match your toaster’s brand and model number.
Replacing Weak or Broken Springs
Locate the spring near the lever pivot point. Unscrew the cover (usually held by two screws at the back) to access internal mechanics. Note how the old spring connects before removing it.
Install the new spring by looping it over the posts exactly as the old one was positioned. Secure tightly and reassemble. Test by pressing the lever—it should stay down without bread inserted.
Pro tip: Use stainless steel replacement springs rated for high-cycle appliances. Plastic ones won’t last.
Deep Cleaning the Interior
Turn off and unplug the toaster. Remove the crumb tray and wash it with warm, soapy water. Use a soft brush to scrub away residue.
Next, take a dry cloth or paper towel and wipe down the interior slots. For tight spaces, use a cotton swab dipped in isopropyl alcohol. Never spray liquid directly into the toaster.
Let everything air-dry completely before plugging back in. A clean toaster operates more efficiently and lasts longer.
Resetting or Replacing the Thermostat
If the thermostat is faulty, the toaster may pop up too soon. Some models allow resetting by pressing a small button on the side. Check your manual for instructions.
Otherwise, purchase a compatible thermostat kit. Installation typically involves disconnecting wires and securing the new unit in place. Again, match your model precisely.
Warning: Working with internal wiring carries risk. If uncomfortable, seek professional help.
Preventive Maintenance Tips
Visual guide about Why Wont the Toaster Stay Down
Image source: howdykitchen.com
Prevention is always better than cure—especially in the kitchen. Follow these habits to keep your toaster functioning smoothly:
– **Clean weekly**: Empty the crumb tray after every use.
– **Avoid overloading**: Don’t jam thick bread or frozen items into narrow slots.
– **Use quality bread**: Stale or dense loaves produce more crumbs.
– **Store properly**: Keep the toaster upright and away from moisture.
– **Replace when needed**: If repairs cost more than 50% of a new unit, consider upgrading.
Also, think about your cooking routine. Need toasting options beyond basic bread? Explore alternatives like bagel toasters or multi-slice models with wider slots. And speaking of alternatives—if your toaster is beyond repair, check out our guide on how to toast a bagel without a toaster easily. It includes clever microwave hacks!
When to Replace Your Toaster
Sometimes, despite best efforts, the toaster is past saving. Here’s when it’s time to retire the old one:
– Frequent electrical issues or burning smells
– Visible corrosion or melted plastic
– Cost of repairs exceeds $30–$40
– Model lacks safety certifications (UL, ETL)
Newer toasters offer improved features: auto-shutoff, variable browning control, and anti-jam mechanisms. Plus, energy-efficient designs reduce electricity bills. Brands like Breville, Cuisinart, and Black+Decker consistently earn top marks for reliability.
Before buying, read reviews and compare warranties. A 1–2 year warranty gives peace of mind. Also, consider eco-friendly options—some brands recycle old appliances when you trade in.
Final Thoughts: Don’t Let Frustration Ruin Your Morning Routine
A toaster that won’t stay down is more than an inconvenience—it disrupts your daily rhythm. But armed with knowledge, most issues are solvable. Start with cleaning, then inspect internal components. Replace worn parts, lubricate moving areas, and maintain regular upkeep.
And remember: you’re not alone. Millions of households face this exact problem each year. By sharing tips and supporting sustainable appliance use, we all contribute to smarter, safer kitchens.
Whether you choose DIY repair or upgrade to a newer model, prioritize functionality, safety, and ease of use. After all, your morning toast deserves to arrive hot, ready, and—most importantly—fully toasted.
Frequently Asked Questions
Can a dirty toaster cause it not to stay down?
Yes, accumulated crumbs and debris can block the lever or interfere with the latch mechanism, preventing the toaster from staying in the down position. Regular cleaning often resolves this issue.
Is it safe to use a toaster that pops up too quickly?
Using a malfunctioning toaster can be risky. If it pops up before the bread is fully toasted, it may overheat internal components or cause electrical faults. Always unplug and inspect before continued use.
How do I know if the spring in my toaster is broken?
If the lever springs back up immediately when pressed down (without bread), the spring likely needs replacement. You might also hear a faint ping sound indicating loss of tension.
Can I replace the latch on my toaster myself?
Yes, many users successfully replace the latch using basic tools and a replacement part purchased online. Ensure compatibility with your toaster model and follow safety precautions.
What should I do if my toaster smells burned after not staying down?
Stop using it immediately. Unplug, inspect for charred residue or melting plastic. If found, do not attempt repair—consult a professional or replace the unit.
Are there any quick fixes for a toaster that won’t stay down?
Try cleaning the crumb tray and interior thoroughly. If that doesn’t work, check for bent latches or weak springs. For persistent issues, consider replacement or professional service.