Keeping an electric fillet knife blade sharp is essential for clean, effortless cuts. This guide walks you through the tools you need, the step‑by‑step sharpening process, safety tips, and regular maintenance so your knife stays in top shape. Follow these simple steps and you’ll extend the life of your blade and improve your filleting results.
Key Takeaways
- Know your blade type: Different electric fillet knives use straight, serrated, or combo edges, and each requires a specific sharpening approach.
- Use the right tools: A fine‑grit sharpening stone, ceramic rod, or dedicated electric knife sharpener delivers the best results.
- Safety first: Always unplug the knife and wear protective gloves before you start sharpening.
- Follow a consistent angle: Maintaining a 15‑20° angle ensures an even edge and prevents premature wear.
- Clean and lubricate: After sharpening, wipe the blade, remove metal filings, and apply a light food‑safe oil.
- Regular maintenance: Light honing after every few uses keeps the blade sharp longer and reduces the need for full sharpening.
- Store properly: Keep the knife in a dry, protected slot or sheath to avoid nicks and corrosion.
📑 Table of Contents
- Introduction: Why Sharpness Matters for Electric Fillet Knives
- 1. Understanding Your Electric Fillet Knife Blade
- 2. Essential Tools for Sharpening
- 3. Step‑by‑Step Guide: How to Sharpen Electric Fillet Knife Blades
- 4. Maintenance Tips to Keep Your Blade Sharp Longer
- 5. Common Mistakes and How to Avoid Them
- Conclusion: Keep Your Electric Fillet Knife Performing at Its Best
Introduction: Why Sharpness Matters for Electric Fillet Knives
When you’re filleting fish or trimming delicate meat, a dull blade turns a smooth job into a frustrating chore. An electric fillet knife is designed to glide through flesh with minimal effort, but only if the blade is sharp. A sharp blade cuts cleanly, reduces waste, and protects the texture of the fish. It also keeps you safer because you don’t have to force the knife through tough sections.
Many users think that electric knives are “set‑and‑forget” tools, but the reality is that the blades need regular attention. Over time, tiny nicks, micro‑burrs, and metal fatigue dull the edge. Knowing how to sharpen electric fillet knife blades will save you money, extend the life of your equipment, and keep your kitchen results consistently professional.
1. Understanding Your Electric Fillet Knife Blade
1.1 Blade Types and Their Characteristics
Before you can sharpen, you must identify the blade type. Most electric fillet knives fall into three categories:
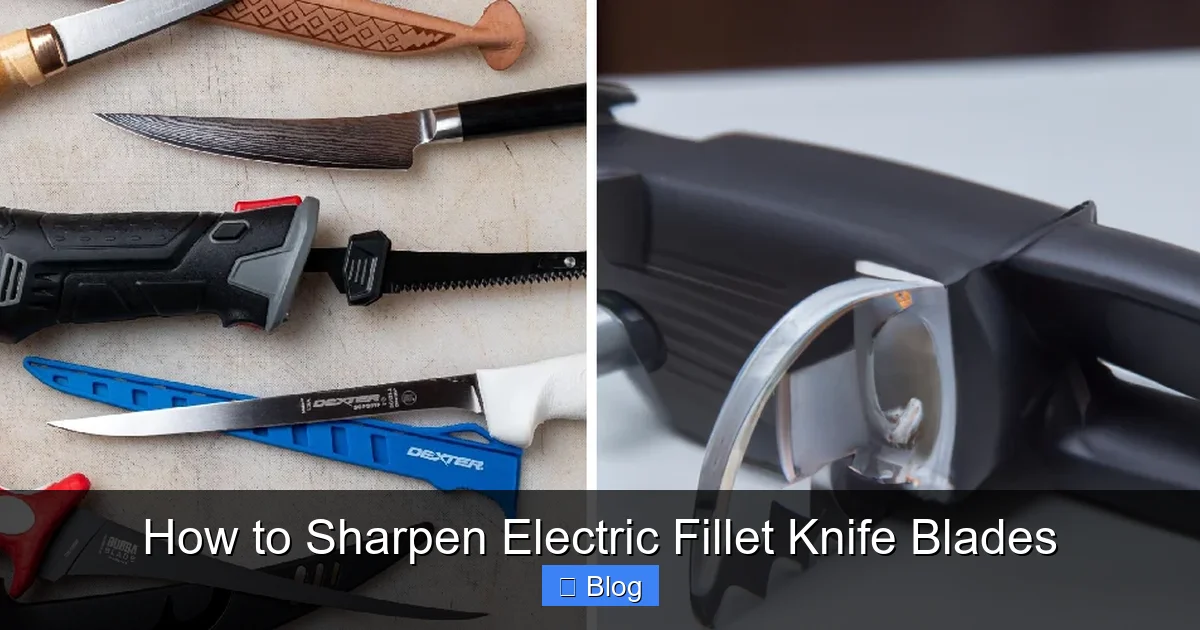
Visual guide about How to Sharpen Electric Fillet Knife Blades
Image source: thekitchenix.com
- Straight edge: A continuous smooth edge, similar to a traditional chef’s knife. Ideal for clean, long cuts.
- Serrated edge: Small teeth that grip slippery fish skin. Best for tougher skins but harder to sharpen.
- Combo edge: A straight section near the tip and serrated near the base. Offers versatility.
Each type reacts differently to sharpening tools. Straight edges respond well to stones and rods, while serrated edges often need a specialized ceramic rod or a dedicated electric knife sharpener with a serrated setting.
1.2 Recognizing When a Blade Needs Sharpening
Look for these signs:
- Pulling or tearing rather than slicing.
- Visible dull spots or micro‑chips on the edge.
- Increased effort required to cut through a thin fillet.
- Unusual vibrations or wobbling during use.
If you notice any of these, it’s time to learn how to sharpen electric fillet knife blades safely.
2. Essential Tools for Sharpening
2.1 Sharpening Stones (Whetstones)
A medium‑grit (1000‑2000) stone removes material quickly, while a fine‑grit (3000‑8000) stone refines the edge. Water stones are preferred because they create a slurry that helps polish the blade.
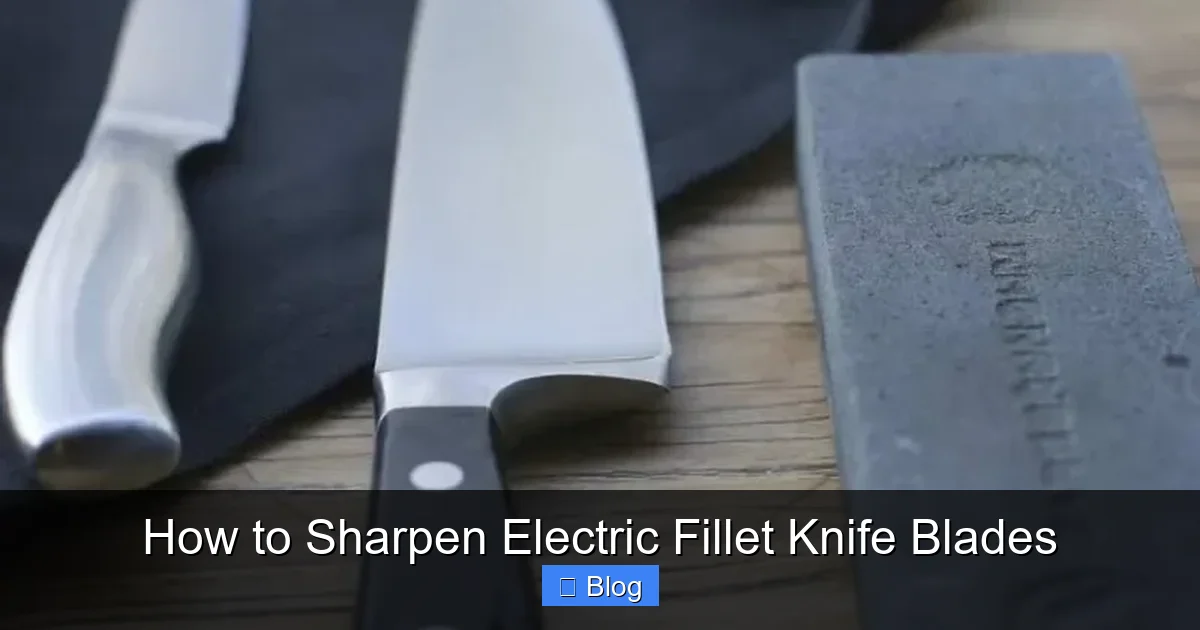
Visual guide about How to Sharpen Electric Fillet Knife Blades
Image source: cdn.dribbble.com
2.2 Ceramic Sharpening Rods
Ceramic rods are excellent for quick honing and for maintaining a straight edge between full sharpenings. They also work on serrated sections when you use the tapered tip.
2.3 Dedicated Electric Knife Sharpeners
These devices have adjustable angle guides and interchangeable plates for straight and serrated edges. They are user‑friendly and produce consistent results, especially for beginners.
2.4 Safety Gear
Never skip these:
- Cut‑resistant gloves – protect your hands from accidental slips.
- Eye protection – metal filings can bounce.
- Non‑slip mat – keeps the sharpening stone stable.
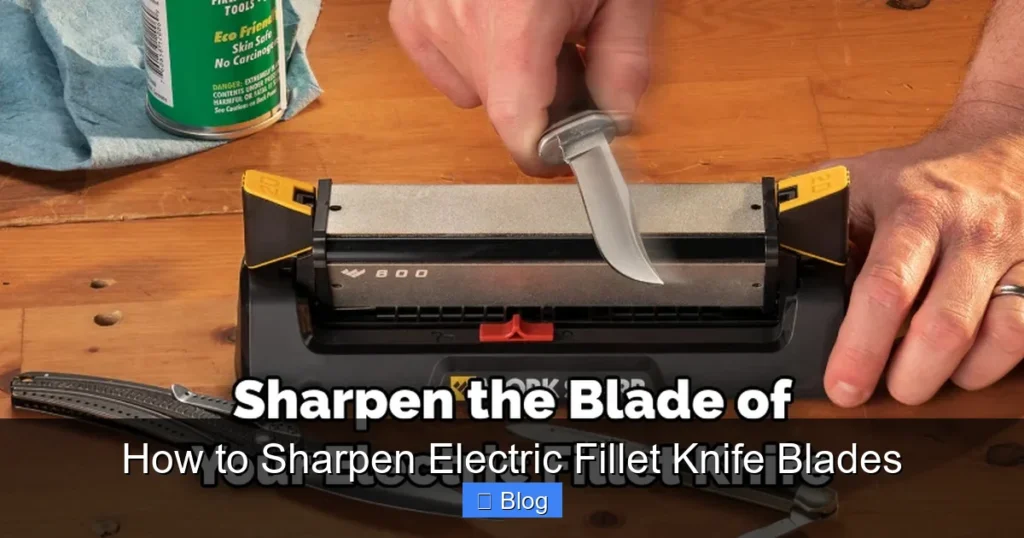
3. Step‑by‑Step Guide: How to Sharpen Electric Fillet Knife Blades
3.1 Preparation – Safety First
1. Unplug the knife and place it on a sturdy work surface.
2. Remove any detachable blade guards.
3. Wear your cut‑resistant gloves and eye protection.
4. Clean the blade with warm, soapy water and dry it thoroughly – moisture can affect the sharpening angle.
Visual guide about How to Sharpen Electric Fillet Knife Blades
Image source: southernliving.com
3.2 Setting the Correct Angle
The ideal angle for most electric fillet knives is between 15° and 20°. To find this angle without a guide, hold the blade against a flat surface and tilt it until the edge just lifts off. Practice a few times until it feels natural.
3.3 Sharpening a Straight Edge with a Whetstone
Step 1 – Soak the Stone
Immerse the whetstone in water for 5‑10 minutes. You’ll see bubbles rise – that’s a sign it’s ready.
Step 2 – Position the Blade
Place the blade on the stone with the edge facing away from you. Keep the 15°‑20° angle.
Step 3 – Stroke the Blade
Push the blade forward across the stone, as if you are cutting a thin slice of water. Apply light, even pressure. Complete 10‑12 strokes on one side.
Step 4 – Switch Sides
Flip the blade and repeat the same number of strokes on the opposite side. This balances the edge.
Step 5 – Refine with Fine Grit
Move to the fine‑grit stone and repeat the process. You should feel a slight burr on the opposite side after the medium grit – that’s normal and indicates a proper edge.
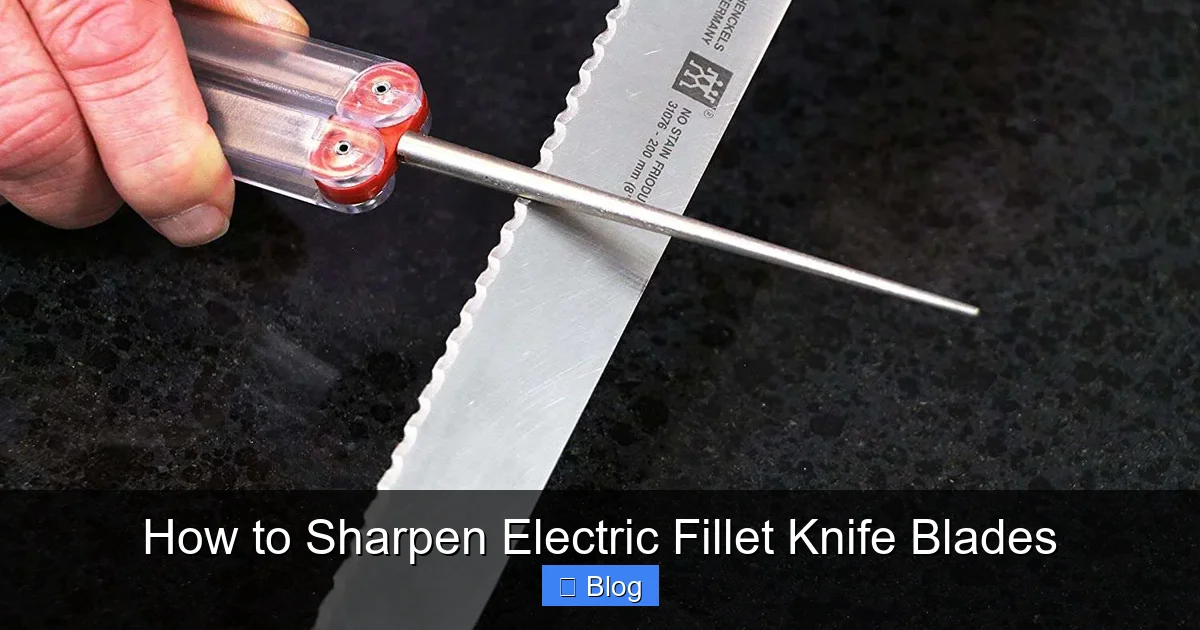
3.4 Honing a Serrated Edge
Use a ceramic rod with a tapered tip. Insert the tip into the serration and gently draw the rod from the base to the tip, maintaining the same angle. Do 5‑8 strokes per tooth, then move to the next tooth. This method restores the cutting edge without flattening the serrations.
3.5 Using a Dedicated Electric Knife Sharpener
1. Attach the appropriate plate (straight or serrated).
2. Turn the machine on and let it reach operating speed.
3. Insert the blade into the guide slot, keeping the handle steady.
4. Pull the blade through the sharpening slot slowly – about 2‑3 seconds per pass.
5. Repeat 3‑5 times, checking the edge after each pass.
3.6 Final Touches – Cleaning and Lubricating
Wipe the blade with a soft cloth to remove metal filings. Apply a few drops of food‑safe mineral oil and spread it evenly. This prevents rust and keeps the edge smooth.
3.7 Testing the Sharpness
Hold a piece of paper vertically and gently run the blade along the edge. A properly sharpened blade will glide without tearing. You can also slice through a fresh fillet; the knife should cut cleanly with minimal force.
4. Maintenance Tips to Keep Your Blade Sharp Longer
4.1 Light Honing After Every Use
After each filleting session, run a ceramic rod lightly along the edge. This removes microscopic burrs and keeps the blade aligned.
4.2 Proper Cleaning Routine
Never soak the electric knife in water. Instead, wipe the blade with a damp cloth, dry immediately, and store it dry.
4.3 Storage Solutions
Use a blade guard or a dedicated sheath. If the knife has a built‑in slot, keep it closed. Avoid stacking heavy pots on top of the knife – pressure can warp the blade.
4.4 Frequency of Full Sharpening
For home cooks who use the knife weekly, a full sharpening every 2‑3 months is sufficient. Professional chefs may need to sharpen every 4‑6 weeks due to higher usage.
4.5 When to Replace the Blade
If you notice deep cracks, repeated chipping, or the edge fails to hold a sharpness after several sharpening attempts, it’s time to replace the blade. Trying to sharpen a damaged blade can cause dangerous vibrations.
5. Common Mistakes and How to Avoid Them
5.1 Ignoring the Correct Angle
Sharpening at a steeper angle removes more metal and creates a blunter edge. Use an angle guide or practice the 15°‑20° tilt until it feels natural.
5.2 Using the Wrong Grit
Starting with a fine‑grit stone on a very dull blade will take forever. Begin with a medium grit to reshape, then finish with fine grit.
5.3 Over‑Sharpening
Removing too much material shortens the blade’s lifespan. Only sharpen until you feel a consistent edge, then switch to honing.
5.4 Skipping Safety Gear
Even a small slip can cause a serious injury. Gloves and eye protection are non‑negotiable.
5.5 Not Cleaning the Blade After Sharpening
Metal filings act like sandpaper and can cause corrosion. Wipe the blade clean and oil it before storage.
Conclusion: Keep Your Electric Fillet Knife Performing at Its Best
Learning how to sharpen electric fillet knife blades is a skill that pays off every time you step into the kitchen. With the right tools, a steady hand, and a few safety habits, you can restore a razor‑sharp edge in minutes. Regular honing, proper cleaning, and careful storage will extend the life of your blade and make each filleting session smoother and safer. Treat your electric knife like a trusted partner, and it will reward you with perfect cuts for years to come.
🎥 Related Video: Sharpening a serrated electric knife blade. #fishing #filleting #fishcleaning
📺 Jim Hanley’s Fishing Tips and Tricks
Frequently Asked Questions
How often should I sharpen my electric fillet knife?
For occasional home use, sharpen every 2‑3 months. Heavy or professional use may require sharpening every 4‑6 weeks.
Can I use a regular kitchen knife sharpener on an electric fillet knife?
Most manual pull‑through sharpeners are designed for straight edges only. Use a dedicated electric knife sharpener or a whetstone to ensure proper angle and safety.
Is it safe to sharpen the blade while the motor is still attached?
No. Always unplug the knife and, if possible, remove the blade from the motor housing before sharpening.
What grit should I start with for a very dull blade?
Begin with a medium grit (1000‑2000) stone to reshape the edge, then finish with a fine grit (3000‑8000) for polishing.
Do I need to oil the blade after sharpening?
Yes. A light coating of food‑safe mineral oil protects the steel from moisture and keeps the edge smooth.
Can I sharpen a serrated edge with a regular whetstone?
Not effectively. Use a tapered ceramic rod or a sharpener that has a serrated setting to maintain the tooth pattern.

