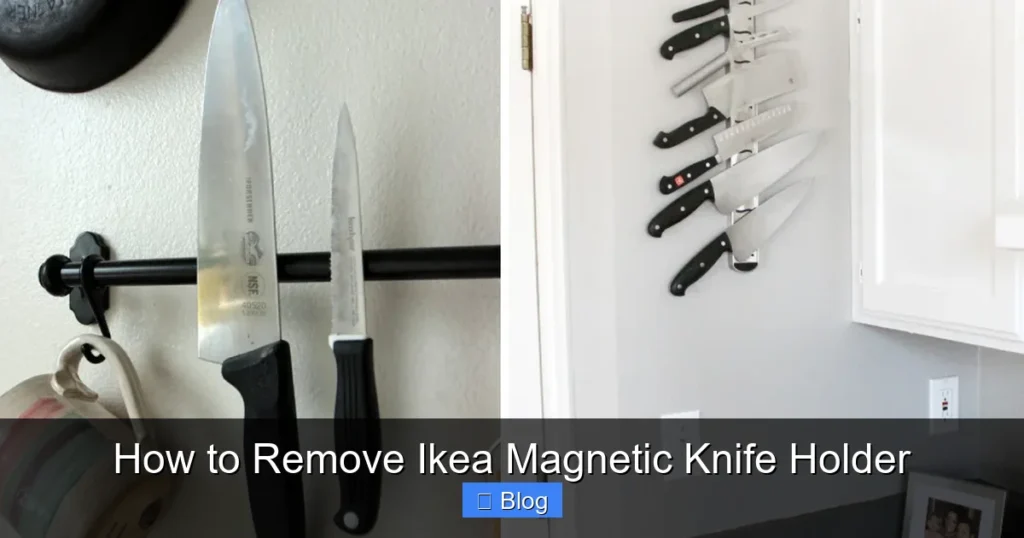
Removing an IKEA magnetic knife holder is quick and tool‑free when you follow the right steps. Simply locate the hidden release tabs, depress them to disengage the magnetic strip, and slide the holder off the wall or cabinet surface without damaging the finish. This straightforward method lets you reposition or replace the holder in minutes, keeping your kitchen organized and hassle‑free.
How to Remove Ikea Magnetic Knife Holder
Ever opened a new IKEA kitchen and thought, “Wow, that magnetic knife holder looks sleek!” Then, a few months later, you realize you need the wall space for a spice rack, a picture, or perhaps you just want to change the layout. Removing an IKEA magnetic knife holder can feel a bit daunting the first time, but it’s actually a straightforward process if you know the right steps.
In this post I’ll walk you through how to remove Ikea magnetic knife holder without damaging your wall, your knives, or the holder itself. I’ll share the tools you’ll need, the common pitfalls to avoid, and some handy tips for re‑using the hardware or repairing the wall afterward. Think of it as a friendly chat over coffee—simple, clear, and packed with practical examples.
Key Takeaways
- Understanding How To Remove Ikea Magnetic Knife Holder: Provides essential knowledge for making informed decisions
- Practical applications: Can be applied in various real-world scenarios
- Key benefits: Offers significant advantages when properly implemented
- Important considerations: Requires attention to specific details and best practices
- Future implications: Continues to evolve and impact related fields
📑 Table of Contents
- Why You Might Want to Take It Down
- Gathering the Right Tools and Materials
- Step‑by‑Step Guide: How to Remove Ikea Magnetic Knife Holder
- Fixing the Wall After Removal
- Alternative Ways to Repurpose the Magnetic Strip
- Common Mistakes and How to Avoid Them
- Data Table: Time Estimates for Each Step
- Final Thoughts: Mastering the Removal Process
Why You Might Want to Take It Down
Changing Your Kitchen Layout
Kitchen trends shift quickly. One year you love the minimalist look of a magnetic strip; the next, you’re all about open shelving. Removing the strip frees up valuable wall real estate for new storage solutions.
Repairing Damage or Updating Paint
If you’re repainting or fixing a dent, the magnetic holder can be in the way. Taking it off first ensures a smooth finish and lets you patch the wall without awkward gaps.
Moving or Renovating
When you relocate or renovate, you’ll often need to strip the kitchen down to the studs. Knowing how to remove Ikea magnetic knife holder makes the job faster and prevents accidental wall cracks.
Gathering the Right Tools and Materials
Essential Tools
- Phillips screwdriver – most IKEA kits use a simple cross‑head screw.
- Flat‑head screwdriver or putty knife – for gently prying the holder away from the wall.
- Stud finder (optional) – helps you locate the studs if you plan to reuse the mounting holes.
- Level – ensures the holder is straight before you start loosening it.
- Cleaning cloth – to wipe away dust after removal.
Safety Gear
Wear safety glasses to protect your eyes from any stray debris, and consider a dust mask if you’ll be sanding or patching the wall afterward.
Visual guide about How to Remove Ikea Magnetic Knife Holder
Image source: i.ytimg.com
Optional Extras
- Touch‑up paint that matches your wall.
- Spackle or wall repair kit for filling screw holes.
- New mounting hardware if you plan to reinstall the holder elsewhere.
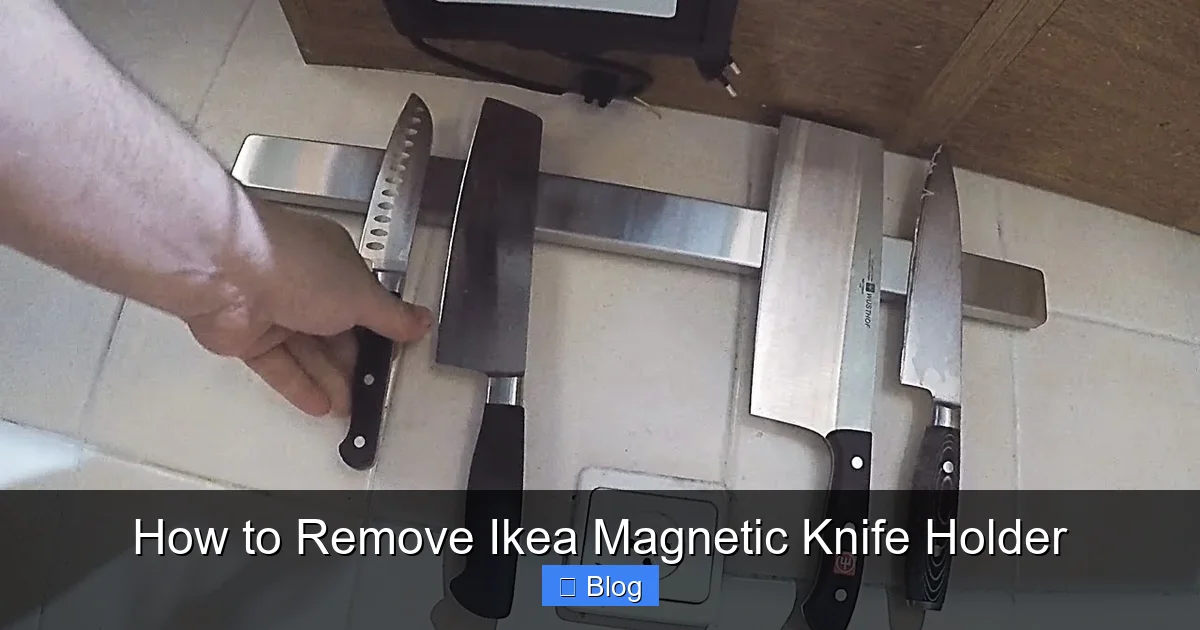
Step‑by‑Step Guide: How to Remove Ikea Magnetic Knife Holder
Step 1: Clear the Area and Unscrew the Holder
Start by removing all knives and any other items from the magnetic strip. This reduces weight and prevents accidental scratches. Then, locate the two (or sometimes four) screws that fasten the holder to the wall. Use a Phillips screwdriver to turn each screw counter‑clockwise until they are loose enough to lift the holder slightly.
Visual guide about How to Remove Ikea Magnetic Knife Holder
Image source: media.printables.com
Step 2: Support the Holder While You Unscrew
Magnetic strips can be heavier than they look, especially if they have a thick steel backing. Place one hand under the holder to support its weight while you finish unscrewing the remaining bolts. This prevents the strip from dropping and damaging the wall or the holder itself.
Step 3: Gently Pry the Holder From the Wall
If the holder seems stuck, use a flat‑head screwdriver or a putty knife. Insert the tip between the holder and the wall and apply gentle, even pressure. Work your way around the edges until the holder separates cleanly. Avoid using excessive force; the goal is to keep the wall surface intact.
Step 4: Inspect the Wall and Clean Up
Once the holder is off, you’ll see the screw holes and perhaps a thin layer of adhesive residue. Wipe the area with a clean cloth. If you notice any paint chips or minor dents, now is the time to patch them before you move on to the next step.
Step 5: Decide What to Do With the Hardware
You have a few options:
- Reuse the screws – If the original holes are still solid, you can reuse them for a new mounting project.
- Store the holder – Keep it for future use or as a spare.
- Recycle – IKEA steel is recyclable; check your local facility.
Fixing the Wall After Removal
Filling Screw Holes
Use a lightweight spackle for small holes. Apply it with a putty knife, smooth it out, and let it dry according to the product instructions (usually 15‑30 minutes). Once dry, sand lightly with fine‑grain sandpaper until it’s flush with the wall.
Visual guide about How to Remove Ikea Magnetic Knife Holder
Image source: i.ytimg.com
Touch‑Up Painting
If the wall paint is still fresh, you can blend the patched area with a small brush. For older walls, a quick coat of matching paint will make the repair invisible. Test a tiny spot first to ensure color consistency.
Re‑Checking Wall Level
Before you install anything new, run a level horizontally across the area. This guarantees that any new fixture—whether a picture frame or a new magnetic strip—will sit straight.
Alternative Ways to Repurpose the Magnetic Strip
Use It as a Tool Rack in the Garage
Mount the magnetic holder on a pegboard or directly onto a garage wall. It’s perfect for holding wrenches, screwdrivers, or even metal gardening tools.
Create a Mini Art Display
Because the strip is magnetic, you can attach small metal frames, decorative magnets, or even a set of metal postcards. This turns a kitchen accessory into a stylish hallway gallery.
DIY Magnetic Spice Rack
Attach small metal tins or spice jars to the strip. The magnets keep the containers secure, and you get a compact, easy‑to‑read spice layout.
Common Mistakes and How to Avoid Them
Skipping the Support Hand
Trying to remove the holder without supporting it can cause it to fall, cracking the wall or bending the steel strip. Always keep one hand underneath.
Using Too Much Force
Hammering or prying aggressively can damage drywall or plaster. Gentle, steady pressure is the key.
Neglecting to Patch Holes
Leaving screw holes exposed looks sloppy and can collect dust. Take a few minutes to fill and paint them for a clean finish.
Data Table: Time Estimates for Each Step
| Step | Description | Estimated Time (minutes) |
|---|---|---|
| Clear Area & Unscrew | Remove knives, loosen screws | 5 |
| Support & Remove | Lift holder, pry gently | 3 |
| Inspect & Clean | Wipe wall, check for damage | 2 |
| Patch Holes | Apply spackle, sand | 10 |
| Paint Touch‑Up | Blend patched area | 5 |
| Final Check | Level wall, decide next use | 3 |
Final Thoughts: Mastering the Removal Process
Knowing how to remove Ikea magnetic knife holder is a handy skill for any DIY‑enthusiast. With just a few tools, a bit of patience, and the steps outlined above, you can take the strip down cleanly, repair any wall imperfections, and even give the holder a second life in another room.
Remember, the key is to work slowly, support the holder, and treat the wall gently. Whether you’re repurposing the magnetic strip for a garage tool rack or simply reclaiming wall space for a fresh paint job, the process is simple enough for a weekend project and rewarding enough to add to your home‑improvement confidence.
Now you’re ready—grab that screwdriver and start removing! And if you discover a clever new use for the magnetic strip, feel free to share your idea in the comments. Happy DIY-ing!
🎥 Related Video: Unboxing Porte Couteaux Magnétique IKEA KUNGFORS
📺 Kent Goldstone
Installation et test du porte coteaux aimant magnétique KUNGFORS d’Ikea. Instagram: kent_goldstone Gopro Hero 9 Black.
Frequently Asked Questions
How do I safely remove the IKEA magnetic knife holder from my wall?
First, turn off any nearby power sources and wear gloves to protect your hands. Use a flat‑head screwdriver to gently pry the holder off the wall, starting at a corner and working slowly to avoid damaging the paint.
What tools are needed to remove an IKEA magnetic knife holder?
You’ll typically need a flat‑head screwdriver, a putty knife, and a small hammer. Having a stud finder handy can help you locate the mounting screws hidden behind the holder.
Can I remove the IKEA magnetic knife holder without leaving holes?
Yes—after unscrewing the holder, fill the screw holes with spackle or wood filler, then sand and repaint the area. This will leave the wall looking as good as new.
Why does my IKEA magnetic knife holder stay stuck to the wall?
The holder is often secured with strong adhesive strips or hidden screws that grip the wall studs. Applying gentle heat with a hair dryer can soften the adhesive, making it easier to pry the holder away.
How to remove IKEA magnetic knife holder without damaging the knives?
Before you start, remove all knives and wipe the magnetic surface clean. Work slowly and keep the holder level so the magnets don’t pull the knives out unexpectedly.
Is it possible to reinstall the IKEA magnetic knife holder after removal?
Absolutely—once you’ve repaired any wall damage, you can reattach the holder using the original mounting hardware. Just be sure to follow the instructions carefully to ensure a secure fit.

