Building an edge grain cutting board is a rewarding DIY project that blends woodworking skill with functional art. This guide walks you through every stage—choosing wood, cutting, gluing, sanding, and finishing—so you can create a durable, beautiful board for your kitchen.
Key Takeaways
- Choose stable, food‑safe wood: Hard maple, walnut, and cherry work best for edge grain boards.
- Proper grain orientation is crucial: Align edges so the grain runs parallel to the board’s length for strength.
- Use waterproof, food‑grade glue: Titebond III or similar ensures a strong, non‑toxic bond.
- Sand progressively from coarse to fine: This creates a smooth, even surface ready for finishing.
- Finish with food‑safe oil: Pure mineral oil or a beeswax blend protects the board and enhances color.
- Maintain regularly: Re‑oil every few weeks and avoid soaking to prolong life.
- Safety first: Wear eye protection, a dust mask, and keep tools sharp for clean cuts.
📑 Table of Contents
Introduction: Why an Edge Grain Cutting Board?
When you walk into a kitchen filled with the scent of fresh herbs, it’s hard not to notice the cutting board taking center stage. While plastic boards are cheap, they scar quickly and can harbor bacteria. A wooden edge grain cutting board, on the other hand, offers a gentle surface for knives, a beautiful natural look, and a lifespan that can stretch for decades with proper care.
Edge grain construction—sometimes called “strip” or “edge‑on”—uses thin strips of wood glued together on their edges. This method creates a board that is both strong and visually striking, with the grain running lengthwise across the surface. In this article, we’ll walk through each step, from selecting the right wood to the final polish, so you can craft a board that feels as good as it looks.
1. Planning and Selecting Materials
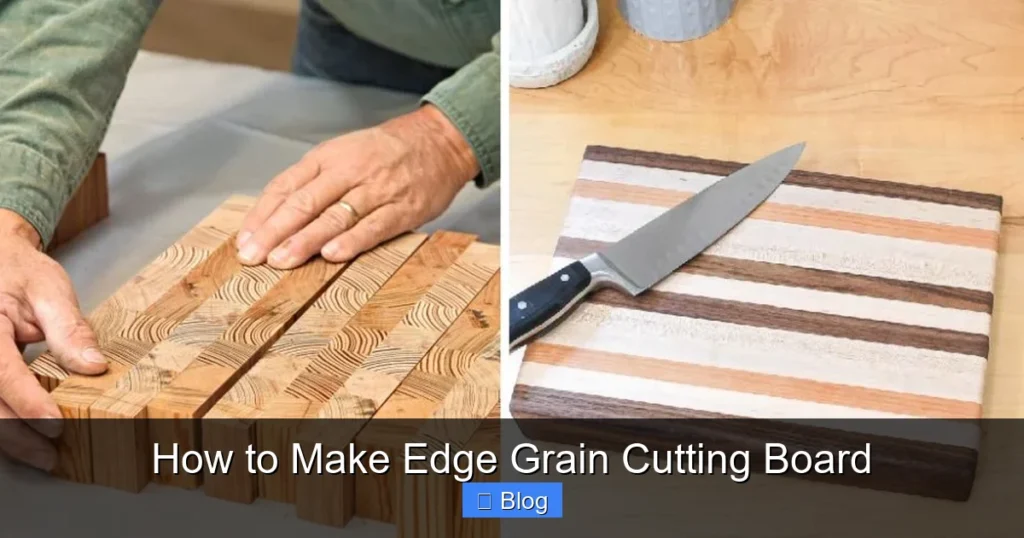
1.1. Choose the Right Wood
Not all wood is created equal for cutting boards. You want a hardwood that is dense, fine‑grained, and resistant to moisture. Popular choices include:
Visual guide about How to Make Edge Grain Cutting Board
Image source: wilmerwoodworks.com
- Hard maple (sugar maple): Light color, tight grain, very hard.
- Walnut: Dark, rich tones, slightly softer but still durable.
- Cherry: Warm reddish hue, ages beautifully.
- Beech: Often used in European boards, tight grain.
Avoid soft woods like pine or any wood that is known to be toxic (e.g., yew, cedar). If you want a multi‑color board, combine contrasting species for a striking pattern.
1.2. Determine Size and Thickness
Standard kitchen boards range from 12 × 18 inches to 15 × 20 inches. For edge grain, a thickness of 1½ inches is common—it provides stability without being too heavy. Sketch a simple plan with dimensions. Remember to add a ¼‑½ inch margin on each side for sanding and finishing.
1.3. Gather Tools and Supplies
- Table saw or circular saw with a straight‑cut blade
- Planer (optional, but helpful for uniform thickness)
- Clamps (bar clamps or pipe clamps, at least 6‑8)
- Food‑grade wood glue (Titebond III is a favorite)
- Random‑orbit sander with 80, 120, 220 grits
- Mineral oil, beeswax, or a commercial food‑safe finish
- Safety gear: goggles, dust mask, hearing protection
2. Cutting and Preparing the Strips
2.1. Rip the Boards into Strips
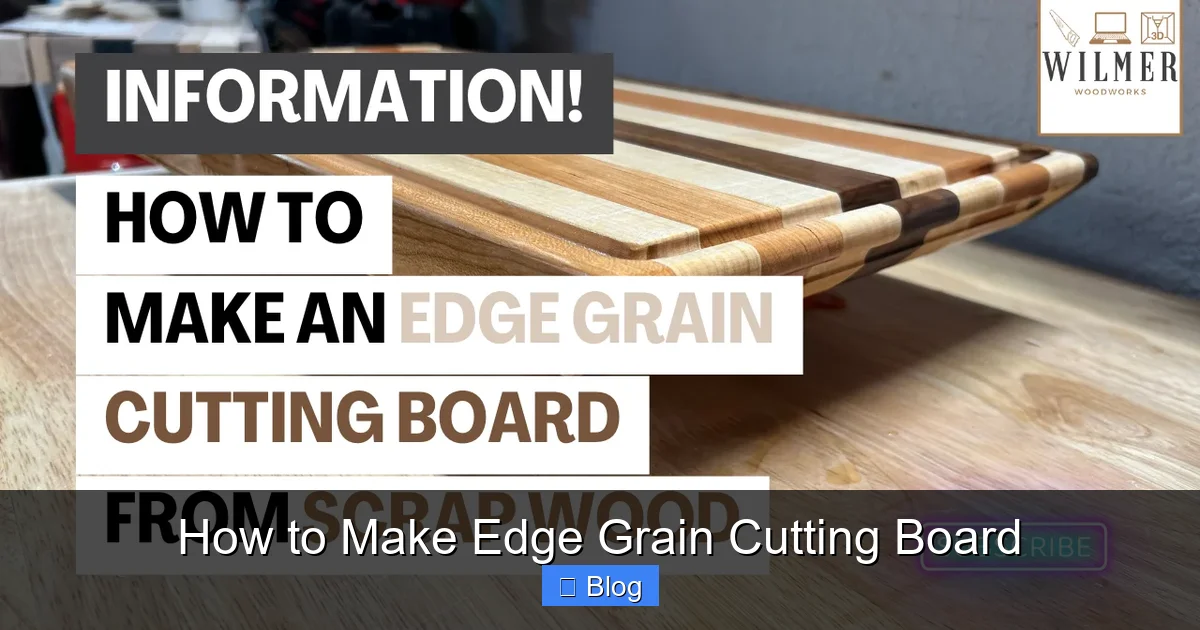
Start with boards that are at least ¾ inch thick. Set your table saw fence to the desired strip width—commonly 1 inch for a classic look. Feed the wood slowly, keeping the blade clean and sharp. If you have a planer, run each strip through it to achieve a consistent ¾‑inch thickness.
Visual guide about How to Make Edge Grain Cutting Board
Image source: images.squarespace-cdn.com
2.2. Check Grain Direction
Edge grain boards rely on the grain running parallel to the board’s length. Lay each strip on a flat surface; the growth rings should be vertical to the length of the final board. Flip any strip that’s oriented incorrectly before gluing.
2.3. Dry Fit the Strips
Before any glue touches the wood, assemble the strips side by side on a flat table. This “dry fit” reveals gaps, uneven edges, or mismatched widths. Trim as needed with a table saw or hand plane.
3. Gluing the Edge Grain Panel
3.1. Apply Food‑Grade Glue
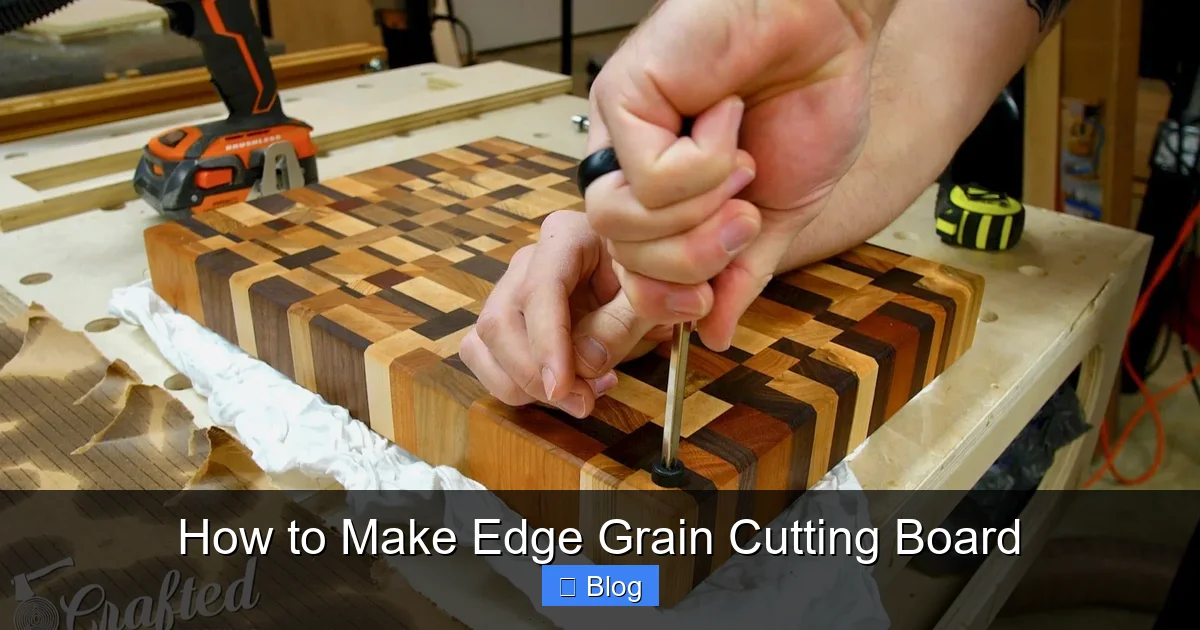
Spread a thin, even layer of Titebond III on the edge of each strip using a brush or a glue roller. Too much glue creates a mess; too little can lead to weak joints. Work in manageable sections—glue three to four strips at a time, then clamp.

Visual guide about How to Make Edge Grain Cutting Board
Image source: allflavorworkshop.com
3.2. Clamp the Panel
Place the glued strips on a clean workbench. Position bar clamps every 4‑6 inches along the length, alternating sides to apply even pressure. Tighten until the board is flat but not so tight that the glue squeezes out excessively. A good rule: you should see a thin bead of glue on the outer edges.
3.3. Let the Glue Cure
Follow the manufacturer’s recommendation—usually 30 minutes to an hour for initial set, 24 hours for full cure. Keep the panel in a warm, dry place. Avoid moving it while the glue is still soft.
4. Shaping, Sanding, and Smoothing
4.1. Trim the Edges
After the glue has cured, remove the clamps and use a table saw or circular saw to trim the outer edges flush. A straight cut gives a clean, professional look.
4.2. Flatten the Surface
If the panel isn’t perfectly flat, run it through a planer or use a hand plane to even it out. Aim for a uniform thickness of about 1½ inches across the whole board.
4.3. Sand the Board
Start with 80‑grit sandpaper on a random‑orbit sander to remove any high spots. Move to 120‑grit, then finish with 220‑grit for a silky feel. Sand with the grain whenever possible; this reduces scratches and keeps the surface even.
Wipe the board with a tack cloth or a damp rag between grits to remove dust.
5. Finishing for Food Safety and Beauty
5.1. Choose a Food‑Safe Finish
Pure mineral oil is the most popular finish because it penetrates the wood and never hardens into a film. For extra protection, you can blend mineral oil with a small amount of beeswax (about 1 part wax to 4 parts oil).
5.2. Apply the Finish
Using a clean cloth, rub the oil into the wood until it stops absorbing—usually 10‑15 minutes per side. Let the board sit for at least an hour, then wipe off any excess. Repeat the process 2‑3 times for a deep, rich finish.
5.3. Optional: Add a Juice Groove
If you want a groove for catching liquids, route a shallow channel (½‑inch deep, ¼‑inch wide) around the perimeter after the final sanding. Seal the groove with the same oil finish.
6. Caring for Your Edge Grain Cutting Board
6.1. Routine Maintenance
Oil the board once a week for the first month, then every 2‑4 weeks depending on use. A quick wipe after each use prevents water from soaking in.
6.2. Cleaning Tips
Never soak the board or put it in the dishwasher. Wash with hot, soapy water, rinse, and dry immediately with a clean towel. For stubborn stains, sprinkle coarse salt and rub with a half‑cut lemon.
6.3. When to Re‑Sand
If the surface becomes rough or develops deep knife marks, lightly sand with 120‑grit sandpaper, wipe clean, and re‑apply oil. This revives the board’s smoothness without a full rebuild.
Conclusion
Making an edge grain cutting board is more than a woodworking project—it’s an investment in a kitchen tool that will age gracefully and serve you for years. By selecting the right wood, gluing with care, sanding patiently, and finishing with food‑safe oil, you create a board that looks as good as it functions. Plus, the satisfaction of slicing vegetables on a surface you built yourself is priceless. Grab your tools, follow these steps, and enjoy the process of turning raw timber into a kitchen centerpiece.
🎥 Related Video: How to Make an Edge Grain Cutting Board
📺 Wood U Make It
I made this edge grain cutting board from hard maple, sipo, and American black walnut. An edge grain cutting board is very …
Frequently Asked Questions
What wood is best for an edge grain cutting board?
Hard maple, walnut, cherry, and beech are top choices because they are dense, fine‑grained, and food‑safe. Avoid soft or toxic woods.
Do I need a planer to make a cutting board?
A planer isn’t mandatory but helps achieve uniform thickness quickly. You can also hand‑plane or sand to the same result, though it takes more time.
How often should I oil my cutting board?
Oil the board once a week for the first month, then every 2‑4 weeks depending on use. Re‑oil after each wash if the wood looks dry.
Can I use any glue for the board?
Use a waterproof, FDA‑approved wood glue such as Titebond III. This ensures a strong bond and safe contact with food.
Is it okay to put the board in the dishwasher?
No. Dishwasher heat and moisture can cause the wood to warp and the glue to weaken. Hand wash with hot, soapy water and dry immediately.
How do I fix deep knife marks?
Lightly sand the affected area with 120‑grit sandpaper, wipe clean, and re‑apply a thin coat of mineral oil. The board will look smooth again.

