Got a broken knife tip? Don’t toss it out. This guide shows you simple, affordable ways to repair the tip yourself, whether you have a kitchen chef’s knife or a pocket blade. Follow our step‑by‑step instructions, pick the right tools, and restore sharpness in minutes.
Key Takeaways
- Assess before you act: Identify the break type and decide if repair is safe.
- Essential tools: A file, metal epoxy, sandpaper, and a sharpening stone are all you need.
- Repair methods vary: From simple epoxy glue to professional welding, choose the method that matches your knife’s material.
- Safety first: Always wear gloves and eye protection when working with metal.
- Finish matters: Proper sanding and sharpening restore both function and aesthetics.
- Prevent future breaks: Proper technique and regular maintenance keep tips strong.
- Know when to replace: If the blade is compromised, a new knife is the safest option.
📑 Table of Contents
Introduction: Why Fixing a Broken Knife Tip Matters
Imagine you’re slicing a tomato and the tip of your favorite chef’s knife snaps off. It’s frustrating, and the first instinct is often to toss the blade. But a broken tip doesn’t always mean the end of a good knife. With the right approach, you can restore the blade’s performance, save money, and reduce waste.
In this article we’ll walk you through everything you need to know about how to fix a broken knife tip. From quick glue fixes to more durable metal welding, you’ll learn which method fits your skill level, budget, and the type of knife you own. Let’s get started—your kitchen (or pocket) will thank you.
1. Identify the Type of Break
1.1. Clean Break vs. Cracked Tip
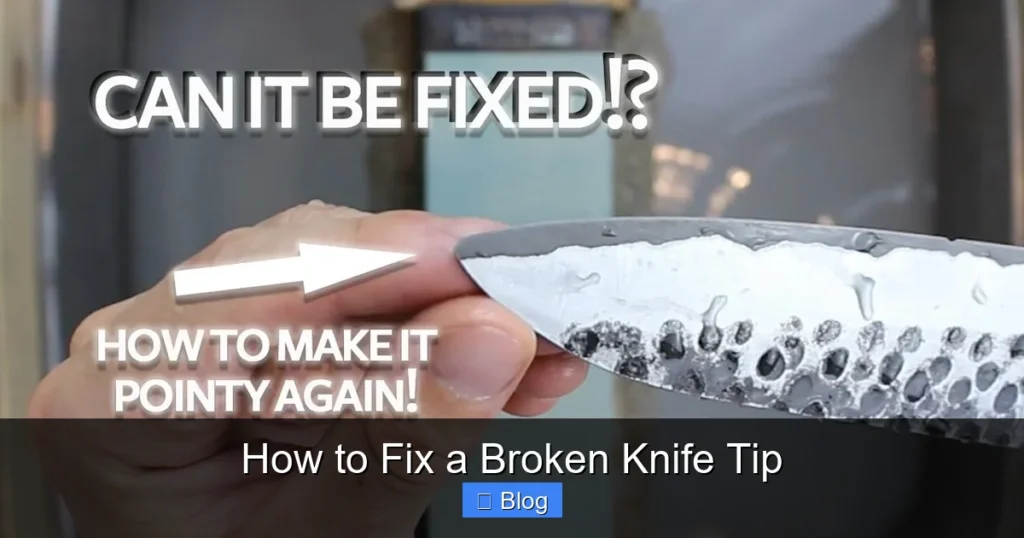
A clean break looks like the tip snapped cleanly off, leaving a flat surface. This is the easiest to repair because the edges line up nicely. A cracked tip, on the other hand, has a jagged edge and may have weakened metal beyond the visible crack.
Visual guide about How to Fix a Broken Knife Tip
Image source: i.ytimg.com
1.2. Material Matters
Most kitchen knives are made from stainless steel, carbon steel, or high‑carbon stainless blends. Pocket knives may use spring steel or even titanium. The material determines which repair method will hold up:
- Stainless steel: Works well with epoxy and metal filing.
- Carbon steel: Can be welded, but needs careful heat control to avoid warping.
- Titanium: Requires special epoxy; welding is not recommended for DIY.
2. Gather the Right Tools
2.1. Basic Toolkit for Most Repairs
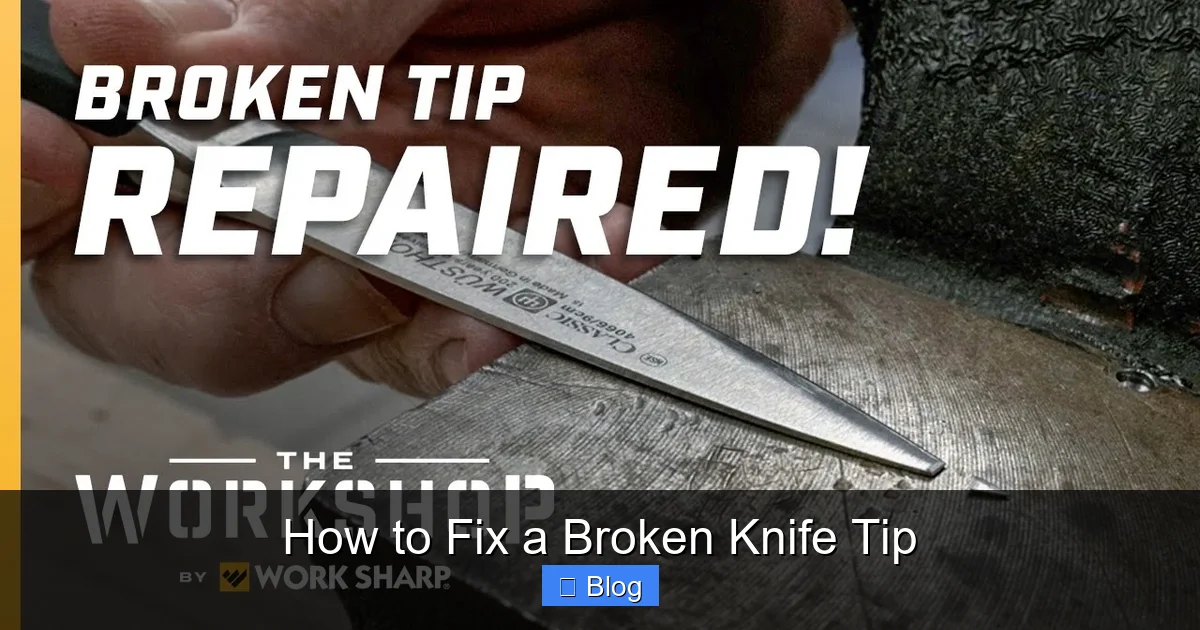
For the majority of home repairs, you’ll need:
Visual guide about How to Fix a Broken Knife Tip
Image source: coltonhandcrafted.com
- Fine‑grade metal file (or a Dremel with a metal grinding bit)
- Two‑part metal epoxy (high‑temperature resistant)
- Sandpaper (400‑grit to 1200‑grit)
- Sharpening stone or honing rod
- Safety gloves and goggles
2.2. Advanced Options
If you have a more serious break or want a professional finish, consider:
- Spot welder or TIG welding kit (for steel blades)
- Metal polishing compound
- Bench vise to hold the blade steady
3. Step‑by‑Step Repair Methods
3.1. Quick Epoxy Fix (Best for Stainless Steel)
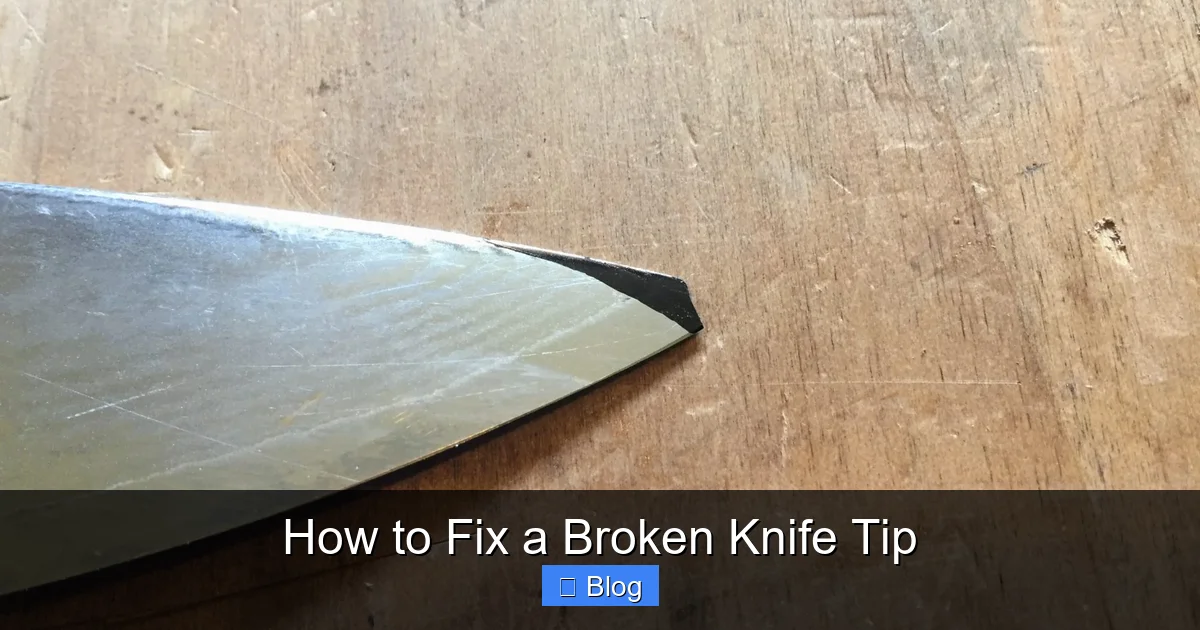
This method is fast, inexpensive, and works well for clean breaks in stainless knives.
Visual guide about How to Fix a Broken Knife Tip
Image source: thekitchenix.com
- Clean the break: Wash the blade with warm, soapy water and dry completely. Remove any oil or debris with rubbing alcohol.
- Mix epoxy: Follow the manufacturer’s instructions—usually a 1:1 ratio.
- Apply: Using a small brush, coat both break surfaces with epoxy. Press the pieces together firmly.
- Clamp: Secure the blade in a bench vise or with rubber bands. Keep pressure for the epoxy’s cure time (usually 30‑45 minutes).
- Trim excess: After curing, use a metal file to smooth any overflow.
- Shape and sharpen: Sand the repaired tip with 400‑grit sandpaper, then gradually move to 800‑ and 1200‑grit. Finish by sharpening the blade to restore edge geometry.
3.2. Metal Filing and Re‑shaping (For Small Chips)
If the tip is only slightly chipped, filing may be enough.
- Secure the blade in a vise with the tip facing up.
- Use a fine metal file to gently remove uneven edges. Keep the file at a 20‑degree angle to mimic the original bevel.
- Check progress frequently with a magnifying glass.
- When the shape looks even, move to sandpaper (400‑grit) and then sharpen.
3.3. Spot Welding (For Carbon Steel Blades)
Welding gives a permanent fix but requires caution.
- Clean the break area with a stainless steel brush.
- Pre‑heat the broken edges with a torch just enough to remove moisture—don’t overheat.
- Apply a small amount of welding rod (matching steel grade) to the joint.
- Use a spot welder or TIG torch to fuse the pieces. Keep the heat localized to avoid warping the blade.
- Let the weld cool slowly (cover with a cloth).
- Grind the weld smooth with a file, then sand and sharpen.
3.4. Professional Re‑tip (When DIY Isn’t Enough)
Sometimes the break is too severe. In that case, send the knife to a professional sharpening shop. They can replace the tip with a new piece of steel, matching the original profile.
4. Finishing Touches: Sanding, Polishing, and Sharpening
4.1. Sanding for a Smooth Surface
After any repair, the surface will feel rough. Start with 400‑grit sandpaper, moving to 800‑ and finally 1200‑grit. Wet‑sanding helps reduce dust and gives a finer finish.
4.2. Polishing the Blade
Use a polishing compound on a soft cloth to bring back the blade’s shine. This step is optional but makes the knife look like new.
4.3. Sharpening the Repaired Tip
Set your sharpening stone at the same angle you normally use (usually 15‑20 degrees). Work the stone in a circular motion, maintaining even pressure. Test the edge by gently slicing a piece of paper—if it cuts cleanly, you’re done.
5. Prevent Future Breaks
5.1. Proper Cutting Technique
Never use the tip to pry open cans or to cut through bone. The tip is designed for precise slicing, not heavy force.
5.2. Regular Maintenance
Hone the blade after each use and sharpen when the edge dulls. A well‑maintained blade is less likely to chip.
5.3. Storage Solutions
Store knives in a block, on a magnetic strip, or in a sheath. Avoid loose placement in drawers where the tip can hit other utensils.
Conclusion: Bring Your Knife Back to Life
Knowing how to fix a broken knife tip empowers you to extend the life of a beloved tool. Whether you choose a quick epoxy patch, a careful filing, or a more permanent weld, the steps above give you a clear path to a functional, sharp tip again. Remember to work safely, use the right tools, and maintain your knives regularly. In the end, a repaired tip not only saves money but also reduces kitchen waste—good for you and the planet.
🎥 Related Video: HOW TO FIX A BROKEN TIP #shorts
📺 Sharp Knife Shop
Always come down from the spine! And for any heavy repairs like this one, don’t be shy to bring it by the shop to get tuned up!
Frequently Asked Questions
Can I repair a broken knife tip with super glue?
Super glue works on small chips but isn’t heat‑resistant enough for most kitchen tasks. Metal epoxy is a better choice for durability.
Is welding a broken tip safe for a home cook?
Welding provides a strong repair but requires proper equipment and heat control. If you’re not experienced, it’s safer to let a professional handle the weld.
How long does epoxy take to cure on a knife?
Most high‑temperature metal epoxies cure in 30‑45 minutes, but full strength is reached after 24 hours. Avoid using the knife until the cure time is complete.
Will filing the tip change the blade’s balance?
Filing removes a small amount of metal, so any change in balance is minimal. If you file a lot, you may need to re‑balance the blade by adding weight to the handle.
Can I use a regular household file on a stainless steel tip?
Yes, a fine metal file works well on stainless steel. Use smooth, even strokes to avoid creating new burrs.
When should I replace the knife instead of repairing it?
If the break extends into the spine, the blade is severely warped, or the metal is cracked beyond the tip, replacement is the safest option.

