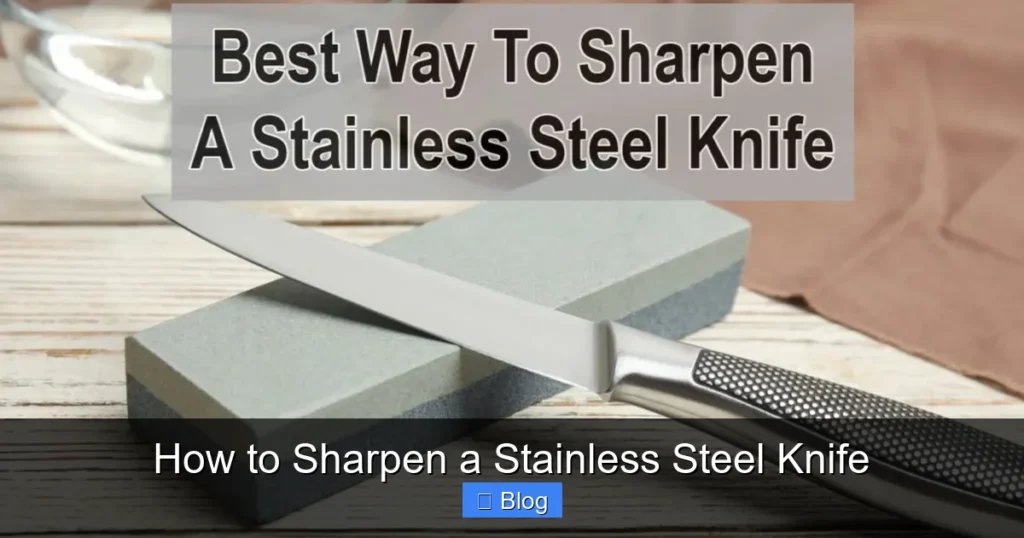
Want a razor‑sharp edge without spending a fortune? This guide shows you exactly how to sharpen a stainless steel knife using common tools, simple techniques, and pro tips. Follow the steps and keep your knives performing like new.
Key Takeaways
- Understanding How To Sharpen A Stainless Steel Knife: Provides essential knowledge
📑 Table of Contents
Introduction: Why a Sharp Stainless Steel Knife Matters
There’s something satisfying about a knife that glides through vegetables, meat, or bread without resistance. A dull blade forces you to apply more pressure, which can lead to uneven cuts, bruised produce, and even accidents. Stainless steel knives are popular because they resist rust and staining, but they can become dull just as quickly as any other steel if you don’t care for them.
In this friendly, step‑by‑step guide, I’ll walk you through how to sharpen a stainless steel knife using tools you probably already have at home. You’ll learn the science behind the edge, the best sharpening angles, and little tricks that keep your knives performing like new for years.
Understanding Stainless Steel Blades
What makes stainless steel different?
Stainless steel contains chromium, which forms a protective oxide layer that resists corrosion. This composition also makes the steel a bit softer than high‑carbon steel, meaning it dulls faster but is less likely to chip. Because of its softness, stainless steel benefits from finer grit abrasives and a slightly higher sharpening angle.
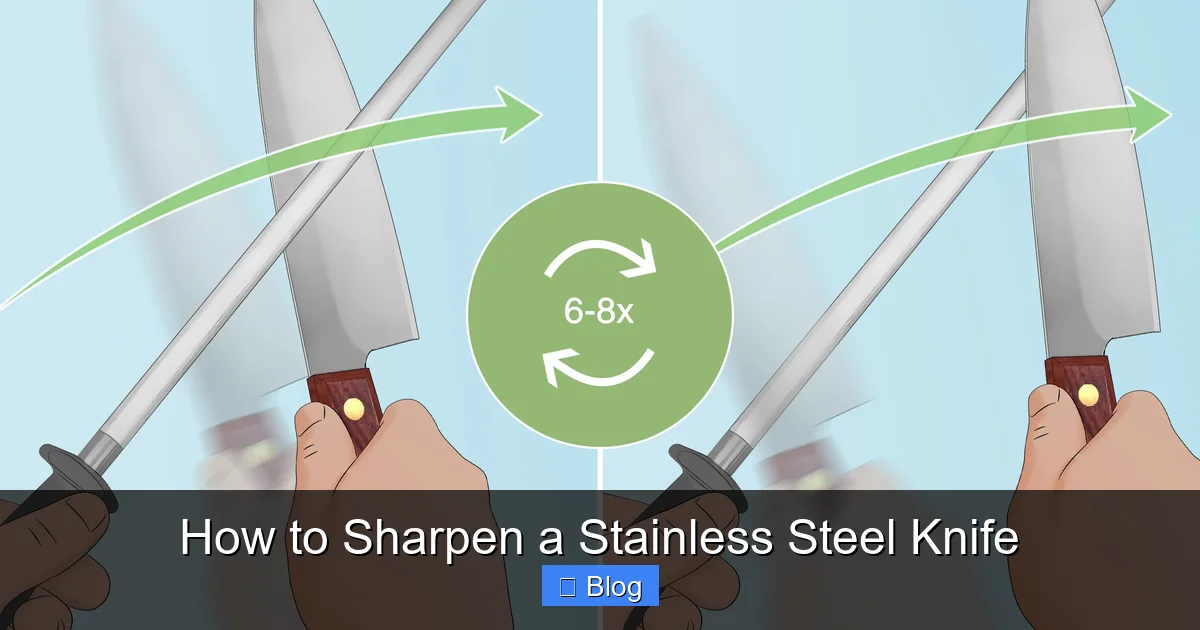
Visual guide about How to Sharpen a Stainless Steel Knife
Image source: wikihow.com
Choosing the right sharpening angle
For most kitchen stainless steel knives, aim for a 15°‑20° angle on each side. This angle provides a keen edge while maintaining durability. If you sharpen at a steeper angle (25°‑30°), you’ll get a tougher edge but it will feel less sharp. A shallower angle (10°‑12°) can be razor‑sharp but may roll off faster on hard foods.
Tools You’ll Need
1. Whetstone (water stone or oil stone)
A double‑sided stone with a coarse side (around 400‑600 grit) and a fine side (1000‑3000 grit) is ideal. It gives you control over the sharpening process and works well for stainless steel.
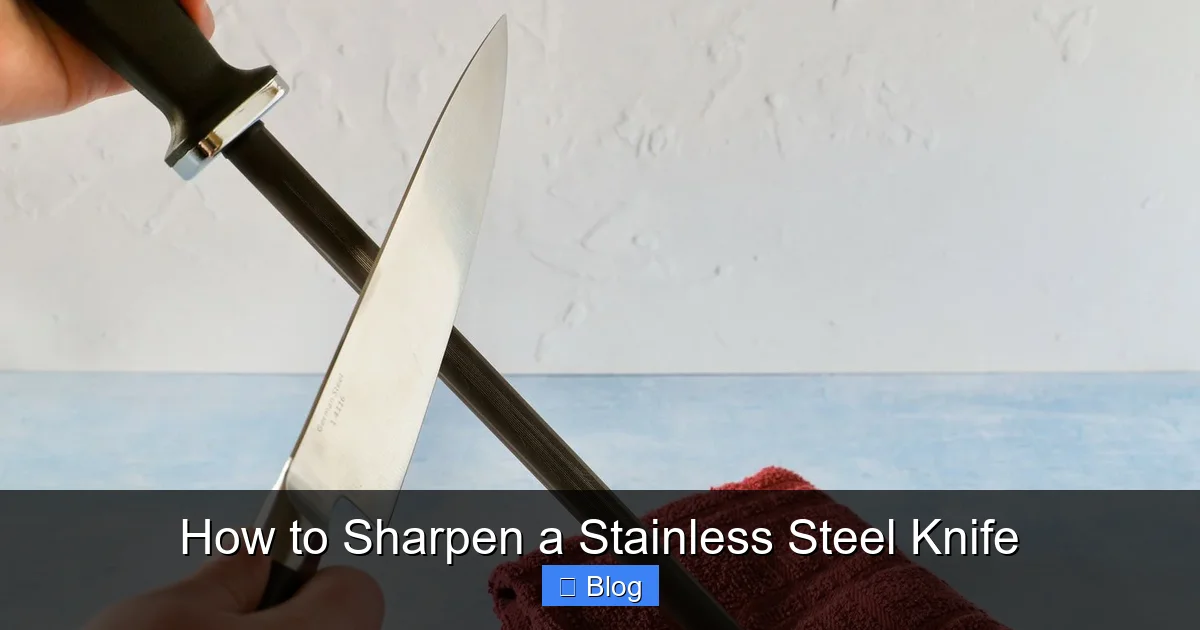
Visual guide about How to Sharpen a Stainless Steel Knife
Image source: seriouseats.com
2. Ceramic Sharpening Rod
Great for quick touch‑ups and fine polishing. It’s less aggressive than a stone, so use it after you’ve established the edge.
3. Pull‑through Sharpener
Convenient for beginners. Look for models with multiple slots (coarse, medium, fine) and ceramic or diamond abrasives.
4. Honing Steel
Not a sharpener, but essential for finishing. It realigns the edge and removes any remaining burrs.
5. Safety Gear
Non‑slip mat, a towel for the stone, and optional cut‑resistant gloves keep you safe.
Step‑by‑Step: How to Sharpen a Stainless Steel Knife
Step 1: Prepare Your Workspace
Lay a damp towel on a stable countertop. Place the whetstone on top, flat side down. If you’re using a pull‑through, set it on a non‑slip mat. Make sure the area is well‑lit and free of clutter.
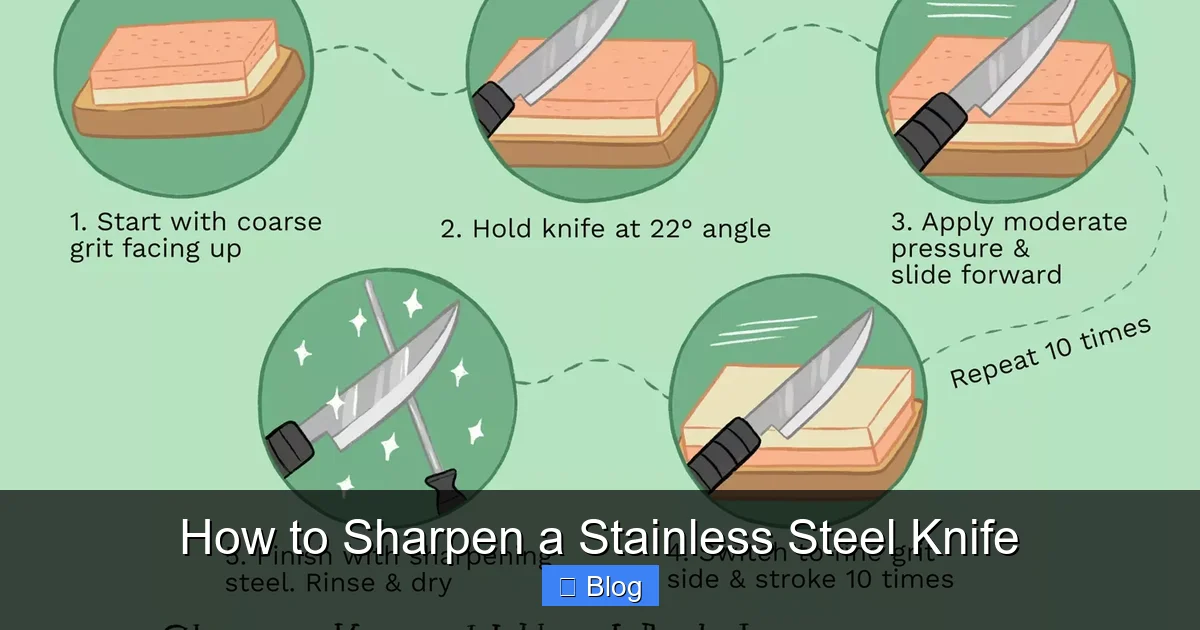
Visual guide about How to Sharpen a Stainless Steel Knife
Image source: nighthelper.com
Step 2: Soak the Stone (if needed)
Water stones need to be soaked for 5‑10 minutes until bubbles stop rising. Oil stones require a light coating of honing oil. This lubricates the surface and carries away metal filings.
Step 3: Find Your Angle
Hold the knife so the spine (the back of the blade) is about 1‑2 cm above the stone. Tilt the blade until the edge meets the stone at roughly 15°. A simple trick: imagine a 2‑inch ruler placed against the stone; the edge should line up with the ruler’s edge.
Step 4: Coarse Grit – Shape the Edge
Using the coarse side of the stone (400‑600 grit), start at the heel of the blade and push the knife away from you, maintaining the angle. Sweep the blade across the stone in a smooth, arc‑like motion, covering the whole length. Do 8‑10 strokes per side.
- Tip: Keep pressure light to moderate. Too much pressure can create uneven bevels.
- Tip: If you feel a “gritty” resistance, you’re still removing metal; that’s normal.
Step 5: Flip and Repeat
After completing one side, flip the knife and repeat the same number of strokes on the opposite side. Consistency is key—equal strokes keep the edge centered.
Step 6: Fine Grit – Polish the Edge
Turn the stone to the fine side (1000‑3000 grit). Repeat the same pushing motion, but this time use lighter pressure and slower strokes. Perform 12‑15 strokes per side. The edge will begin to look reflective and feel smoother.
Step 7: Check for a Burr
A burr is a tiny fold of metal that forms on the opposite side of the edge. To test, gently run your thumb perpendicular to the blade (never along the edge). You’ll feel a slight catch on the side you just sharpened. If a burr is present, repeat a few more fine‑grit strokes on that side until it disappears.
Step 8: Hone with a Ceramic Rod
Hold the ceramic rod vertically and tilt the knife at the same 15° angle. Lightly draw the blade down the rod, moving from heel to tip, 5‑7 times per side. This step removes any remaining burr and adds a mirror‑like polish.
Step 9: Finish with a Honing Steel
Place the honing steel on a stable surface. Hold the knife at a 15° angle and swipe it down the steel, tip first, moving from heel to tip. Alternate sides for 6‑8 strokes each. This aligns the microscopic teeth and gives the final razor‑sharp feel.
Step 10: Test the Sharpness
Try the classic tomato test: a properly sharpened knife should slice through a ripe tomato with barely any pressure. You can also shave a thin layer off a piece of paper; a clean cut means you’ve succeeded.
Common Mistakes and How to Avoid Them
Using the Wrong Grit
Skipping the coarse grit on a heavily dulled knife will make it take forever on the fine side. Start with the appropriate grit for the blade’s condition.
Inconsistent Angles
Even a few degrees off can create a rounded edge. Use an angle guide or the “finger‑check” method until you feel comfortable.
Applying Too Much Pressure
Heavy pressure can create deep scratches and remove more metal than necessary. Let the stone do the work; a gentle push is enough.
Neglecting the Burr
Leaving a burr on one side makes the knife feel dull on the other. Always check and remove it before moving to the fine grit.
Skipping the Honing Step
Skipping the final honing leaves microscopic teeth misaligned, reducing cutting efficiency. A quick pass on a honing steel makes a noticeable difference.
Maintenance: Keep Your Knife Sharp Longer
Regular Honing
Hone your knife after each use or at least a few times a week. This realigns the edge and prevents the need for full sharpening.
Proper Storage
Store knives in a knife block, magnetic strip, or on a sheath. Avoid loose placement in drawers where blades knock against each other.
Clean After Use
Wash knives by hand with mild soap and dry immediately. Acidic foods and prolonged moisture can weaken the stainless layer over time.
Periodic Full Sharpening
Even with regular honing, plan a full sharpening session every 6‑12 months, depending on usage. This removes the worn metal and restores the original bevel.
Conclusion: Sharpening Made Simple
Learning how to sharpen a stainless steel knife doesn’t require expensive equipment or a professional’s skill. With a good whetstone, a little patience, and the steps outlined above, you can keep your kitchen knives performing at their best. Remember the key points: maintain a consistent angle, progress through grit levels, and finish with a honing steel. By practicing regularly, you’ll develop muscle memory, and sharpening will become as natural as cooking itself.
So next time you see a dull edge, grab your stone, follow these steps, and enjoy the satisfying sound of a blade returning to its razor‑sharp glory. Happy sharpening!
🎥 Related Video: Easiest way to Sharpen your Knife
📺 Kitchen_Uproar
sharpening a knife is easier than you think and you will need 3 quarters and a wets stone to get started.
Frequently Asked Questions
Can I use a regular kitchen knife sharpener on stainless steel?
Yes, but choose a model with fine ceramic or diamond abrasives. Coarse metal pull‑throughs can remove too much steel and shorten the knife’s life.
How often should I sharpen a stainless steel knife?
It depends on use. For daily cooking, hone after each use and fully sharpen every 6‑12 months. Light users may need a full sharpen only once a year.
Is a honing steel the same as a sharpener?
No. A honing steel realigns the edge, while a sharpener removes metal to create a new bevel. Use a honing steel regularly and a sharpener when the edge feels dull.
What if I don’t have a whetstone?
In a pinch, a high‑quality ceramic rod or a pull‑through sharpener with fine grit can work. However, a whetstone gives the best control and results for stainless steel.
Can I sharpen a serrated stainless steel knife?
Serrated knives require a special tapered rod or a ceramic stick designed for serrations. Traditional whetstone methods won’t work on the tooth pattern.
Do I need to oil my stainless steel knife after sharpening?
Stainless steel resists rust, so oiling isn’t required. A quick wipe with a dry cloth is enough, unless you live in a very humid environment.

