Wrapping a frying pan properly extends its life, prevents scratches, and makes moving or gifting a breeze. Our friendly, step‑by‑step guide shows you the best materials, techniques, and tips to get a flawless wrap every time.
Key Takeaways
- Choose the right material: Bubble wrap, kraft paper, or a towel each serve different protection needs.
- Secure the wrap: Use packing tape or rubber bands to keep the wrap in place without damaging the pan.
- Protect the handle: Extra padding around the handle prevents dents and heat‑damage.
- Label for easy identification: A simple label saves time when you’re unpacking or gifting.
- Store in a dry place: Moisture‑free storage avoids rust and preserves the pan’s finish.
- Travel‑ready packaging: A snug, layered wrap fits neatly into suitcases or boxes for moving.
- Recycle responsibly: Reuse or recycle wrapping materials to stay eco‑friendly.
📑 Table of Contents
Introduction: Why Wrapping a Frying Pan Matters
Imagine you’ve just bought a gorgeous cast‑iron skillet or a sleek non‑stick pan. You love it, you use it, and then you need to store it, move it, or give it as a gift. Without proper wrapping, the pan can get scratched, the coating can chip, and the handle can dent. A well‑wrapped pan stays beautiful, works longer, and looks professional when you hand it over to a friend.
In this article we’ll walk you through everything you need to know about how to wrap a frying pan. From choosing the right materials to sealing the package, the steps are simple enough for anyone to follow. Let’s get started!
1. Gather Your Wrapping Materials
1.1. Bubble Wrap – The All‑Round Protector
Bubble wrap is the go‑to choice for most kitchens. The air‑filled bubbles cushion the pan and absorb shocks. Look for large‑bubble wrap (¼‑inch bubbles) for heavier pans and small‑bubble (⅛‑inch) for lighter ones.
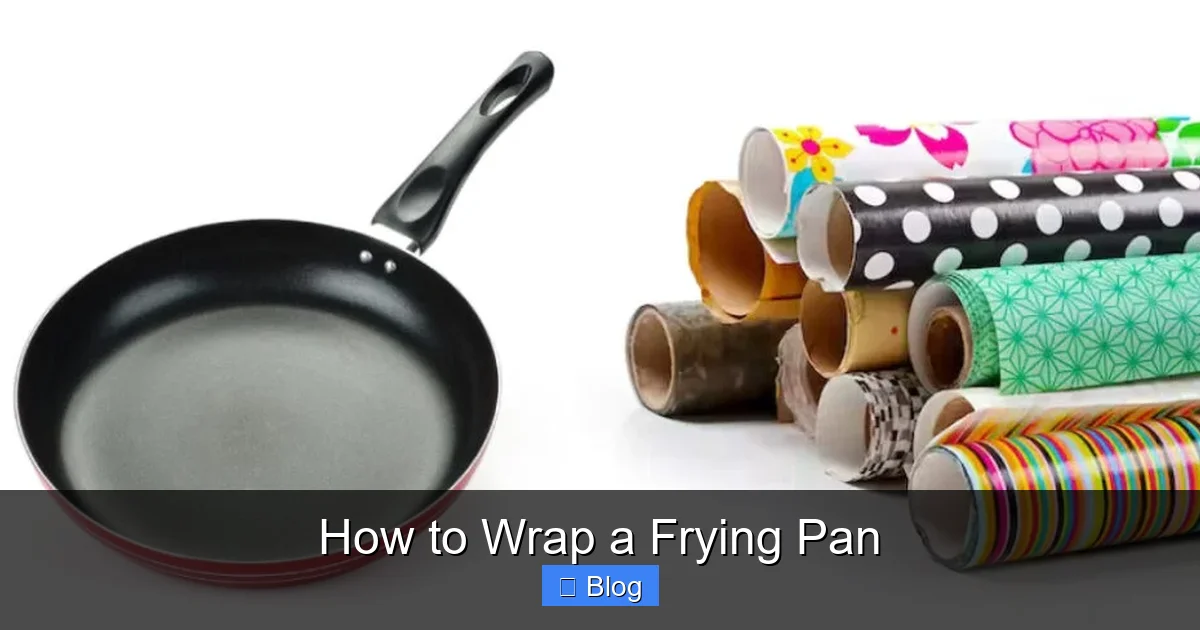
Visual guide about How to Wrap a Frying Pan
Image source: thekitchenix.com
1.2. Kraft Paper – Eco‑Friendly and Soft
Kraft paper is ideal when you want a greener option. It’s soft enough not to scratch the surface, and it adds a rustic look if you’re gifting the pan.
1.3. Kitchen Towels or Cloth – Extra Padding
A clean kitchen towel or a piece of cotton cloth can protect the handle and the rim. It also absorbs any moisture that might sneak in.
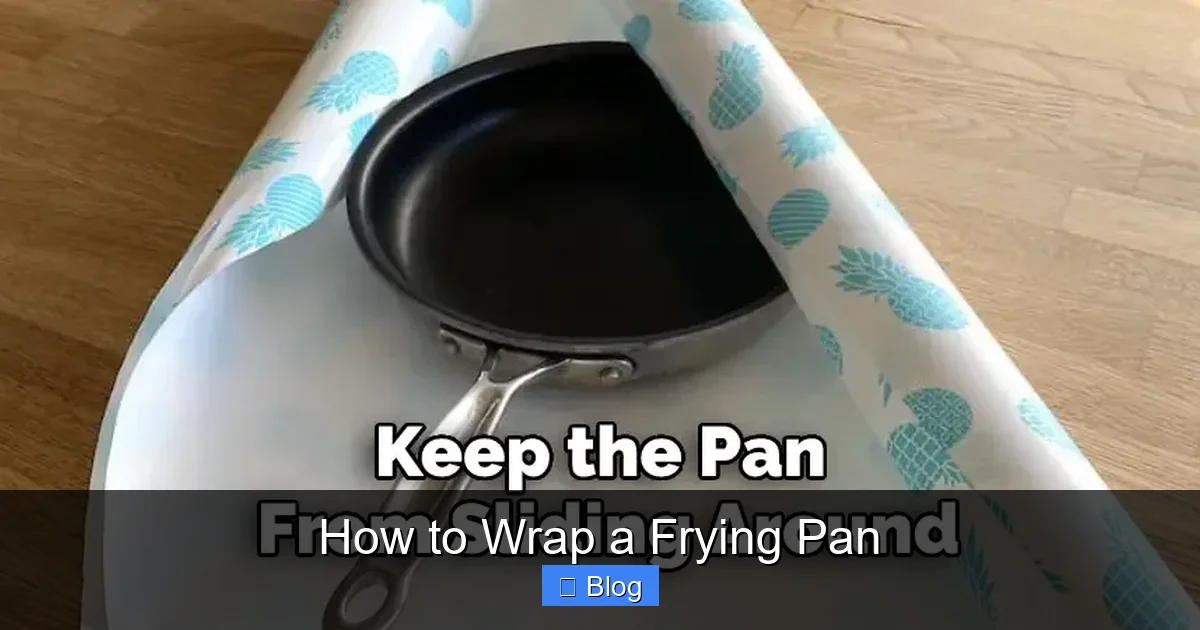
1.4. Packing Tape, Rubber Bands, or Twine
These keep the wrap from sliding off. Choose a tape that won’t leave sticky residue on the pan’s surface.
1.5. Labels or Stickers
Writing “Cast Iron – Handle with Care” on a label helps you and anyone else who handles the box.
2. Clean and Dry the Frying Pan First
2.1. Wash Thoroughly
Before you wrap, give the pan a gentle wash with warm water and mild dish soap. Rinse well to remove any soap residue.
Visual guide about How to Wrap a Frying Pan
Image source: thehomenix.com
2.2. Dry Completely
Moisture is the enemy of most pans, especially cast iron. Use a soft towel to dry, then let it air‑dry for a few minutes. A dry pan prevents rust and keeps the wrapping material from sticking.
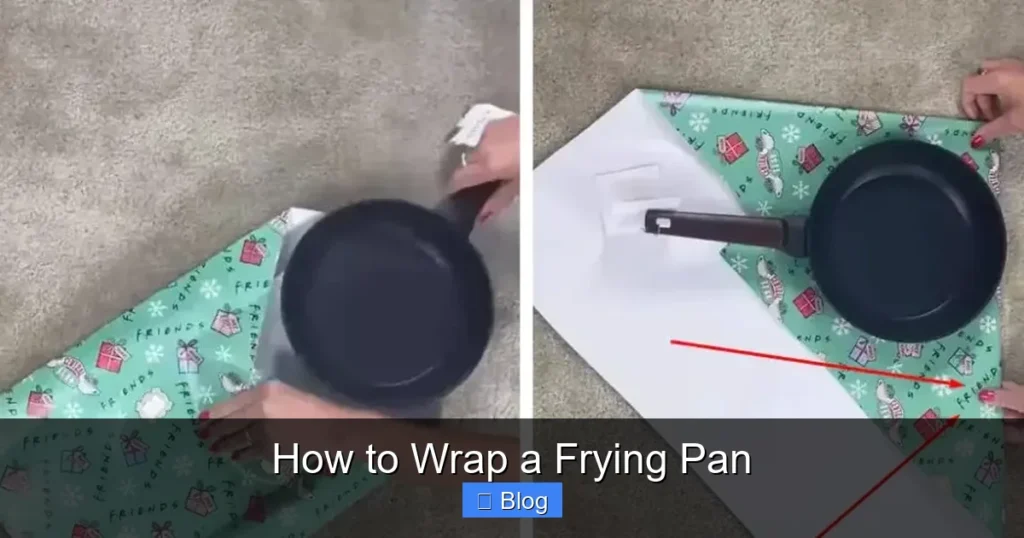
3. Step‑by‑Step Wrapping Process
3.1. Lay Out the Base Layer
Spread a sheet of kraft paper or a large towel on a flat surface. This will be the base that protects the bottom of the pan.
Visual guide about How to Wrap a Frying Pan
Image source: indoorense.com
3.2. Position the Pan
Place the frying pan in the center, lid side up if it has a lid. Make sure the pan sits evenly so the wrap stays balanced.
3.3. Add Cushion Around the Edges
Fold the edges of the paper or towel over the rim. If you’re using bubble wrap, cut a piece that covers the entire surface, then place it on top of the pan.
3.4. Wrap the Handle
The handle is the most vulnerable part. Take a separate strip of bubble wrap or a towel, roll it around the handle, and secure it with a small piece of tape or a rubber band.
3.5. Seal the Whole Pan
Bring the sides of the base layer up and over the pan, overlapping them in the middle. Use packing tape to seal the seam. If you used bubble wrap as the outer layer, wrap the entire pan in it and tape the ends.
3.6. Final Touches
- Attach a label with the pan’s material and any special care notes.
- If you’re packing multiple items, place the wrapped pan in a sturdy cardboard box with additional padding (e.g., crumpled paper) on all sides.
4. Special Situations: Travel, Moving, and Gifting
4.1. Packing for a Move
When you’re moving house, stack wrapped pans horizontally, not on top of each other. Place a sheet of cardboard between each pan to avoid pressure points.
4.2. Carry‑On Luggage Tips
For a short trip, use a compact, double‑layer wrap: a thin towel inside and bubble wrap outside. Fit the wrapped pan into a hard‑sided suitcase for extra protection.
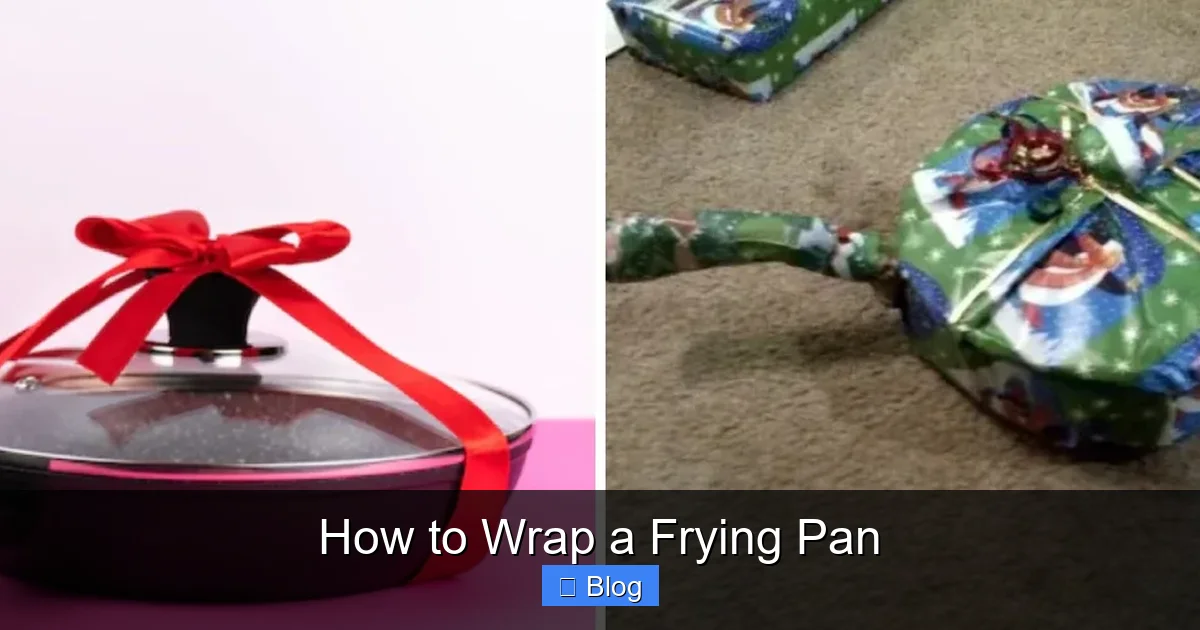
4.3. Gift‑Ready Presentation
For gifts, swap the plain kraft paper for decorative wrapping paper. Add a ribbon and a handwritten note. The extra care shows the recipient you value their kitchen.
5. Storing Wrapped Pans Long‑Term
5.1. Choose a Dry, Cool Spot
Store the wrapped pan in a pantry, cabinet, or closet where temperature and humidity stay stable. Avoid basements that can get damp.
5.2. Periodic Checks
Every few months, open the wrap and feel the pan for any moisture or rust. Re‑wrap if needed.
5.3. Reusing Wrap Materials
Bubble wrap can be flattened and saved for future moves. Kraft paper can be composted if it’s uncoated. This keeps your kitchen eco‑friendly.
Conclusion: Wrap Like a Pro, Keep Your Pan Happy
Knowing how to wrap a frying pan is a simple skill that saves you money, time, and frustration. By cleaning the pan, choosing the right materials, and following a few easy steps, you protect the surface, the handle, and the overall lifespan of your cookware. Whether you’re moving, traveling, or giving a thoughtful gift, a well‑wrapped pan looks professional and stays in top condition. So next time you need to store or ship a pan, remember these tips and wrap with confidence!
🎥 Related Video: How to gift wrap a frying pan! #wrappinggifts #GiftWrappingHacks #giftwrapping
📺 Lennia McCarter
Frequently Asked Questions
What is the best material for wrapping a cast‑iron frying pan?
Bubble wrap with large bubbles is ideal because it cushions the heavy weight and prevents dents, while a layer of kraft paper adds extra protection.
Can I use newspaper instead of kraft paper?
Newspaper can work in a pinch, but the ink may transfer onto the pan’s surface. Kraft paper is safer and more absorbent.
How tightly should I tape the wrap?
Secure enough to keep the wrap from shifting, but avoid over‑taping, which can leave residue or damage the pan’s coating.
Do I need to wrap the pan if I’m only storing it in a kitchen cabinet?
Yes, especially for non‑stick or seasoned cast iron. A light layer of towel or paper prevents scratches from other items.
Is it okay to wrap a pan while it’s still warm?
No. Wait until the pan is completely cool and dry. Wrapping a warm pan can trap steam, leading to rust or moisture damage.
How can I make the wrapped pan look presentable for a gift?
Use decorative wrapping paper, add a ribbon, and include a small card with cooking tips or a recipe to personalize the gift.

