
Discover easy, reliable ways to test sharpness of knife using everyday tools and professional tricks. This guide shows you step‑by‑step methods, tells you what results mean, and offers tips to keep every blade razor‑sharp.
Key Takeaways
- Multiple testing methods: Paper shave, tomato slice, and finger test each reveal different aspects of edge performance.
- Safety first: Proper hand placement and protective gear prevent cuts while you evaluate sharpness.
- Consistency matters: Repeating the same test under the same conditions gives reliable results.
- Maintenance tips: Honing, stropping, and occasional sharpening keep the knife in peak condition.
- When to replace: A blade that fails all basic tests may be beyond rescue and needs replacement.
- Tool‑free options: You don’t need expensive equipment; common kitchen items work just fine.
- Understanding edge geometry: Knowing the difference between a hollow grind and a flat grind helps interpret test outcomes.
📑 Table of Contents
- Introduction: Why Knowing How to Test Sharpness of Knife Matters
- 1. Visual Inspection – The First Quick Check
- 2. The Paper Shave Test – A Classic Kitchen Trick
- 3. The Tomato or Soft Fruit Test – Feeling Edge Performance
- 4. The Fingertip “Paper” Test – A Sensitive, Direct Method
- 5. The Water Test – Seeing the Edge in Action
- 6. Professional Tools – When Home Methods Aren’t Enough
- 7. Creating a Routine: How Often Should You Test?
- 8. Maintaining Sharpness After Testing
- Conclusion: Confident Cooking Starts With a Sharp Edge
Introduction: Why Knowing How to Test Sharpness of Knife Matters
Imagine you’re about to slice a ripe tomato. You press down, and the blade squashes the skin instead of gliding through. Frustrating, right? That moment tells you something is off with your knife’s edge. Knowing how to test sharpness of knife isn’t just for chefs; it’s for anyone who wants safer, faster, and more enjoyable cooking.
Testing the edge regularly helps you catch dullness early, decide when a simple hone will do, and avoid unnecessary sharpening that wears the steel. In this article we’ll walk through the most trusted, low‑cost methods, explain what each result means, and give you a maintenance plan that keeps every blade in top shape.
1. Visual Inspection – The First Quick Check
Look for chips, rolls, and unevenness
The easiest way to start testing sharpness of knife is to simply look at it. Hold the blade under a bright light and run your eye along the edge.
Visual guide about How to Test Sharpness of Knife
Image source: cdn.shopify.com
- Chip or nicks: Small missing pieces create a jagged edge that can’t cut cleanly.
- Roll over: A rolled edge appears rounded; it’s a sign the steel has been bent from misuse.
- Consistent bevel: The angle should stay the same from tip to heel. Any wobble suggests uneven sharpening.
If you spot any of these problems, the blade will likely fail more precise tests later, and you may need professional sharpening.
Use a magnifying glass or jeweler’s loupe
A 10× magnifier reveals micro‑chips that the naked eye misses. Look for a uniform, sharp line. If the edge looks fuzzy, it’s time for a more detailed test.
2. The Paper Shave Test – A Classic Kitchen Trick
What you need
- Standard printer paper or a thin sheet of napkin
- A stable cutting board
- One hand to hold the knife, the other to guide the paper
How to perform the test
1. Place the paper flat on the board.
2. Hold the knife at a 20‑30° angle to the paper.
3. Gently pull the paper towards you while the blade slides forward.
4. Observe the result.
Visual guide about How to Test Sharpness of Knife
Image source: cdn.shopify.com
Interpreting the results
- Clean shave: The paper parts like a ribbon, leaving a smooth edge. Your knife is sharp.
- Ragged tear: The paper bunches or tears unevenly. The blade is dull and needs honing.
- Partial shave: Only the tip works; the rest of the blade drags. Edge may be uneven—consider re‑sharpening the whole length.
This test works because a sharp edge can separate the fibers of paper with minimal force. It’s quick, repeatable, and requires nothing more than a sheet of paper.
3. The Tomato or Soft Fruit Test – Feeling Edge Performance
Why choose a soft fruit?
Tomatoes, kiwis, and ripe peaches have delicate skins that resist cutting unless the blade is truly sharp. The test mimics real‑world cooking tasks.

Visual guide about How to Test Sharpness of Knife
Image source: noarong.com
Step‑by‑step
- Place the fruit on a cutting board.
- Hold the knife at a normal slicing angle (about 15°).
- Apply light, even pressure and try to slice through the skin.
What to look for
- Effortless glide: The knife cuts cleanly with a single motion. Sharp edge confirmed.
- Crushing or tearing: The fruit’s skin compresses before the blade penetrates. Dull edge – sharpen or hone.
- Uneven cuts: If only part of the blade slices, the edge may be unevenly honed.
Tip: Use a fruit you’ll eat anyway. If the test fails, you can still enjoy the fruit—just slice it with a serrated knife.
4. The Fingertip “Paper” Test – A Sensitive, Direct Method
Safety first
This test feels the edge directly with a fingertip. It’s safe if you follow proper hand placement: the thumb and forefinger form a “V” and the edge rests against the side of the index finger, not the pad.
How to do it
- Clean the blade thoroughly.
- Hold the knife so the edge is facing away from you.
- Lightly touch the side of the blade (the “flat”) to your fingertip. You should feel a subtle “bite” if the edge is sharp.
Understanding the sensation
- Sharp edge: You feel a small, crisp “snap” as the edge catches the skin.
- Dull edge: The blade slides smoothly without any bite.
- Very fine edge: You may feel a tickling sensation, similar to a fine sandpaper.
Never press hard; a light touch is enough. If you feel any pain, stop immediately—your edge may be too aggressive for this test, indicating a need for a slight bevel adjustment.
5. The Water Test – Seeing the Edge in Action
Materials needed
- Clear glass or bowl filled with water
- A steady hand
- Optional: food‑safe dye for visual contrast
Procedure
- Submerge the blade tip into the water, keeping the edge angled just enough to touch the surface.
- Slowly lift the knife while maintaining contact.
- Watch the water’s surface.
What the water tells you
- Sharp edge: Water clings to the blade and forms a thin, continuous film that follows the edge.
- Dull edge: Water beads up and rolls off quickly, indicating the edge cannot hold a thin film.
This test works because a razor‑sharp edge creates a microscopic capillary action that pulls water along the bevel.
6. Professional Tools – When Home Methods Aren’t Enough
Sharpness testing stones (e.g., Cuisinart or Wüsthof)
These stones have a fine grit surface that reveals a burr when the edge is sharpened correctly. Run the blade lightly across the stone; feeling a slight “catch” signals a proper burr formation, meaning the edge is sharp.
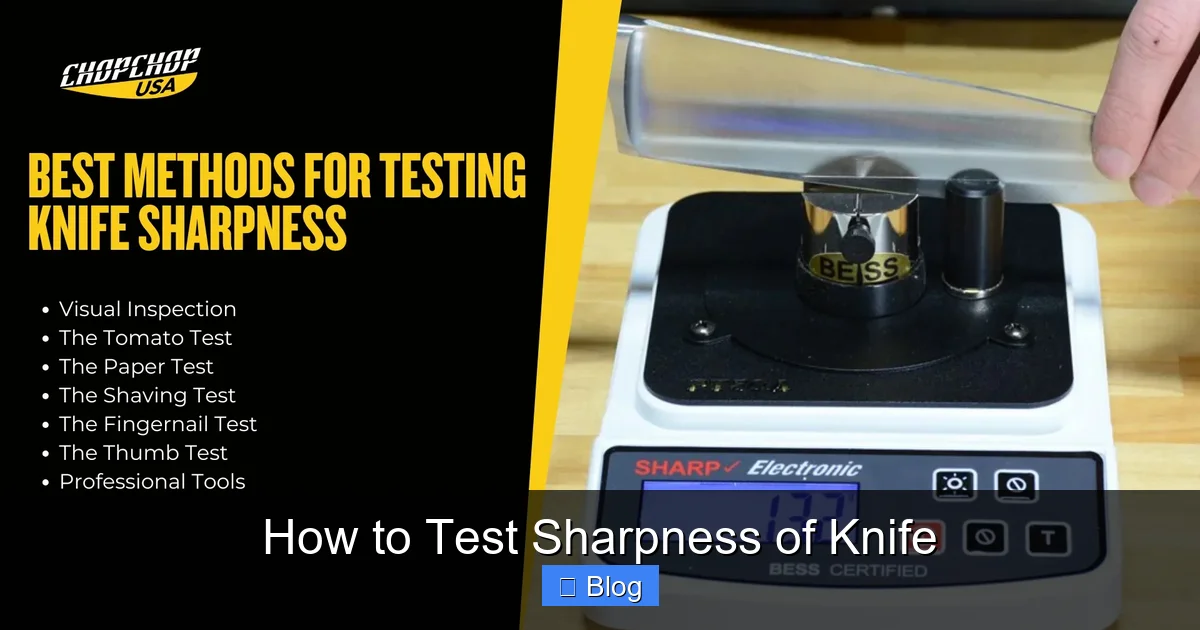
Electronic edge testers
Devices like the “SharpEdge” or “EdgePro” use a calibrated wire to measure the force needed to cut through. They give a numeric reading (e.g., 0.5 mm). While pricey, they are useful for serious hobbyists and professionals.
Why you might still prefer manual tests
Manual methods are quick, cost‑free, and give you a tactile feel that numbers can’t convey. Use professional tools only if you need certification (e.g., for a culinary school).
7. Creating a Routine: How Often Should You Test?
Daily kitchen use
If you slice vegetables every day, run the paper shave test before each cooking session. It takes seconds and ensures safety.
Weekly check‑ups
Once a week, perform the tomato test and the fingertip test together. This catches any gradual dulling that the paper test might miss.
Monthly deep dive
Combine visual inspection, water test, and a professional stone test once a month. Record the results in a simple log. Over time you’ll see patterns—maybe a certain cutting board or technique wears the edge faster.
8. Maintaining Sharpness After Testing
Honing vs. sharpening
Honing realigns the edge’s microscopic teeth without removing steel. Do it every few uses.
Sharpening removes metal to create a new bevel. Reserve for when the blade fails multiple tests.
Stropping tips
Use a leather strop with a fine polishing compound. Pull the blade away from the edge (opposite of cutting) to polish and smooth the newly formed edge.
Storage matters
Store knives in a knife block, magnetic strip, or on a dedicated tray. Avoid loose drawers that let blades bang together.
Conclusion: Confident Cooking Starts With a Sharp Edge
Knowing how to test sharpness of knife empowers you to keep every blade performing at its best. From a quick paper shave to a water‑film check, the methods outlined are easy, safe, and require nothing more than kitchen staples. Build a simple testing routine, maintain the edge with regular honing, and replace blades only when they truly can’t be revived. Your cuts will be cleaner, your prep faster, and your kitchen a safer place.
🎥 Related Video: How To Test Knife Sharpness
📺 North Arm Knives
https://northarmknives.com/ Are your knives sharp? If you aren’t sure use our simple two step test to check! All you need is a bright …
Frequently Asked Questions
What is the fastest way to check if my knife is sharp?
The paper shave test is the quickest. If the blade slices a sheet of paper cleanly, it’s sharp enough for most kitchen tasks.
Can I use a fingernail to test sharpness?
Yes, gently dragging the edge across a fingernail works, but be careful—if the knife is very sharp you may feel a slight “bite.” Always use light pressure.
How often should I hone my kitchen knives?
Hone after every few uses, or whenever you notice the knife dragging on food. Regular honing keeps the edge aligned and delays the need for sharpening.
Is the water test reliable for all types of steel?
It works well for most carbon and stainless steels, but very high‑hardness ceramics may not hold water the same way, making the test less obvious.
When is it time to replace a knife instead of sharpening it?
If the blade shows deep chips, extensive rolling, or fails all basic tests even after a professional sharpening, it’s safer and more cost‑effective to replace it.
Do electric knives need the same sharpness tests?
Electric knives have serrated edges, so paper shave and tomato tests aren’t applicable. Instead, check that the blade slices smoothly without tearing the food.

