
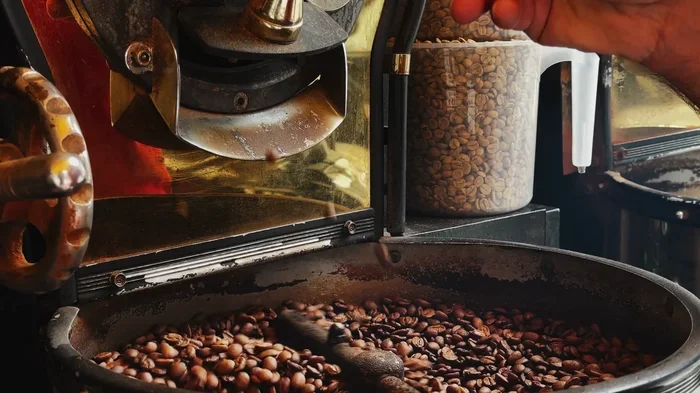
Roasting your own coffee transforms raw green beans into rich, aromatic brews right in your kitchen. This guide covers home coffee roasting methods, equipment needs, and expert tips for perfect coffee roasting profiles. You will learn to control roast levels, enhance coffee flavor development, and enjoy freshly roasted coffee daily. Start your DIY coffee roasting journey with confidence and save money while boosting quality.
Imagine waking up to the smell of warm, nutty, chocolatey beans fresh from your own kitchen. That is the magic of home coffee roasting. You control every step, from green bean selection to the final roast levels. You also skip the stale edges that sometimes hide in store-bought bags. Best of all, roasting your own coffee turns a daily habit into a fun, creative ritual.
If you are new to this, do not worry. You do not need a fancy lab or expensive gear. Many people begin with simple tools and a little patience. In this guide, you will learn practical ways to roast your own coffee, how to read the signs of a good roast, and how to keep your results consistent. Let us dive in and make your kitchen the newest coffee spot in town.
Key Takeaways
- Cost Savings: Green coffee beans cost less than pre-roasted bags, making home coffee roasting budget-friendly over time.
- Freshness Control: You decide the roast levels and brew within days for peak coffee flavor development.
- Simple Equipment: You can start with a hot air popcorn popper, oven, or skillet before buying a coffee roaster machine.
- Safety First: Coffee roasting temperature runs high, so use ventilation, heat gloves, and fire-safe surfaces.
- Listen for Cracks: First crack and second crack signal key shifts in coffee bean roasting progress and roast levels.
- Cool Quickly: Fast cooling stops the roast and preserves freshly roasted coffee quality and aroma.
- Practice Matters: Keep notes on coffee roasting profiles to refine DIY coffee roasting results batch after batch.
📑 Table of Contents
- Why Learn How to Roast Your Own Coffee
- Essential Equipment for Home Coffee Roasting
- Step by Step Coffee Roasting Methods
- Reading the Roast: Cracks, Color, and Timing
- Cooling, Resting, and Storing Freshly Roasted Coffee
- Common Mistakes and How to Fix Them
- Building Your Own Coffee Roasting Routine
- Conclusion
Why Learn How to Roast Your Own Coffee
Freshness changes everything. Coffee starts losing aroma and flavor soon after roasting. When you handle DIY coffee roasting at home, you can brew soon after the beans cool. That means brighter notes, smoother body, and a cup that tastes more like the origin you chose. You also gain control over roast levels, which shapes sweetness, acidity, and bitterness.
Another big win is variety. Green coffee beans come from many regions, each with unique character. You can try a bright African lot one week and a chocolatey Latin American batch the next. Over time, you will understand how coffee roasting temperature and time affect coffee flavor development. This hands-on learning makes every cup more rewarding.
Choose Beans That Suit Your Taste
Start with quality green coffee beans. Look for fresh harvest dates, clean processing, and reliable sourcing. If you enjoy lively acidity, try a washed highland bean. If you want a mellow, sweet cup, explore a natural process or a lower-elevation lot. Keep a simple notebook with origin, process, and your tasting notes. This habit helps you compare results and build your own coffee roasting profiles.
Know Your Flavor Goals
Light roasts keep more origin character and acidity. Medium roasts balance sweetness and body. Dark roasts bring bold, roasted notes and lower acidity. Your preference decides where you stop the coffee bean roasting process. There is no single best choice. The best roast is the one that makes your morning smile.
Essential Equipment for Home Coffee Roasting
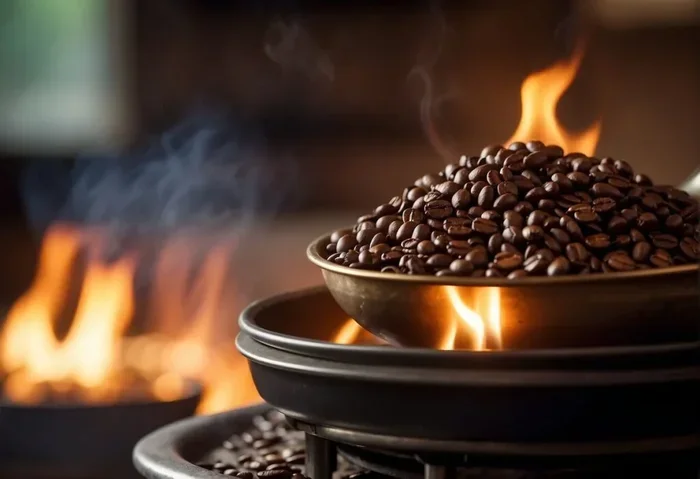
You can start small and upgrade later. The goal is even heat, good airflow, and easy cooling. Here are common options for home coffee roasting:
Visual guide about Fresh coffee beans roasting
Image source: thekitchencommunity.org
- Hot air popcorn popper: A simple, affordable starter tool that moves beans with hot air. It works well for small batches and quick learning.
- Oven method: A baking sheet and careful watching can work in a pinch. This approach needs frequent stirring for even results.
- Stovetop skillet or cast iron pan: Direct heat gives fast control, but you must stir constantly to avoid hot spots.
- Dedicated coffee roaster machine: These offer better temperature control, airflow, and repeatability as you advance.
No matter the tool, keep a cooling tray or colander ready. Quick cooling stops the roast and locks in flavor. A kitchen scale helps you track batch size. A timer and a thermometer add precision. These small tools make DIY coffee roasting much easier.
Simple Gear That Makes a Big Difference
A good scale keeps your batches consistent. Consistency matters because small changes in coffee roasting temperature and time can shift flavor. A timer helps you log how long the beans take to reach each stage. If you use an oven or skillet, a thin spatula or spoon helps you stir evenly. If you upgrade to a coffee roaster machine, follow its guide for airflow and batch size.
Safety and Ventilation Basics
Roasting creates smoke, chaff, and strong aroma. Use a well-ventilated area, open windows, or a fan aimed away from the workspace. Keep flammable items clear. Use heat-safe gloves when handling hot trays or beans. If you roast indoors, be ready for a cozy but noticeable smell. Many roasters enjoy this part, but it is wise to plan ahead.
Step by Step Coffee Roasting Methods
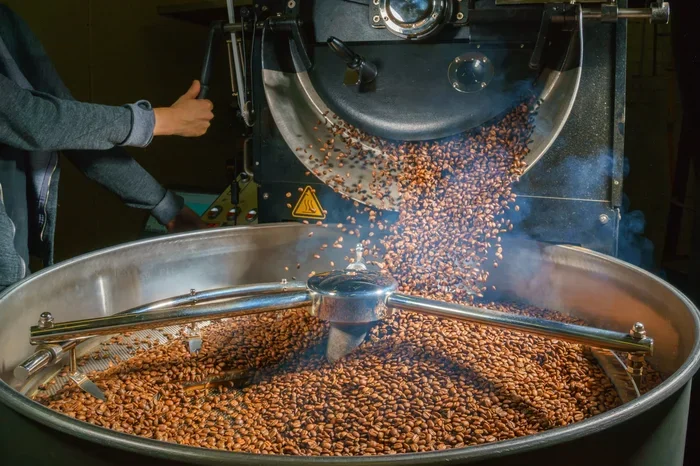
There are several ways to roast your own coffee. Each method has a different feel, but the bean goes through the same basic changes. Below are three beginner-friendly approaches. Pick one, practice, and adjust based on taste.
Visual guide about Fresh coffee beans roasting
Image source: coffeedesk.com
Hot Air Popper Method
This is a popular starting point because it is fast and simple. Here is a basic flow:
- Measure a small batch of green beans. Do not overfill the popper.
- Turn it on and let the hot air move the beans.
- Listen carefully for the first crack, a snapping sound that signals the beans are expanding.
- Decide when to stop based on your preferred roast levels.
- Pour the beans into a cooling colander or tray right away.
- Stir or shake to cool them quickly and evenly.
This method gives a light-to-medium style roast more easily than a dark roast. It also teaches you to listen and watch, which is a core skill in coffee bean roasting.
Oven Roasting Basics
Oven roasting works if you do not have a popper or roaster. Use a clean baking sheet and spread the beans in a thin layer. Keep the temperature moderate and watch closely. Stir at regular intervals so the beans heat evenly. This method can take longer and may be less uniform, but it is accessible. Many beginners use it to learn how coffee roasting temperature affects color and aroma before buying more gear.
Skillet or Pan Roasting
A heavy pan on the stove gives direct heat and fast response. The trade-off is that you must keep the beans moving. Stir constantly to prevent scorching. You can control the pace by adjusting the heat. When the beans reach your target color and crack stage, move them to a cooling tray. This hands-on method helps you feel the rhythm of home coffee roasting and learn how to react quickly.
Reading the Roast: Cracks, Color, and Timing
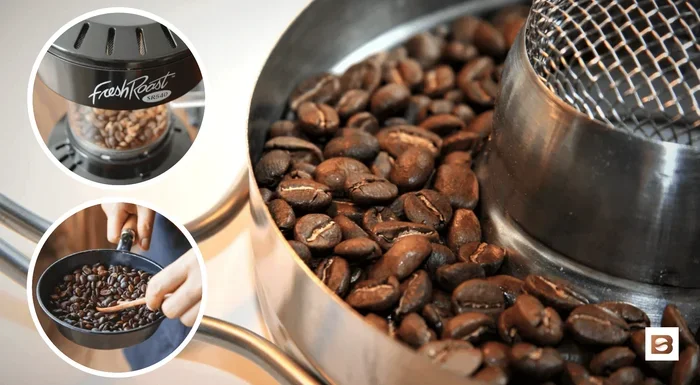
During coffee bean roasting, the beans change color, smell, and sound. These signs help you decide when to stop. The two most useful cues are the cracks and the color shift.
Visual guide about Fresh coffee beans roasting
Image source: spcdn.shortpixel.ai
First Crack and Second Crack
First crack sounds like gentle popcorn pops. It marks the point where moisture escapes and the bean structure opens. Many roasters stop shortly after first crack for a lighter or medium roast. Second crack is quieter and faster, with a sharper sound. It often signals a move toward darker roast levels. If you want a bold, dark cup, you may continue a little past second crack, but watch carefully to avoid bitterness.
Color and Aroma Cues
Beans start pale green, then turn yellow, then brown. The aroma changes too. Early on, you may notice a grassy or bread-like smell. Later, the scent becomes richer and more coffee-like. Near the end, the aroma deepens and may turn smoky if the roast goes long. Use color as a guide, but combine it with sound and smell for better results. This multi-sensory approach is key to strong coffee roasting profiles.
Quick Tips for Consistent Roasts
- Use the same batch size each time.
- Start with the same heat setting, then adjust based on results.
- Log time, color, and crack stages for every batch.
- Cool the beans immediately after reaching your target.
- Compare taste notes the next day, since flavor can mellow and clarify after resting.
Cooling, Resting, and Storing Freshly Roasted Coffee
Cooling matters as much as roasting. Hot beans keep developing internally, so fast cooling helps you lock in the roast you wanted. Spread the beans in a wide tray or use a colander with good airflow. Stir or shake them until they are no longer hot to the touch. This step protects freshly roasted coffee quality and helps avoid a baked or flat taste.
Rest the Beans Before Brewing
Roasted coffee often tastes best after a short rest. Gas escapes gradually, and flavors settle. Many roasters wait a few days before brewing, especially for filter coffee. Espresso can also benefit from rest, though the ideal window depends on the bean and your taste. Try a small batch at different rest times to learn what you like. This is part of refining your DIY coffee roasting process.
Storage That Protects Flavor
Store beans in a cool, dark place with a container that limits air and moisture. Avoid clear jars on a sunny counter. Keep the beans away from strong odors. If you roast in small batches, you can enjoy peak freshness more often. For broader kitchen storage habits, it helps to think like a pantry organizer so your beans stay clean, dry, and easy to rotate.
Common Mistakes and How to Fix Them
Even experienced roasters have off batches. The good news is that most issues are fixable with a little attention. Here are common problems and simple ways to improve.
Uneven Roasting
Uneven color usually means uneven heat or poor movement. In a skillet, stir more often. In an oven, spread the beans in a thinner layer and rotate the tray. In a popper, use a smaller batch so the airflow can move every bean. Consistency in coffee roasting temperature and motion makes a big difference.
Too Dark or Bitter
If the cup tastes harsh or smoky, the roast may have gone too far. Stop earlier next time, perhaps just after first crack or shortly into the development phase. Use a timer and log the moment you hear the cracks. Small changes in roast levels can dramatically change the cup.
Flat or Underdeveloped Flavor
If the coffee tastes grassy, sour, or thin, the roast may be too short. Extend the time a little and watch for a richer aroma and clearer crack cues. Give the beans a bit more development so sweetness can emerge. Keep notes so you can repeat the improvement.
Quick Tips to Avoid Common Errors
- Do not overcrowd the roasting vessel.
- Keep your workspace clean so chaff does not burn.
- Use the same green bean source while you are learning.
- Track one variable at a time, such as heat or time.
- Taste the same brew method for comparison.
Building Your Own Coffee Roasting Routine
A good routine makes home coffee roasting easier and more enjoyable. Start with a small, repeatable process. Pick one bean, one method, and one target roast levels range. Roast, cool, rest, and taste. Then adjust one thing next time. Over several batches, you will see patterns and gain confidence.
Keep a Simple Roasting Log
Write down the bean origin, batch size, heat source, time to first crack, total roast time, and your tasting notes. Add a quick rating for body, acidity, and sweetness. This log turns random attempts into a clear learning path. It also helps you recreate the best batches and avoid the weaker ones.
Experiment With Small Changes
Try a slightly higher coffee roasting temperature for a shorter time, or a gentler heat for a longer development. Compare a medium roast to a darker one from the same green bean. Taste how the origin shines through at different points. This kind of testing is the heart of coffee flavor development and makes roasting your own coffee so rewarding.
When You Want to Go Further
Once you enjoy the process, you may explore more gear, larger batches, or different origins. You might even think about building a bigger kitchen hobby around coffee or other crafts. If you ever dream bigger about food projects, you can explore ideas like creating your own cookware line as a fun parallel path. For now, focus on mastering the basics and enjoying the cup.
Conclusion
Learning how to roast your own coffee is a practical, satisfying skill. You gain freshness, control, and a deeper connection to every cup. Start with simple tools, pay attention to cracks and color, and cool the beans quickly. Keep notes, make small changes, and enjoy the process. With a little practice, home coffee roasting becomes second nature, and your mornings get a lot more delicious.
Frequently Asked Questions
What is the easiest way to start roasting coffee at home?
The easiest starting point is a hot air popcorn popper or a simple skillet method. Both let you learn the basics of coffee bean roasting without much equipment. Begin with small batches, listen for the first crack, and cool the beans quickly for better results.
How long does it take to roast coffee beans?
It depends on the method, batch size, and coffee roasting temperature. Small batches can take only a few minutes, while oven or pan methods may take longer. The best guide is the bean color, aroma, and crack sounds rather than the clock alone.
Can I roast coffee beans in the oven?
Yes, you can use an oven for home coffee roasting if you spread the beans thinly and stir often. This method needs careful watching to keep the heat even. It is a good option when you are learning how roast levels change with time and temperature.
Do I need a special machine to roast coffee?
No, you do not need a dedicated coffee roaster machine to begin. Many people start with simple tools and move to a machine later for more control and consistency. A machine can help if you want repeatable coffee roasting profiles and larger batches.
How should I store freshly roasted coffee beans?
Store them in a cool, dark place with a container that limits air and moisture. Avoid heat, sunlight, and strong kitchen odors. If you want better overall kitchen storage habits, it also helps to learn how to organize kitchen pantry space so your beans stay fresh and easy to reach.
Why do my roasted coffee beans taste uneven or bitter?
Uneven taste often comes from uneven heating, overcrowding, or roasting too long. Stir more often, use smaller batches, and stop earlier if the cup turns harsh. Adjusting your roast levels and tracking your process usually solves these issues over time.



