
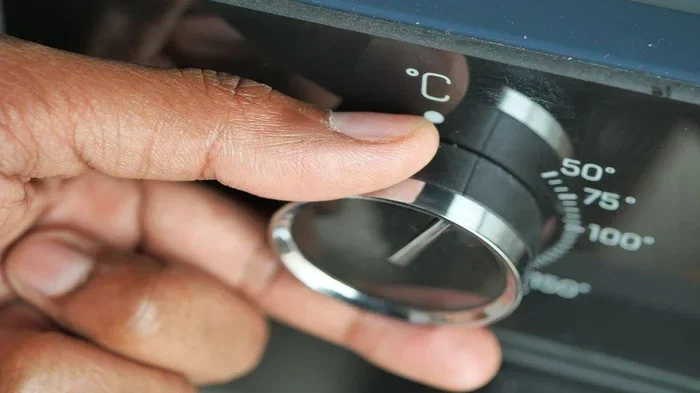
Calibrating your oven temperature ensures your food cooks evenly and recipes turn out exactly as intended. An inaccurate oven can ruin cakes, burn roasted vegetables, or leave meats undercooked. By using a simple oven thermometer and adjusting your thermostat settings, you can restore accurate heat in just a few minutes. This guide walks you through how to calibrate an oven temperature safely and effectively, so you can trust your appliance again.
Have you ever followed a recipe exactly, only to pull out a cake that sank in the middle or chicken that dried out? The problem might not be your skills. It could be your oven. Many home cooks assume their appliance heats to the exact number on the dial, but that is rarely true. Over time, thermostats drift, sensors wear down, and temperature zones shift. Learning how to calibrate an oven temperature is one of the simplest ways to fix this hidden issue.
When your oven runs hot or cold, every recipe suffers. Cookies spread too fast. Bread fails to rise. Roasts take forever. The good news is that you do not need fancy tools or advanced skills to fix it. A basic oven thermometer, a few minutes of patience, and a clear step-by-step approach are enough. In this guide, we will walk through everything you need to know, from testing your current heat to adjusting digital and analog controls. You will also learn how to keep your oven accurate for years to come.
Key Takeaways
- Inaccurate ovens are common: Many home ovens drift by 10 to 50 degrees over time, affecting baking and roasting results.
- An oven thermometer is essential: You cannot calibrate properly without a reliable standalone thermometer to compare readings.
- Calibration steps vary by brand: Digital and analog controls require different adjustment methods, so check your manual first.
- Test at multiple temperatures: Check low, medium, and high heat to ensure your oven stays accurate across all settings.
- Avoid common mistakes: Opening the door too often, placing the thermometer incorrectly, or skipping preheat time can skew results.
- Regular checks prevent frustration: Recheck your oven every six to twelve months to catch drift before it ruins your recipes.
- Know when to call a pro: If calibration does not fix the issue, the heating element or thermostat may need professional repair.
📑 Table of Contents
Why Oven Temperature Accuracy Matters
Cooking and baking rely on precise heat. A few degrees might not matter when you reheat leftovers, but it makes a huge difference when you bake delicate pastries or roast meat. An oven that runs ten degrees hot can turn a soft chocolate chip cookie into a hard, burnt disc. An oven that runs fifteen degrees cold can leave a casserole undercooked in the center while the edges look fine. These problems are frustrating, but they are also very common.
Accurate heat also affects food safety. Poultry and ground meats need to reach safe internal temperatures to kill harmful bacteria. If your oven runs cool, you might think the food is done when it is not. On the other hand, an oven that runs too hot can dry out proteins before they reach a safe temperature. Getting the heat right protects both flavor and health.
How Ovens Lose Accuracy Over Time
Ovens do not stay perfect forever. The thermostat that controls the heating element can wear out. The sensor that reads the internal temperature can drift. Door seals can loosen, letting heat escape. Even frequent use, power surges, and age can change how your oven performs. Most manufacturers expect some drift, which is why many models include a calibration feature. Knowing how to calibrate oven temperature helps you reset that drift before it ruins your meals.
Signs Your Oven Needs Calibration
You may notice a few clues before you even test the heat. Cakes dome too fast and then collapse. Cookies bake unevenly. Roasted vegetables char on the outside while staying raw inside. Baking times feel unpredictable. If you have tried adjusting your technique and the results still feel off, the oven itself is likely the culprit. A quick thermometer test will confirm whether you need to calibrate oven temperature settings.
Tools You Need to Calibrate an Oven
You do not need a long shopping list. The most important tool is a standalone oven thermometer. Analog dial thermometers are affordable and easy to read. Digital probe thermometers give faster readings and often show more precise numbers. Either option works well for home use. Just make sure the thermometer is rated for oven temperatures and can withstand high heat.
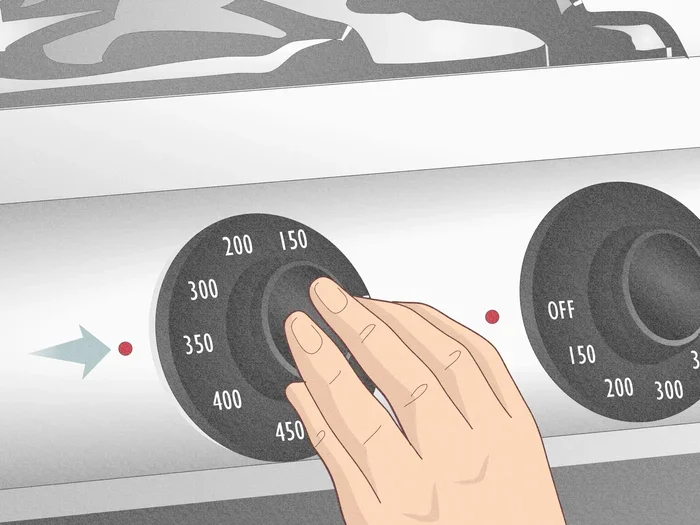
Visual guide about oven temperature calibration dial
Image source: wikihow.com
You will also want your oven user manual if possible. The manual explains where the calibration setting lives on your specific model. Some ovens store the adjustment in a hidden menu. Others use a physical dial or a combination of button presses. If you cannot find the manual, search online using your oven model number. Most manufacturers post digital copies of their guides.
Choosing the Right Oven Thermometer
Not all thermometers perform the same. A good oven thermometer should respond quickly and stay accurate after repeated use. Look for a wide temperature range that covers both low warming settings and high roasting heat. If you bake often, a digital model with a clear display can make reading easier. If you prefer a simple tool, a sturdy analog dial works just fine. The key is consistency. You want a thermometer you can trust when you calibrate oven temperature.
Optional Helpful Items
A notepad helps you record temperature readings at different settings. A timer reminds you to check the oven after it has fully preheated. Oven mitts keep your hands safe when you place or remove the thermometer. These small items make the process smoother and safer.
Step by Step: How to Calibrate an Oven Temperature
The process is straightforward once you break it into stages. First, you test the current temperature. Next, you find the calibration setting for your oven type. Then you adjust the heat and verify the results. Follow each step carefully, and you will know exactly how to calibrate an oven temperature without guessing.
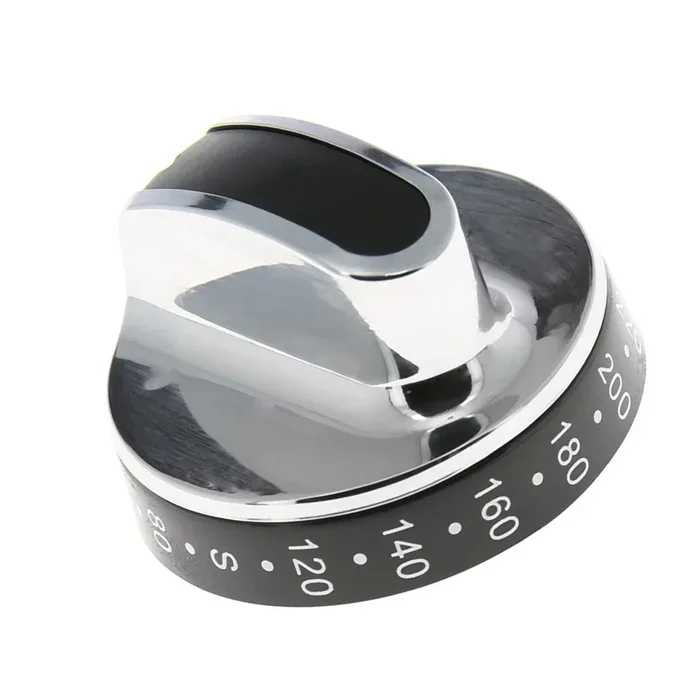
Visual guide about oven temperature calibration dial
Image source: i.ebayimg.com
Step 1: Test Your Current Oven Temperature
Place your oven thermometer on the center rack. For the most accurate reading, position it where it can sit flat and unobstructed. If your thermometer hangs, use the built-in hook or a small clip so it stays upright. Preheat the oven to a common baking temperature, such as 350 degrees Fahrenheit. Give the oven enough time to fully preheat. Many ovens beep early, but the interior may still be stabilizing.
Once the oven has preheated, wait a few more minutes. Then check the thermometer through the door window if possible. Opening the door too soon can drop the temperature quickly. Record the reading. If the thermometer matches your set temperature within a few degrees, your oven may already be close to accurate. If the reading is significantly higher or lower, you likely need to adjust the calibration.
Step 2: Find the Calibration Setting
The next step depends on your oven controls. Some ovens use digital displays with hidden menus. Others use analog knobs with a small calibration screw or offset dial. The location varies by brand and model, so your manual is the best guide. In many digital ovens, you can access the calibration mode by pressing a combination of buttons while the oven is off or in a standby state. The display may show a calibration prompt or a temperature offset option.
For analog ovens, the adjustment is often physical. You may find a small screw near the temperature dial or a numbered ring that lets you shift the reading. Turn the adjustment slowly and note the change. Small movements matter. A tiny adjustment can shift the heat by several degrees. If you are unsure, make one change at a time and test again.
Step 3: Adjust and Verify the Results
After you change the calibration setting, run another test. Preheat the oven to the same temperature you used before. Place the thermometer in the same spot. Wait for the oven to stabilize, then check the reading. If the thermometer now matches the set temperature more closely, you have successfully learned how to calibrate an oven temperature for that range.
It is smart to test more than one temperature. Try a lower setting, such as 300 degrees, and a higher one, such as 400 degrees. Some ovens drift differently at different heat levels. If the readings stay consistent across multiple tests, your adjustment is working well. If one range still feels off, you may need a finer adjustment or a second look at the manual.
Quick Tips for Accurate Testing
- Preheat fully: Give the oven extra time after the beep so the heat can settle.
- Keep the door closed: Peek through the window when possible to avoid heat loss.
- Use the center rack: This spot usually reflects the oven’s average temperature best.
- Test more than once: Run the same test twice to confirm consistent results.
- Write down your numbers: A simple log helps you compare before and after readings.
Common Mistakes to Avoid
Even a simple process can go wrong if you skip important details. One common mistake is checking the thermometer too early. If the oven has not fully stabilized, the reading will not reflect the true temperature. Another mistake is placing the thermometer too close to the wall, the heating element, or the door. Those spots can give misleading numbers because heat is not evenly distributed there.
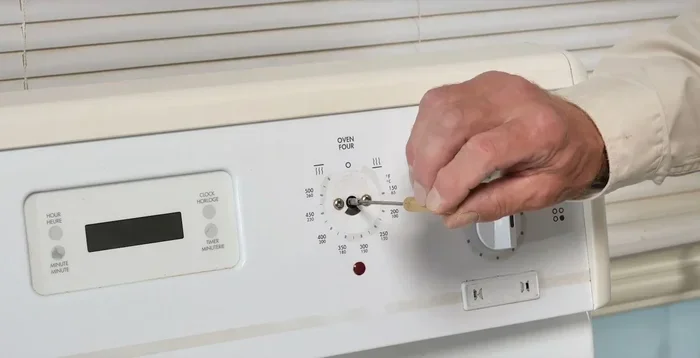
Visual guide about oven temperature calibration dial
Image source: partselect.com
People also forget that calibration is not a one-time fix forever. Ovens can drift again with age and use. If you only adjust the settings once and never check them again, your oven may slowly lose accuracy. A regular checkup takes very little time and saves you from future baking disasters.
Mistake: Ignoring the User Manual
Every oven is a little different. Some models store calibration in a service menu. Others use a physical adjustment. Some do not allow user calibration at all. If you guess without checking the manual, you may waste time or make changes that do not apply to your appliance. When in doubt, look up the model number and read the manufacturer instructions before you calibrate oven temperature.
Mistake: Making Huge Adjustments
It is tempting to turn the dial a lot when the reading looks far off. That can overshoot the mark and make the problem worse. Small, careful changes are safer and easier to verify. If your oven is 25 degrees off, adjust a little, test again, and repeat if needed. Patience gives you better control and more accurate results.
Common Mistakes at a Glance
- Checking temperature before the oven fully stabilizes
- Placing the thermometer near hot spots or cold spots
- Making large adjustments instead of small, tested changes
- Forgetting to test more than one temperature setting
- Skipping the manual and guessing the calibration method
- Assuming one adjustment will last forever without rechecking
When Calibration Is Not Enough
Sometimes the temperature problem is not just a settings issue. If your oven still runs far off after calibration, another component may be failing. The heating element could be weakening. The temperature sensor could be damaged. The door seal could be leaking heat. In these cases, calibration alone will not solve the problem. You may need a repair technician to inspect the appliance.
It is also possible that your oven has hot spots rather than a simple calibration error. Hot spots mean some areas heat faster than others. You can work around this by rotating pans during baking or moving food to a different rack position. Still, if the overall temperature is wrong, calibration should be your first step before assuming the oven needs major repair.
Checking for Hot Spots
To spot uneven heating, place a few spoonfuls of flour or a thin layer of batter on a tray and bake briefly. Areas that brown faster indicate hotter zones. You can also move your thermometer to different rack positions and compare readings. This helps you understand how your oven behaves in real use. If the issue is uneven heat, you can adjust your baking style even if the thermostat itself is acceptable.
When to Call a Professional
Call for help if your oven fails to reach temperature at all, if the heating element glows unevenly, or if the display shows error codes. Also seek professional service if the oven works but the temperature remains wildly inaccurate after calibration. A technician can test the sensor, thermostat, and heating parts to find the real cause. Knowing how to calibrate oven temperature is valuable, but it does not replace repairs when a component is broken.
Keeping Your Oven Accurate Over Time
Once your oven is calibrated, a little maintenance helps it stay that way. Keep the interior clean so grease and food buildup do not interfere with heat distribution. Check the door seal for cracks or gaps. Make sure the oven is level, since uneven placement can affect how heat circulates. Avoid slamming the door, which can wear the seal over time.
It is also wise to recheck the temperature every six to twelve months. If you bake often, you may want to test more frequently. Seasonal changes, heavy use, and power fluctuations can all affect performance. A quick thermometer check takes only a few minutes and gives you peace of mind. If you ever buy a new oven, run the same test early so you know how the appliance behaves from the start.
Simple Maintenance Habits
- Wipe spills promptly: Built-up residue can affect heat and flavor.
- Inspect the door gasket: A tight seal helps the oven hold steady heat.
- Use consistent rack positions: This makes your testing and baking more predictable.
- Recalibrate after big changes: If the oven gets moved or serviced, test it again.
- Keep a small log: Note your thermometer readings for future comparison.
Final Thoughts on Oven Calibration
Learning how to calibrate an oven temperature is one of the most useful kitchen skills you can add. It costs very little, takes almost no time, and can dramatically improve your cooking and baking results. With a reliable thermometer, a careful test, and the right adjustment for your oven type, you can bring your appliance back into line. That means better cookies, more reliable roasts, and fewer surprises when you open the oven door.
Do not assume your oven is perfect just because it shows a number on the dial. Test it, adjust it, and check it again when needed. A well-calibrated oven makes everyday cooking easier and more predictable. Once you know your heat is accurate, you can focus on the fun part: making great food.
Frequently Asked Questions
How do I know if my oven temperature is inaccurate?
The easiest way is to place an oven thermometer inside and compare the reading to your set temperature. If the difference is large, your oven likely needs calibration. Uneven baking results can also be a warning sign.
Can I calibrate any oven at home?
Many home ovens allow user calibration, but not all models do. Digital ovens often include a calibration menu, while some analog ovens use a small adjustment screw or dial. Check your manual to see whether your oven supports it.
What temperature should I use to test my oven?
A common baking temperature like 350 degrees Fahrenheit works well for an initial test. It is also helpful to test a lower and higher setting so you can see how the oven performs across different heat levels.
Do I need a special oven thermometer?
You need a thermometer that can safely handle oven heat and give a clear reading. A basic analog or digital oven thermometer is enough for most households. The most important thing is that it is reliable and easy to read.
Why is my oven still off after calibration?
The problem may be a faulty sensor, a worn heating element, or heat leaking from a poor door seal. It could also mean your oven has uneven hot spots rather than a simple calibration error. If the issue continues, consider a professional inspection.
How often should I recheck my oven temperature?
Every six to twelve months is a good routine for most homes. If you bake often or notice changes in cooking results, check it sooner. Rechecking after moving the oven or servicing it is also a smart idea.



