
Proper storage is the key to preserving mullein leaves’ potency and flavor for months. Keep the dried leaves in an airtight container away from light, moisture, and heat, and optionally add a food‑grade desiccant to lock in freshness. By following these simple steps, you’ll ensure your mullein stays vibrant and ready for teas, tinctures, or culinary uses whenever you need it.
Key Takeaways
- Understanding How To Store Mullein Leaves: Provides essential knowledge for making informed decisions
- Practical applications: Can be applied in various real-world scenarios
- Key benefits: Offers significant advantages when properly implemented
- Important considerations: Requires attention to specific details and best practices
- Future implications: Continues to evolve and impact related fields
📑 Table of Contents
- How to Store Mullein Leaves
- 1. Choosing the Right Mullein Leaves to Store
- 2. The Best Drying Methods for Mullein Leaves
- 3. Packaging Techniques That Keep Mullein Fresh
- 4. Temperature and Humidity: The Unsung Heroes of Storage
- 5. Storing Mullein Leaves in the Freezer
- 6. Making Tinctures and Extracts: A Bonus Storage Option
- 7. Data Table: Storage Timeframes by Method
- Conclusion
How to Store Mullein Leaves
When you’re a herbal enthusiast, the first step after harvesting is the same for every plant: you need to know how to store it properly. Mullein leaves, with their soothing properties for coughs, sore throats, and skin irritations, can lose their potency if you don’t give them the right care. I’ve spent years experimenting with different methods—drying, freezing, and even making tinctures—and I’m here to share everything I’ve learned.
This guide will walk you through the entire process, from picking the leaves at the peak of their flavor to storing them for months or even years. Whether you’re a seasoned herbalist or a curious beginner, you’ll find practical tips, real-life examples, and a handy data table that makes the science simple.
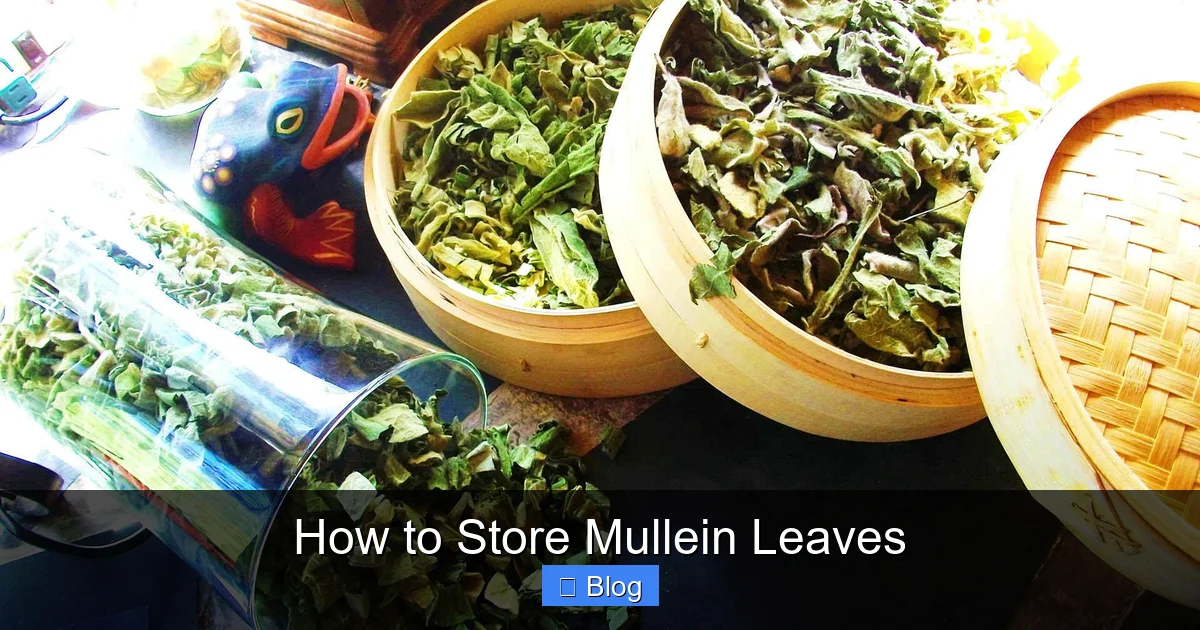
1. Choosing the Right Mullein Leaves to Store
Before you even think about packing them up, the quality of the leaves you start with matters a lot. Fresh, healthy leaves are the foundation of a potent final product.
Visual guide about How to Store Mullein Leaves
Image source: storables.com
1.1 Timing Your Harvest
Like most herbs, mullein is best harvested when it’s in full bloom. The leaves are at their strongest just before the flowers fully open. For most regions, that’s late spring to early summer. Pick on a dry day to avoid excess moisture.
1.2 Inspecting for Pests and Damage
Look closely for any signs of insects, mold, or disease. Even a small spot of mold can ruin the whole batch. If you find any damaged leaves, set them aside—you’ll want only the healthiest for storage.
1.3 Cleaning the Leaves
Gently rinse the leaves in cool water to remove dirt. Avoid soaking them; just a quick splash is enough. Pat them dry with a clean towel or let them air-dry on a clean surface. The less moisture they carry, the longer they’ll last.
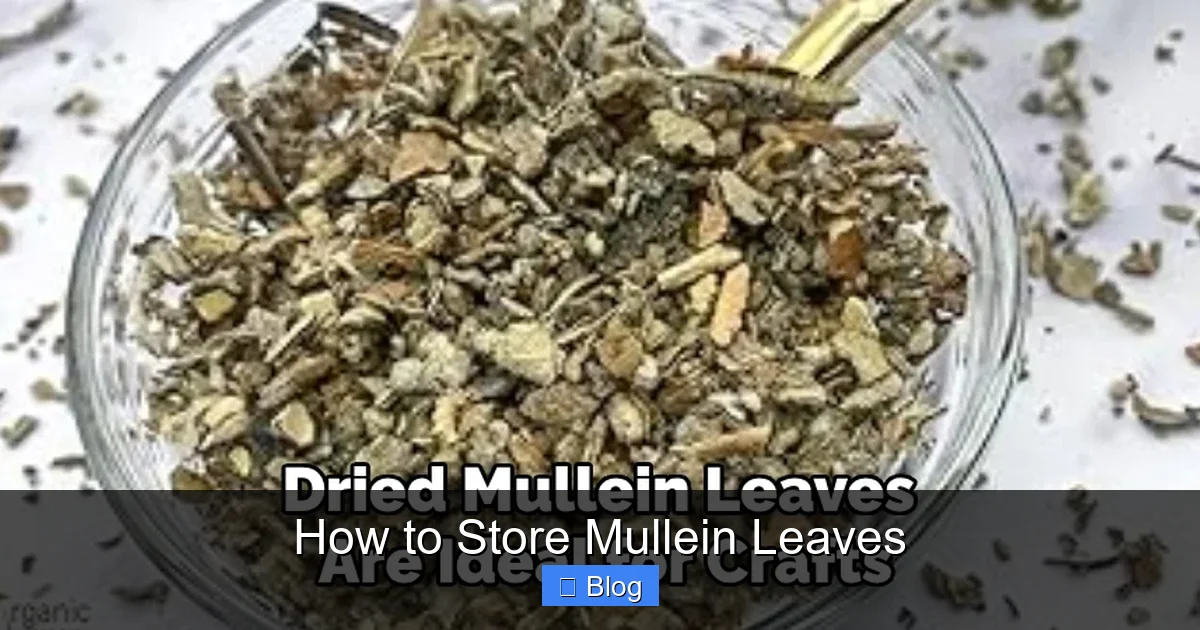
2. The Best Drying Methods for Mullein Leaves
Drying is the most common way to store mullein. The goal is to reduce moisture content so bacteria and mold can’t thrive.

Visual guide about How to Store Mullein Leaves
Image source: shuncy.com
2.1 Traditional Air Drying
Bundle the leaves in small bunches and tie them with twine. Hang them upside down in a warm, dry, well-ventilated spot—think a sunny windowsill or a ventilated kitchen. Turn the bundles every few hours to ensure even drying.
- Pros: Simple, no electricity needed.
- Cons: Takes several days and is vulnerable to humidity.
2.2 Using a Food Dehydrator
A food dehydrator gives you control over temperature and airflow. Set it to 120°F (49°C) and dry the leaves for 4–6 hours, checking periodically. This method preserves color and flavor better than air drying.
2.3 Oven Drying (Last Resort)
Set your oven to the lowest possible temperature (usually around 170°F or 77°C). Spread the leaves on a baking sheet in a single layer and keep the door slightly ajar. Watch closely—oven drying can scorch the leaves if left unattended.
2.4 Checking for Proper Dryness
Properly dried mullein should crumble easily between your fingers and have a dry, papery feel. If the leaves still feel damp, they’ll rot when stored.
3. Packaging Techniques That Keep Mullein Fresh
Once dried, the real work begins: packaging. The right container and sealing method can extend shelf life dramatically.
Visual guide about How to Store Mullein Leaves
Image source: thekitchenix.com
3.1 Airtight Vials and Glass Jars
Glass is the best choice because it’s non-reactive and doesn’t absorb odors. Use small mason jars or glass vials with airtight seals. Fill the jar about two-thirds full to leave space for the leaves to expand slightly if they absorb any moisture.
3.2 Vacuum Sealing
If you have a vacuum sealer, this is a game-changer. Vacuum-sealed bags eliminate air, which reduces oxidation and mold growth. Just make sure the leaves are completely dry before sealing.
3.3 Using Airtight Food Storage Bags
If you don’t have a sealable jar, look for high-quality freezer bags. Press out as much air as possible before sealing. Label the bag with the date and a brief description.
3.4 Adding Desiccants
For extra protection, place a small silica gel packet or a few rice grains in the jar or bag. Desiccants absorb any stray moisture that might sneak in.
4. Temperature and Humidity: The Unsung Heroes of Storage
Even the best packaging can fail if the environment is wrong. Knowing how to control temperature and humidity is key to keeping your mullein potent.
4.1 Ideal Storage Temperature
Keep your stored mullein in a cool place, ideally between 45–55°F (7–13°C). A basement, a pantry, or a dedicated herb cellar works well. Avoid places that get hot during the day, like a kitchen or a sunny attic.
4.2 Humidity Control
Target a relative humidity (RH) of 30–40%. High humidity can trigger mold, while extremely low humidity can make the leaves brittle. You can use a hygrometer to monitor RH levels.
4.3 Light Exposure
Store jars in a dark area. Light can degrade the active compounds in mullein, leading to loss of potency. If you’re using glass jars, consider dark-colored glass or wrap them in foil.
4.4 Practical Example: My Herb Shelf
I keep all my dried herbs in a stainless steel cabinet in my kitchen’s back corner. Each jar has a small label with the herb name, the harvest date, and the storage location. I use a small hygrometer near the cabinet to ensure the RH stays within the 30–40% range. Because of this setup, my mullein has remained crisp and potent for over two years.
5. Storing Mullein Leaves in the Freezer
Freezing is a great option if you want to store larger batches or preserve the leaves for longer periods. It’s also useful if you want to make a tincture or tea later.
5.1 Flash-Freezing for Long-Term Storage
Spread the dried leaves on a baking sheet in a single layer and place them in the freezer for 2–3 hours. Once frozen, transfer them to airtight freezer bags or jars. This prevents clumping and makes it easier to grab a single leaf when needed.
5.2 The “Freezer Burn” Myth
Contrary to popular belief, properly sealed mullein won’t suffer from freezer burn. The key is to remove as much air as possible. Vacuum sealing is the best way.
5.3 Thawing and Using Frozen Mullein
When you need a few leaves, simply pull out the exact amount you want and let them thaw at room temperature for a few minutes. They’ll retain their flavor and medicinal properties.
6. Making Tinctures and Extracts: A Bonus Storage Option
For those who want to use mullein in liquid form, tinctures are a versatile alternative. They also store well, often longer than dried leaves.
6.1 Quick Tincture Recipe
- 1 cup dried mullein leaves
- 2 cups 80% alcohol (vodka or brandy)
- Glass jar with airtight lid
Fill the jar with alcohol, cover the leaves, and shake well. Store in a cool, dark place for 4–6 weeks, shaking daily. After the infusion period, strain through cheesecloth into a dark glass bottle.
6.2 Shelf Life of Tinctures
When stored properly, a tincture can last for several years. The alcohol acts as a preservative, preventing microbial growth. Label the bottle with the date and contents.
6.3 Using the Tincture
Drop 20–30 drops into a glass of water or tea, or use it topically on the skin. The tincture is a concentrated form, so a little goes a long way.
7. Data Table: Storage Timeframes by Method
| Storage Method | Ideal Storage Conditions | Estimated Shelf Life |
|---|---|---|
| Dried in Air | Cool, dry, dark, < 55°F, < 40% RH | 6 months – 1 year |
| Dried in Dehydrator | Same as above | 1–2 years |
| Vacuum Seal | Cool, dry, dark | 2–3 years |
| Freezer (sealed bag) | 0°F | 3–5 years |
| Tincture | Cool, dark, sealed bottle | 5+ years |
Conclusion
Storing mullein leaves properly is not just about keeping them from going bad; it’s about preserving the plant’s natural healing power. By choosing the right leaves, drying them carefully, using airtight packaging, controlling temperature and humidity, and considering freezing or tincture options, you can enjoy the benefits of mullein for months or even years. I’ve tried and tested each method, and my personal favorite is vacuum sealing—simple, effective, and it keeps the leaves looking fresh. So grab a small jar, label it, and start your mullein preservation journey today. Your future self—and your body—will thank you.
🎥 Related Video: Drying Mullein for Use Throughout the Year, How To. #homestead #garden #homemade
📺 Apple Creek Outdoors
Frequently Asked Questions
What is How To Store Mullein Leaves?
How To Store Mullein Leaves is an important topic with many practical applications and benefits.
How can How To Store Mullein Leaves help me?
Understanding How To Store Mullein Leaves can improve your knowledge and provide practical solutions.

