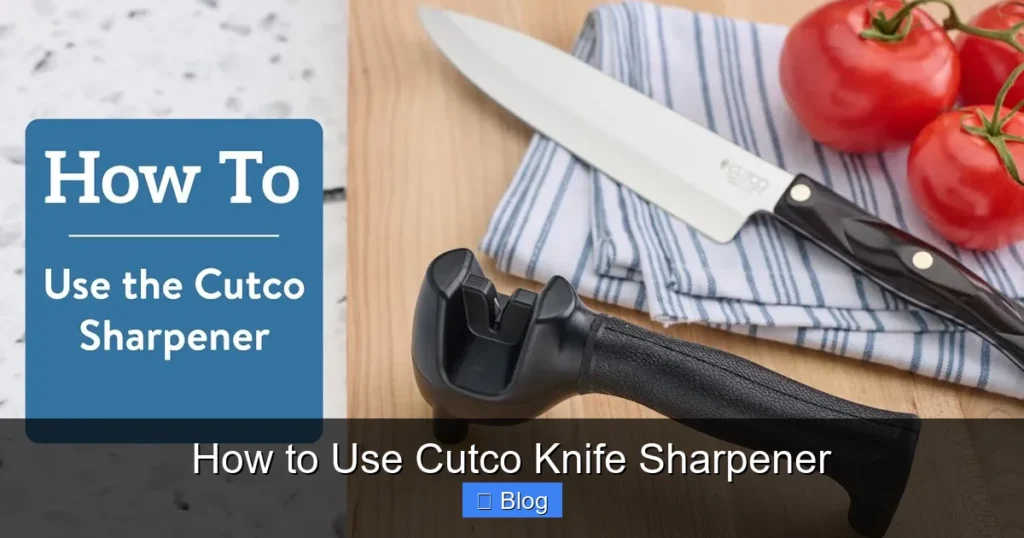
Want a razor‑sharp edge on your Cutco knives? Using the Cutco knife sharpener is simple and quick. Follow our friendly guide to master the technique and keep your knives in peak condition.
Key Takeaways
- Understanding How To Use Cutco Knife Sharpener: Provides essential knowledge
📑 Table of Contents
Introduction: Why a Sharp Knife Matters
Imagine slicing a tomato with a dull blade. The knife crushes the flesh, the skin tears, and you end up with a mushy mess. A sharp knife glides through food, giving you clean cuts, better flavor, and less effort. That’s why keeping your Cutco knives sharp isn’t just a luxury—it’s a kitchen essential.
Cutco knives are known for their high‑quality steel and ergonomic design. Even the best steel dulls over time, especially with frequent chopping, slicing, and mincing. The good news? Cutco provides a compact, easy‑to‑use handheld sharpener that restores edge in seconds. This article walks you through every step, from setting up the sharpener to mastering the perfect stroke, so you can enjoy that “new‑knife” feel again.
Understanding the Cutco Knife Sharpener
What’s Inside the Sharpener?
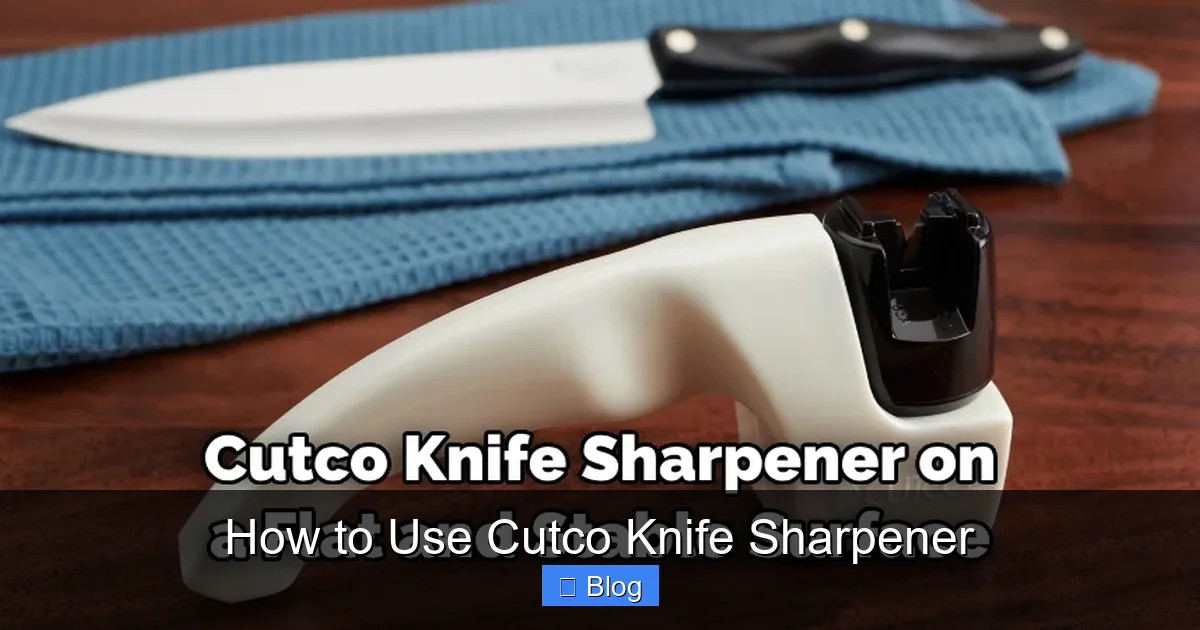
The Cutco sharpener is a small, rectangular tool with two distinct surfaces:
Visual guide about How to Use Cutco Knife Sharpener
Image source: i.ytimg.com
- Coarse (blue) side: Rough grit, designed to reshape a very dull or nicked edge.
- Fine (white) side: Smooth grit, used for regular honing and polishing.
Both sides are made of high‑density ceramic, which is gentler than metal stones and won’t remove too much steel when used correctly.
Why Two Grits?
The coarse side removes material quickly, creating a new bevel. The fine side refines that bevel, aligning the microscopic teeth for a razor‑sharp finish. Skipping the coarse side on a dull blade can lead to uneven edges, while using only the coarse side leaves a rough edge that won’t cut cleanly.
Preparing to Sharpen
Gather Your Tools
Before you start, make sure you have:
Visual guide about How to Use Cutco Knife Sharpener
Image source: thekitchenix.com
- The Cutco knife sharpener (both sides intact)
- Your Cutco knife (or any steel blade you wish to sharpen)
- A clean, dry work surface (a cutting board or a non‑slip mat works well)
- A soft cloth for wiping the blade after sharpening
Safety First
Sharp knives can be dangerous if handled incorrectly. Follow these simple safety steps:
- Hold the sharpener firmly with one hand, fingers wrapped around the base.
- Grip the knife handle with the other hand, thumb on the spine for control.
- Keep your fingers away from the sharpening edge at all times.
- Work on a stable surface to prevent the sharpener from sliding.
Determine the Blade Angle
Cutco knives are factory‑sharpened at roughly a 20° angle. Replicating this angle gives the best results. A quick tip: imagine a 90° right angle and divide it into four—each quarter is about 22.5°. Aim slightly less than that, and you’ll be close enough.
Step‑by‑Step Guide to Using the Sharpener
1. Position the Sharpener
Place the sharpener on your work surface with the coarse side facing up if the blade is very dull. If the knife only needs a light touch‑up, start with the fine side.
Visual guide about How to Use Cutco Knife Sharpener
Image source: i.ytimg.com
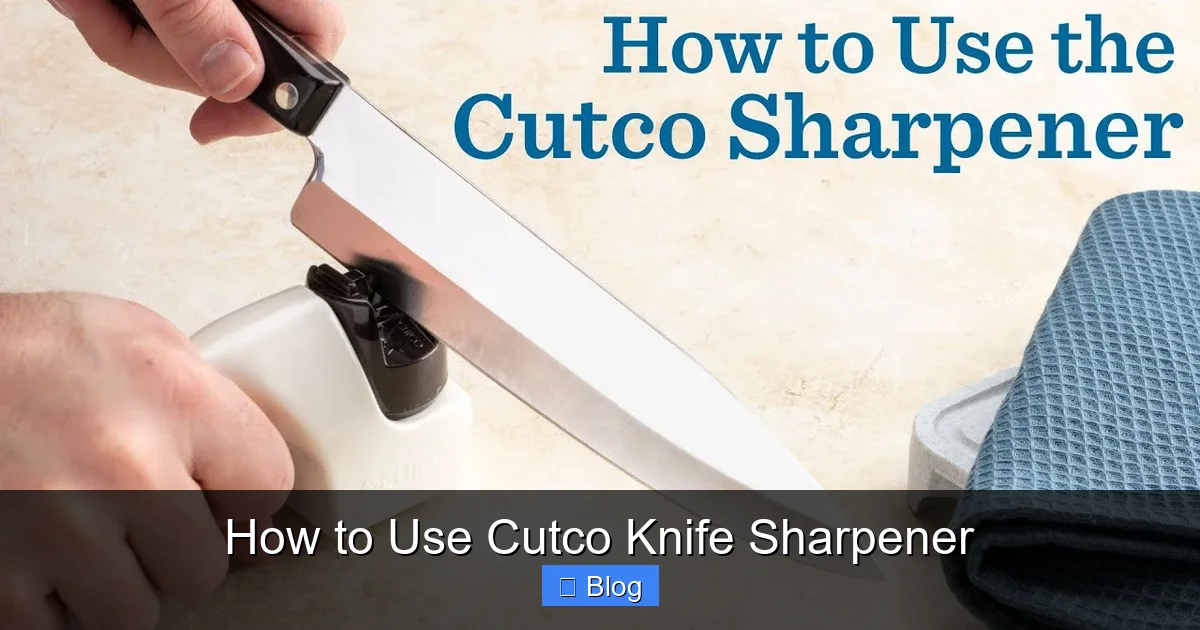
2. Align the Blade
Hold the knife so the spine (the back of the blade) rests against the base of the sharpener. The edge should meet the ceramic surface at the 20° angle you visualized earlier.
3. Apply Light Pressure
Press the blade gently against the stone. Too much pressure can remove excess steel and create a rounded edge. Think “light as a feather” while maintaining contact.
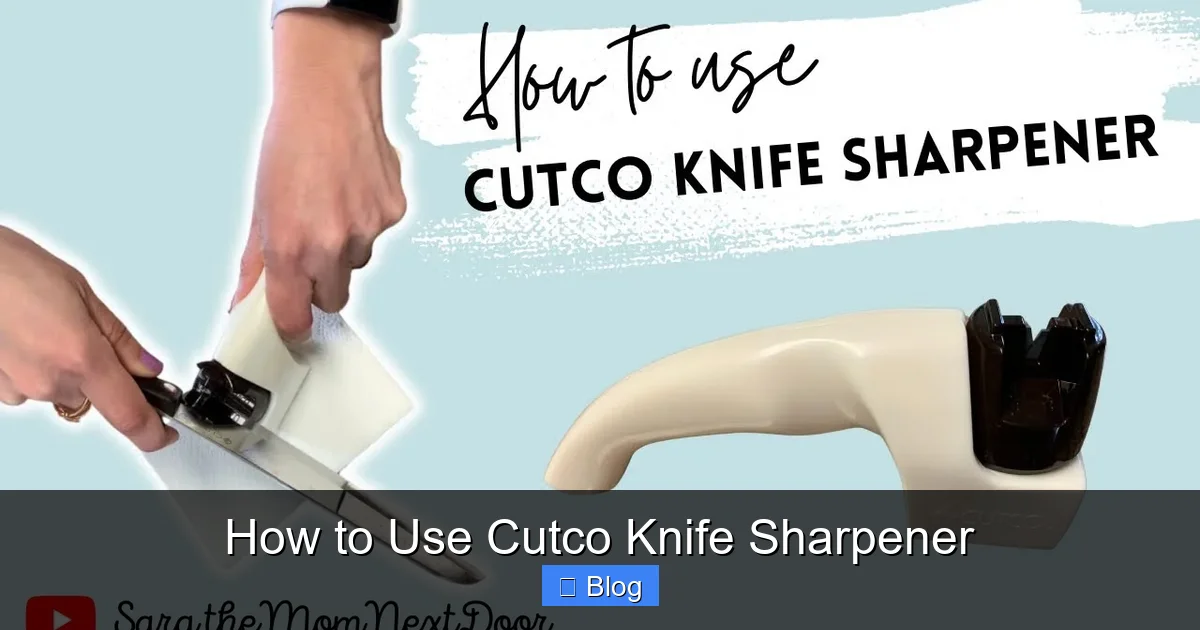
4. Pull the Knife Across
Slide the knife from heel to tip in a smooth, continuous motion. Count the strokes:
- Coarse side: 3–5 strokes per side for a very dull blade.
- Fine side: 5–7 strokes per side for polishing.
Always pull the blade away from you, never push it toward you. This reduces the risk of the blade slipping.
5. Flip and Repeat
After completing the strokes on one side, flip the knife and repeat the same number of strokes on the opposite side. This keeps the edge symmetrical.
6. Test the Edge
Run the blade across a piece of paper. A sharp knife will slice cleanly without tearing. You can also gently feel the edge with your thumb (careful!)—a slight “bite” indicates sharpness.
7. Clean and Store
Wipe the blade with a soft cloth to remove metal filings. Clean the sharpener’s surface with a dry cloth as well. Store the sharpener in a dry cabinet or drawer to prevent rust.
Tips for Maintaining Sharpness
Regular Honing
Even if you don’t use the coarse side often, run the fine side across the blade after each few uses. This maintains the edge and reduces the need for heavy sharpening.
Avoid Common Mistakes
- Over‑sharpening: Sharpening a blade too often removes steel, shortening the knife’s life.
- Wrong angle: Too steep an angle creates a thick edge that cuts poorly.
- Using a dirty sharpener: Metal particles can scratch the blade.
When to Use the Coarse Side
Use the coarse side only when the blade is visibly dull, has chips, or after a tough job (like cutting frozen meat). For everyday kitchen work, the fine side is sufficient.
Storing Your Cutco Knives
Store knives in a block, on a magnetic strip, or in a sheath. Keep them away from moisture to avoid corrosion. A well‑maintained knife stays sharp longer.
Frequently Encountered Problems and Solutions
Problem: Blade Still Dull After Sharpening
Solution: Ensure you’re using the correct angle and applying enough strokes. If the blade is heavily nicked, you may need to repeat the coarse side a few more times.
Problem: Uneven Edge
Solution: Check that you’re pulling the knife straight from heel to tip. A wobbling motion creates uneven bevels. Use a guide or practice on a cheap kitchen knife first.
Problem: Sharpener Won’t Stay in Place
Solution: Place a non‑slip silicone mat under the sharpener. This gives it extra grip on smooth countertops.
Conclusion: Keep Cutting with Confidence
Using the Cutco knife sharpener is a quick, low‑maintenance way to keep your kitchen knives performing at their best. By following the simple steps—setting the right angle, using the appropriate grit, and applying consistent strokes—you’ll enjoy clean cuts and a safer cooking experience. Remember to hone regularly, store properly, and treat your knives with respect. In no time, you’ll wonder how you ever cooked with a dull blade.
🎥 Related Video: How to Use the Cutco Knife Sharpener
📺 Cutco Cutlery
Learn how to sharpen Cutco knives at home for regular maintenance with these step-by-step instructions using Cutco’s Knife …
Frequently Asked Questions
How often should I sharpen my Cutco knives?
For regular home use, run the fine side of the sharpener across the blade after every 8–10 uses. Use the coarse side only when the knife feels noticeably dull or has visible nicks.
Can I use the Cutco sharpener on other brands of knives?
Yes, the sharpener works on most stainless steel kitchen knives. Just be mindful of the blade angle; some non‑Cutco knives may have a slightly different factory angle.
Is the sharpener safe for serrated knives?
No. The ceramic surfaces are designed for straight edges. Serrated knives require a specialized serrated‑edge sharpener.
Do I need to lubricate the sharpener?
No lubrication is needed. The ceramic material works dry, and adding oil can actually attract metal filings.
What if I over‑sharpen and remove too much steel?
If you notice a noticeably thinner blade or a change in the knife’s shape, stop sharpening and consider professional re‑profiling. Over‑sharpening is rare if you follow the recommended stroke count.
How do I clean the sharpener after use?
Wipe the ceramic surfaces with a dry, soft cloth. If metal particles are stubborn, a gentle brush (like a soft toothbrush) can be used. Avoid water or harsh cleaners.

