Canning chicken soup without a pressure cooker is not only possible—it’s safe and delicious. Using a boiling water bath or dial-gauge pressure canner (not a water bath) ensures your homemade soup stays shelf-stable. This guide walks you through every step: preparing ingredients, choosing the right jars, processing times, and safety tips. Whether you’re stocking up for winter or sharing meals with loved ones, mastering this technique means peace of mind and tasty results every time.
Canning chicken soup without a pressure cooker might sound impossible at first—after all, isn’t that what pressure cookers are for? But here’s the truth: while pressure cookers speed up cooking, they aren’t designed for long-term food preservation. That said, you absolutely **can** safely can chicken soup without one—just not with a simple boiling water bath. The secret lies in understanding food safety, knowing which equipment works, and following trusted guidelines.
Whether you’re a seasoned home preserver or just starting out, this guide will walk you through everything you need to know about making shelf-stable chicken soup using alternative methods. From choosing the right jars to mastering heat distribution, we’ll make sure your canned soups stay nutritious, flavorful, and safe for months (or even years).
Let’s dive in!
Key Takeaways
- Safety first: Only low-acid foods like chicken soup require a pressure canner—never use a water bath for meat-based recipes.
- Proper prep matters: Skim fat, cool broth, and use fresh ingredients to prevent spoilage and improve texture.
- Jar selection is key: Use only tested, food-safe glass jars with proper lids; never reuse old rings or lids.
- Follow tested guidelines: Refer to USDA or National Center for Home Food Preservation for exact processing times and altitudes.
- Cooling & storage: After canning, let jars sit undisturbed for 12–24 hours before checking seals and storing in a cool, dark place.
- Troubleshooting leaks: If a jar doesn’t seal, refrigerate and consume within days—do not re-can it.
- Flavor boosters: Add herbs, garlic, or bay leaves near the end of cooking to preserve aroma and avoid bitterness.
📑 Table of Contents
- Understanding Why You Can’t Use a Water Bath for Chicken Soup
- What Equipment Do You Really Need?
- Preparing Your Chicken Soup for Canning
- Step-by-Step Canning Process
- Altitude Adjustments Are Crucial
- Common Mistakes and How to Avoid Them
- Storing and Using Your Canned Chicken Soup
- Alternative Preservation Methods (If You Can’t Pressure Can)
- Final Thoughts: Safety Should Always Come First
Understanding Why You Can’t Use a Water Bath for Chicken Soup
Before we get into the “how,” let’s talk about the “why.” Why can’t you just throw chicken soup into a pot of boiling water and call it a day?
The answer comes down to acidity. Foods high in acid—like tomatoes, pickles, or citrus—can be safely preserved using a boiling water bath because their natural acidity prevents dangerous bacteria like *Clostridium botulinum* from growing. But chicken soup? It’s considered a **low-acid food**. That means it lacks enough acid to create an environment where harmful microbes can thrive, but also one that naturally resists them.
If you try to can low-acid foods like chicken soup in a boiling water bath, you risk creating conditions where toxins can form—even if the soup looks and smells fine. This is why **pressure canning is essential** for meats, poultry, fish, and vegetables packed in liquid.
But wait—what if you don’t own a pressure canner? Or maybe you lost yours during a move? Don’t panic! While a traditional dial-gauge pressure canner is ideal, there are alternatives—especially if you have access to an electric pressure cooker that’s certified for canning (like certain Instant Pot models). However, **a standard stovetop pressure cooker that isn’t rated for canning cannot be used safely**.
So when we say “without a pressure cooker,” we mean avoiding both regular pressure cookers and relying solely on a water bath—which simply won’t work for chicken soup.
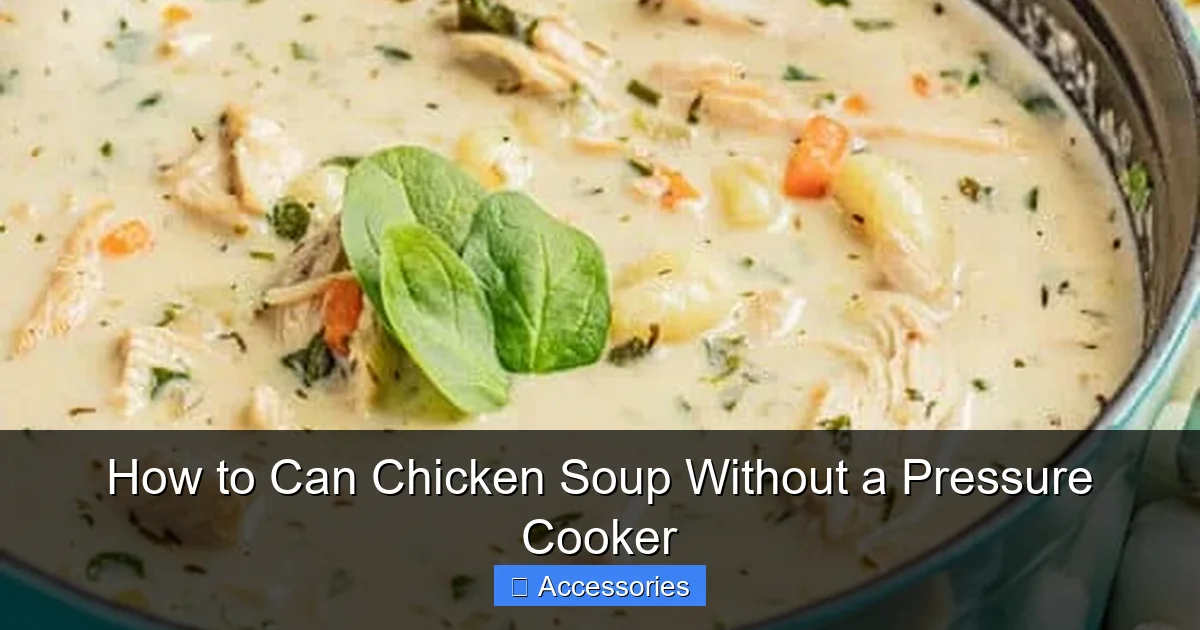
What Equipment Do You Really Need?
Visual guide about How to Can Chicken Soup Without a Pressure Cooker
Image source: static.wixstatic.com
You don’t need fancy gadgets or specialty tools to can chicken soup—just a few basics:
– A **tested pressure canner** (either stovetop with a dial gauge or weighted-gauge model). If you don’t have one, consider borrowing from a friend, renting from a local extension office, or purchasing a reliable model.
– **Food-grade glass jars** with two-piece lids (new lids every time—never reuse them).
– A **funnel** (plastic or metal) to fill jars without spilling.
– **Jar lifter tongs** for safe handling.
– A **lid lifter** (optional but helpful).
– A **timer** (kitchen timer or phone app works fine).
– A **sturdy lid rack or trivet** to keep jars above the bottom of the canner.
– **Clean kitchen towels** for wiping rims.
Now, if you truly don’t have a pressure canner… then unfortunately, **you cannot safely can chicken soup at home without one**. There are no shortcuts here. Attempting to do so could put your family at serious risk.
However, if you’ve borrowed a canner or picked one up recently, you’re ready to go!
Preparing Your Chicken Soup for Canning

Visual guide about How to Can Chicken Soup Without a Pressure Cooker
Image source: kitchengadgetsclub.com
The quality of your canned soup starts long before you touch the canner. Proper preparation ensures safety, texture, and taste.
Start With Fresh Ingredients
Use fresh, high-quality chicken (boneless, skinless breasts or thighs work well), vegetables (carrots, celery, onions), and herbs. Avoid frozen veggies unless thawed and drained thoroughly—excess moisture increases risk of spoilage.
Cook the Soup Fully
Simmer chicken and veggies until tender (about 20–30 minutes). Remove chicken, shred or dice it, then return it to the pot along with strained broth. Skim off any visible fat—it rises during cooling and can interfere with sealing or create off-flavors.
Strain and Cool the Broth
For cleaner texture and easier filling, strain the broth through a fine-mesh sieve or cheesecloth. Let it cool slightly (but not cold!) before ladling into jars. Hot liquid expands as it heats, helping create a vacuum seal later.
Avoid Overfilling
Leave **1 inch of headspace** at the top of each jar. This allows room for expansion during heating and helps maintain a proper seal. Use a funnel to prevent spills.
Add Flavor Carefully
Herbs like thyme or rosemary add great flavor—but add them after removing from heat, as prolonged simmering can turn them bitter. Garlic should be peeled and added whole or crushed; remove before filling if preferred.
Step-by-Step Canning Process
Visual guide about How to Can Chicken Soup Without a Pressure Cooker
Image source: thestayathomechef.com
Now comes the main event. Follow these steps precisely to ensure success:
1. Prepare the Pressure Canner
Fill your pressure canner with 2–3 inches of hot (not boiling) water. Place a rack inside to prevent jars from touching the bottom. Bring water to a boil over high heat.
2. Fill Jars Carefully
Warm your jars by running hot water through them (this reduces thermal shock). Pack hot soup into each jar, leaving 1-inch headspace. Wipe the rims clean with a damp cloth—no residue = better seal.
3. Seal and Process
Place lids on jars and screw bands finger-tight (don’t overtighten). Submerge jars fully in canner. Close lid securely. Increase heat to reach full pressure quickly.
For **dial-gauge canners**, bring to 10 psi (pounds per square inch) for 90 minutes at altitudes under 1,000 ft. Adjust time/pressure based on elevation (see chart below). For **weighted-gauge models**, follow manufacturer instructions—usually 10 psi for 90 minutes.
4. Vent and Cool
Once processing time ends, turn off heat and let pressure drop naturally (never force it!). Once gauge reads zero, open vent carefully, remove lid angled away from you, and lift jars out with tongs.
5. Cool and Test Seals
Place jars upright on towels in a draft-free area. Wait 12–24 hours before testing seals—press centers gently; unyielding = sealed. Store sealed jars in a cool, dark place.
Altitude Adjustments Are Crucial
Processing time and pressure vary significantly based on your elevation. Living above 1,000 feet? You must increase pressure or processing time.
Here’s a quick reference:
| Elevation | Dial-Gauge Pressure | Processing Time |
|——————|———————|—————–|
| 0–1,000 ft | 10 psi | 90 min |
| 1,001–6,000 ft | 11 psi | 90 min |
| Above 6,000 ft | 12 psi | 90 min |
Always double-check current recommendations from the [National Center for Home Food Preservation](https://nchfp.uga.edu/) or your local Extension Office—they update guidelines regularly.
Common Mistakes and How to Avoid Them
Even experienced canners make errors. Here’s how to dodge the most common pitfalls:
– Using old lids: Lids lose elasticity over time and won’t seal properly. Always use new lids for every batch.
– Not skimming fat: Excess fat creates separation and weakens seals. Skim thoroughly before filling.
– Overtightening bands: Too much torque prevents steam from escaping during processing, leading to explosion risks.
– Rushing cooling: Letting jars cool too quickly causes stress fractures. Keep them undisturbed.
– Ignoring headspace: Underfilling leads to poor seals; overfilling prevents expansion.
Also, never reuse leftover processed soup—it may have been contaminated during cooling.
Storing and Using Your Canned Chicken Soup
Proper storage makes all the difference. Once sealed, your cans last **up to 2 years** if kept in a cool (<70°F), dry, dark location. Check expiration dates annually. When ready to eat: - Open cans carefully (use a can opener designed for thick liquids). - Heat soup gently on stove or microwave—don’t boil vigorously, as this can destroy nutrients and cause breakage. - Stir well before serving to redistribute any separated solids. Leftovers? Refrigerate within 2 days and reheat thoroughly.
Alternative Preservation Methods (If You Can’t Pressure Can)
If owning a pressure canner isn’t an option, consider other preservation routes:
– **Freezing:** Freeze chicken soup in freezer-safe containers or bags. Label with date and freeze up to 6 months.
– **Vacuum sealing:** Pair with refrigeration or freezing for extended freshness.
– **Dehydrating:** Make soup powder by drying pureed soup in a dehydrator—great for soups mixes.
While these won’t give you shelf-stable soup indefinitely, they’re excellent alternatives for short-to-medium term storage.
Final Thoughts: Safety Should Always Come First
Canning is a rewarding skill, but it’s not something to take lightly. When done correctly, it provides delicious, nutritious meals year-round. But when done incorrectly, it can lead to illness or worse.
Remember: **If you don’t have a tested pressure canner, don’t attempt to can chicken soup.** There are no exceptions. Your health—and your family’s—depends on using the right tools and following science-backed methods.
That said, once you master this process, you’ll wonder how you ever lived without shelf-stable comfort food. And who knows? Maybe next time you’ll even share some with neighbors or donate to a local food bank—because nothing beats homemade chicken soup, especially when it’s made with care.
—
Frequently Asked Questions
Can I use a regular pot instead of a pressure canner?
No. Regular pots lack the internal pressure needed to safely preserve low-acid foods like chicken soup. Only a tested pressure canner (dial-gauge or weighted-gauge) meets food safety standards for canning meat-based recipes.
How long does canned chicken soup last?
Properly sealed and stored canned chicken soup remains safe for up to 2 years. Always check for bulging cans, off odors, or mold before consuming. When in doubt, throw it out.
Why is my chicken soup separating in the jar?
Separation usually happens due to excess fat or improper straining. Skim fat thoroughly before filling jars and ensure broth is fully cooled and strained. Gentle reheating can help recombine layers.
Can I add rice or pasta to canned chicken soup?
No. Starches like rice or pasta expand during processing and can rupture jars. Add these ingredients after opening the can and reheating the soup.
Do I need to add salt to canned chicken soup?
It depends on your preference and dietary needs. Salt enhances flavor and acts as a mild preservative, but it’s optional. Just be mindful of sodium intake if canning for others.
What if my jar doesn’t seal after processing?
If a jar fails to seal, refrigerate it immediately and consume the contents within 3–5 days. Never attempt to reprocess unsealed jars—this increases contamination risk.