Cleaning nonstick cookware doesn’t have to be complicated. With the right techniques, you can remove stubborn food residue, prevent scratches, and extend the life of your favorite pans. This guide walks you through safe cleaning practices, from daily wipe-downs to deep cleans, so your nonstick surfaces stay smooth and functional.
Cooking with nonstick cookware is a kitchen game-changer. Whether you’re frying eggs, searing fish, or sautéing vegetables, these pans promise effortless release and easy cleanup. But if you want your nonstick pans to last for years (and perform well every time), proper care is essential. Many people assume that because nonstick coatings are tough, they can handle any cleaning method—but that’s not true. Over time, harsh scrubbing, hot dishwashers, or metal utensils can break down the surface, leading to scratches, peeling, and even health concerns.
So how do you keep your nonstick cookware in top shape? The key lies in understanding what nonstick surfaces are made of and treating them gently. Most modern nonstick pans use a coating derived from polytetrafluoroethylene (PTFE), commonly known by the brand name Teflon®. This material is excellent at preventing food from sticking, but it’s also sensitive to high heat, rough handling, and certain chemicals. That means your cleaning routine needs to respect those limitations while still getting your pan sparkling clean.
In this article, we’ll walk you through everything you need to know about cleaning nonstick cookware—from everyday maintenance to tackling tough stains. You’ll learn which products to avoid, what tools are safe, and step-by-step instructions for both light and heavy-duty cleaning. Plus, we’ll share pro tips to help you maintain your pans between washes, so they stay smooth, functional, and beautiful for years to come. Let’s get started!
Key Takeaways
- Understanding How To Clean Nonstick Cookware: Provides essential knowledge
📑 Table of Contents
- Understanding Nonstick Cookware: What Makes It Special?
- Daily Cleaning Routine for Nonstick Pans
- Deep Cleaning Stuck-On Food and Grease Buildup
- Maintaining Nonstick Performance Between Cleans
- Safe Storage and Long-Term Care Tips
- Eco-Friendly and Cost-Effective Cleaning Alternatives
- Common Myths About Nonstick Cookware Debunked
- Final Thoughts: Treat Your Pans Like Family
Understanding Nonstick Cookware: What Makes It Special?
Before diving into cleaning methods, it’s helpful to understand why nonstick cookware requires special care. Unlike cast iron or stainless steel, nonstick pans feature a synthetic polymer coating applied over a metal base—usually aluminum or stainless steel. This coating reduces friction between food and the cooking surface, making it ideal for delicate items like eggs, pancakes, and fish fillets.
The science behind nonstick performance comes from molecular-level smoothness. When the coating remains intact and undisturbed, it creates a barrier that food simply slides off during cooking and rinses away easily afterward. However, once the coating starts to degrade due to excessive heat, abrasion, or harsh chemicals, tiny pits begin to form. These pits trap food particles and bacteria, eventually leading to peeling or flaking—not just ugly spots on your pan, but potential ingestion of microplastics, which raises health concerns.
That’s why prevention is better than cure. By following gentle cleaning routines and avoiding common mistakes, you protect the integrity of the nonstick surface and ensure safe, effective cooking. Think of it like caring for leather shoes—you wouldn’t throw them in the washing machine, right? The same principle applies here.
Daily Cleaning Routine for Nonstick Pans
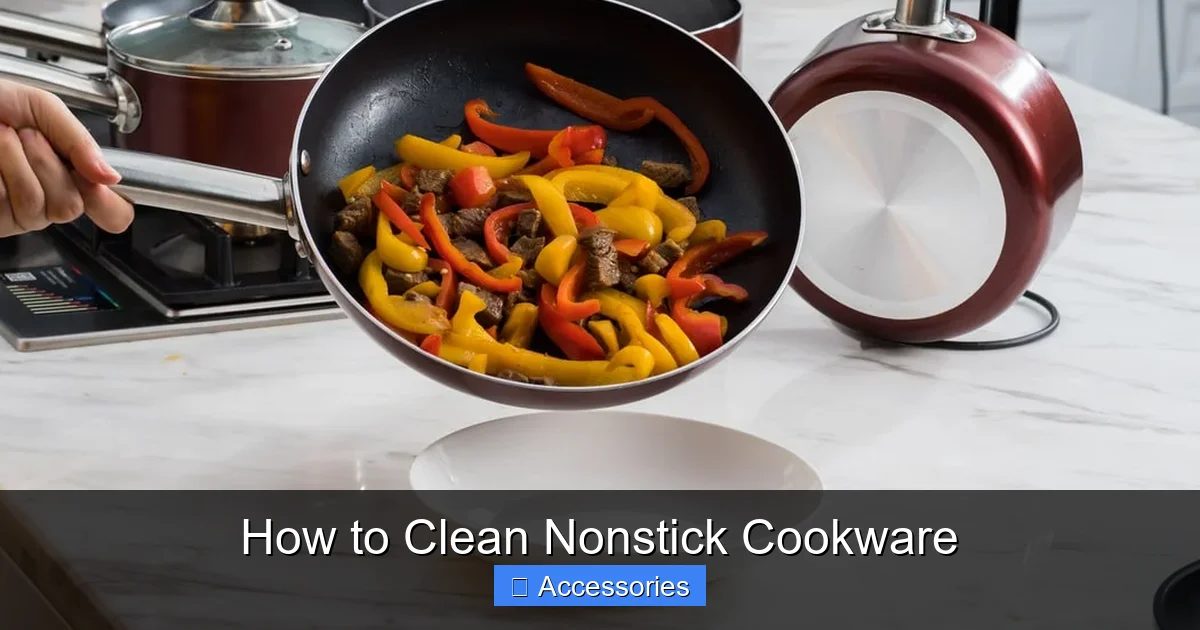
Visual guide about How to Clean Nonstick Cookware
Image source: nimvo.com
Most days, cleaning your nonstick cookware is as simple as wiping it down while it cools slightly. Never plunge a hot pan directly into cold water—this sudden temperature change can warp the metal base and separate the coating from the pan. Instead, let the pan cool for a few minutes, then rinse it under warm tap water to loosen any loose food bits.
For routine cleanup, use a soft sponge or non-abrasive cloth along with mild dish soap. Avoid anything with gritty particles (like baking powder or salt) that could act like sandpaper on the surface. Gently rub the interior and exterior, paying extra attention to the bottom where grease tends to accumulate. Once rinsed thoroughly, dry with a clean towel to prevent water spots.
If you’ve cooked something sticky—like oatmeal or melted cheese—let the pan soak in warm, soapy water for 10–15 minutes before scrubbing. This softens the residue and makes it much easier to remove without force. Remember: patience beats persistence when it comes to nonstick surfaces.
When to Skip the Scrubbing Brush
You might be tempted to reach for your trusty scrub brush every time, but resist! Even nylon brushes can leave microscopic scratches over time, especially if used with stiff bristles. Opt instead for silicone spatulas or soft sponges designed specifically for nonstick cookware. These tools provide enough friction to lift light grime but won’t damage the coating.
Also, consider using paper towels soaked in warm water as an alternative. They absorb oils and lift food particles without physical contact, reducing wear and tear. Just don’t leave the paper towel sitting too long—it can transfer fibers onto the surface or create moisture pockets that encourage rust on the metal underneath.
Deep Cleaning Stuck-On Food and Grease Buildup
Visual guide about How to Clean Nonstick Cookware
Image source: i.pinimg.com
Even with regular care, some meals leave behind stubborn residues. Burnt-on sauce, carbonized cheese, or dried egg yolk can harden and become nearly impossible to remove without effort. Here’s where a little DIY chemistry saves the day.
Start by filling your cooled pan with warm water and letting it soak for 20–30 minutes. Add a few drops of dish soap if needed. Then, mix equal parts baking soda and water to form a thick paste. Spread this over the affected areas and let it sit for another 10–15 minutes. Baking soda is mildly alkaline and acts as a gentle abrasive—perfect for breaking down organic matter without harming the nonstick layer.
After the paste has worked its magic, use a soft sponge or silicone scrubber to wipe away the loosened gunk. For extra power, try wrapping a damp microfiber cloth around your hand and rubbing in circular motions. If residue persists, repeat the process—but never scrape with metal!
Another effective trick involves vinegar. Boil a cup of white vinegar mixed with water in your pan for 10 minutes. The acidity helps dissolve mineral deposits and degreases the surface naturally. Rinse well afterward and dry completely.
What NOT to Use on Nonstick Surfaces
Certain household items are surprisingly damaging to nonstick coatings. Here’s a quick list of things to avoid:
– Metal utensils (spatulas, forks, knives): Even small nicks can compromise the coating.
– Steel wool or scouring pads: These act like sandpaper and instantly ruin the finish.
– Harsh bleach or ammonia-based cleaners: They strip away the polymer layer.
– Dishwashers (unless labeled safe): High heat and detergent enzymes accelerate degradation.
– Coarse salt or baking powder: Granular substances create tiny scratches.
If you accidentally scratch your pan, don’t panic—but do stop using it immediately. Minor scratches may not affect function right away, but they create entry points for bacteria and increase the risk of coating failure over time.
Maintaining Nonstick Performance Between Cleans
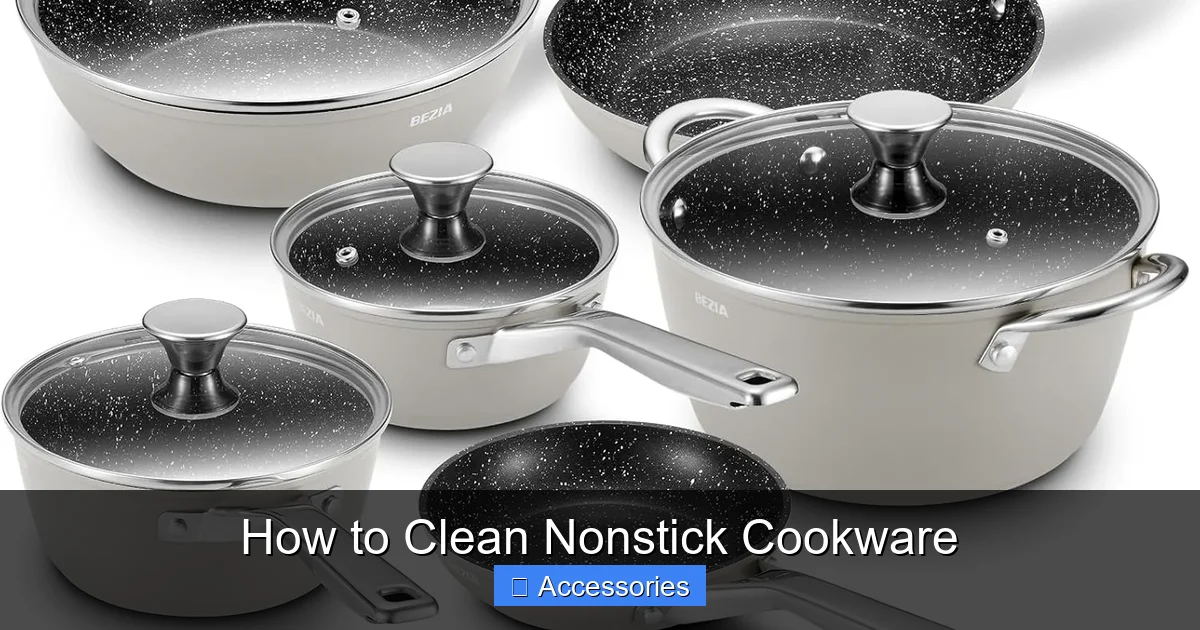
Visual guide about How to Clean Nonstick Cookware
Image source: m.media-amazon.com
Prevention is half the battle when it comes to preserving nonstick cookware. Simple habits make a big difference in longevity and performance. First, always preheat your pan gradually on low to medium heat. Sudden exposure to high temperatures causes the coating to expand rapidly, weakening adhesion and increasing peel-off risk.
Second, use oil sparingly—but wisely. A light coat of vegetable oil or nonstick spray before heating helps maintain the surface and prevents sticking. Too much oil, however, leads to smoke and carbon buildup, which is harder to clean later.
Third, store your pans correctly. Avoid stacking them directly on top of each other unless you’ve placed protective liners between them. Consider hanging pans with magnetic strips or using felt pads inside cabinet drawers. This prevents accidental scratches from clanking against one another.
Finally, inspect your pans regularly. Look for discoloration, bubbling, or peeling edges. If you notice any changes, replace the pan sooner rather than later. Safety should always come first.
Seasoning Your Nonstick Pan (Yes, Really!)
While traditional cast iron seasoning isn’t necessary for nonstick pans, many manufacturers recommend “seasoning” them periodically to enhance performance. This doesn’t involve oiling like cast iron—instead, it refers to reactivating the nonstick surface by applying a thin layer of food-grade oil after deep cleaning.
Heat the empty pan on low for 2–3 minutes, then spread a small amount of oil (like canola or grapeseed) across the surface using a paper towel. Wipe off excess oil and let the pan cool. This step fills microscopic pores and restores hydrophobicity, making future cleanups even easier.
Safe Storage and Long-Term Care Tips
Proper storage plays a crucial role in maintaining your nonstick cookware’s condition. After washing and drying, allow pans to air-dry completely before storing. Moisture trapped inside can lead to oxidation on the metal base or mold growth in crevices.
If you must stack pans, place felt or silicone shelf liners between each piece. Alternatively, invest in dedicated nonstick pan organizers with individual slots. These keep pans upright and prevent pressure points that cause dents or warping.
Avoid leaving pans empty on burners for extended periods—especially during winter months when stoves aren’t used daily. Heat cycles alone can weaken the bond between coating and metal over time.
Also, check manufacturer guidelines before purchasing accessories like trivets or lids. Some nonstick pans have special requirements; using incompatible covers might trap steam and promote delamination.
Recognizing When It’s Time to Replace Your Pan
Despite best efforts, nonstick coatings eventually wear out. Signs it’s time to retire your pan include:
– Persistent sticking despite proper care
– Visible pits, bubbles, or peeling
– Strong chemical smell when heated
– Food tasting metallic or plastic-like
Replacing old pans isn’t just about aesthetics—it’s about food safety. Flaked coating particles can end up in your meals, and degraded surfaces harbor more bacteria than expected. Don’t wait until your favorite skillet becomes unusable; swap it out when you notice early warning signs.
Eco-Friendly and Cost-Effective Cleaning Alternatives
Many commercial nonstick cleaners contain harsh solvents or microplastics that aren’t eco-friendly. Fortunately, nature offers plenty of gentle solutions. Baking soda, vinegar, lemon juice, and olive oil are all effective yet sustainable options.
For example, rubbing a cut lemon half over greasy spots followed by a rinse removes residue naturally. Similarly, soaking pans in diluted hydrogen peroxide (3% solution) kills bacteria without damaging the coating. Just remember to rinse thoroughly afterward.
You can also repurpose old microfiber cloths instead of disposable paper towels. They’re reusable, lint-free, and less wasteful—plus, they last longer with proper care.
By choosing natural ingredients, you protect both your health and the environment while keeping your pans in excellent condition. Plus, these staples are usually cheaper than specialty cleaners!
DIY Nonstick Cleaner Recipe
Here’s a simple recipe you can whip up in minutes:
Ingredients:
– ¼ cup baking soda
– 2 tbsp white vinegar
– 1 tsp liquid castile soap
– A few drops of lemon essential oil (optional, for scent)
Mix ingredients into a thick paste. Apply to soiled areas, let sit for 15 minutes, then scrub gently with a soft sponge. Rinse and dry. Store leftover paste in a jar for future use—it keeps for weeks in the fridge.
This blend is safe for children, pets, and the planet—and it works better than most store-bought alternatives.
Common Myths About Nonstick Cookware Debunked
Misinformation spreads fast online, so let’s clear up a few myths once and for all:
Myth 1: “Nonstick pans are toxic if scratched.”
While flaked particles aren’t ideal, studies show minimal risk from occasional ingestion. Still, replacing damaged pans is wise.
Myth 2: “All nonstick pans are the same.”
Quality varies widely. Cheaper brands use inferior coatings that fail faster. Invest in reputable names like Calphalon, All-Clad, or GreenPan.
Myth 3: “You can cook bacon in any nonstick pan.”
Bacon renders lots of fat and smoke—ideal for cast iron, but risky for delicate nonstick coatings. Use stainless steel or enameled cast iron instead.
Myth 4: “Dishwashers are fine if the pan says ‘dishwasher safe.’”
Even labeled pans lose shine and grip after repeated cycles. Hand washing remains the gold standard.
Staying informed helps you make smarter choices and avoid unnecessary replacements.
Final Thoughts: Treat Your Pans Like Family
Nonstick cookware is a valuable investment in your kitchen—but only if you treat it right. With consistent gentle cleaning, smart storage, and mindful cooking practices, your pans will deliver reliable performance year after year. Remember: the goal isn’t just cleanliness—it’s preservation.
Whether you’re dealing with everyday spills or deep-seated grime, approach each cleaning session with care and intention. Skip shortcuts, avoid harsh tools, and embrace natural cleaners whenever possible. And above all, listen to your pans. If something feels off—peeling, sticking, strange smells—act quickly.
Your kitchen deserves love, and so do your cookware. By following these guidelines, you’ll enjoy effortless cooking, safer meals, and peace of mind knowing your nonstick pans are doing their job well. Happy cooking—and happy cleaning!
Frequently Asked Questions
Can I put my nonstick pans in the dishwasher?
Only if the manufacturer explicitly labels them as dishwasher-safe. Even then, frequent exposure to heat and detergents degrades the nonstick coating over time. For best results, hand wash with warm water and a soft sponge.
How do I remove burnt-on food from nonstick pans?
Let the pan cool, then soak in warm soapy water. Create a paste with baking soda and water, apply it to the burnt area, and let it sit for 15 minutes before gently scrubbing with a silicone sponge. Repeat if necessary.
Are steel wool pads okay for nonstick cookware?
No. Steel wool acts like sandpaper and instantly scratches and damages the nonstick surface. Always use soft sponges, silicone scrubbers, or microfiber cloths instead.
Why does my nonstick pan start sticking even though I follow care instructions?
Possible causes include using metal utensils, cooking at very high heat, or wearing down of the coating over time. Check for scratches or pits, and consider replacing the pan if damage is visible.
Can I use vinegar to clean nonstick pans?
Yes, but sparingly. Diluted white vinegar can help dissolve mineral deposits and grease. However, avoid prolonged soaking or combining with acidic foods like tomatoes, as this may weaken the coating over time.
How often should I replace my nonstick cookware?
Every 2–5 years depending on usage and quality. Replace pans showing signs of peeling, persistent sticking, or metallic tastes in food. Prioritize safety and performance over saving a worn-out pan.