Want a personalized cutting board that looks professional? In this guide we walk you through every step of how to engrave a cutting board—from choosing the right wood to mastering laser or hand‑burn techniques. Follow our simple tips and create a stunning, custom kitchen piece in no time.
Key Takeaways
- Choose the right wood: Hard, dense woods like maple and walnut hold detail and resist wear.
- Select the proper engraving method: Laser, rotary tool, or wood‑burning each have pros and cons.
- Prepare the surface: Sand, clean, and seal the board before engraving for crisp lines.
- Design matters: Use vector graphics, consider depth, and test on scrap wood.
- Safety first: Wear eye protection, use ventilation, and keep flames away from the board.
- Finish for durability: Apply food‑safe oil or varnish after engraving to protect the art.
- Personalize with meaning: Add names, dates, or motifs that tell a story for a memorable gift.
📑 Table of Contents
Introduction: Why Engrave a Cutting Board?
There’s something special about a cutting board that carries a name, a date, or a favorite quote. It turns a kitchen staple into a conversation piece and a cherished keepsake. Whether you’re looking for a heartfelt wedding gift, a branding tool for a restaurant, or a fun weekend project, learning how to engrave a cutting board opens up endless creative possibilities.
Engraving isn’t just about aesthetics; it also adds a layer of protection. The carved lines can help hide small scratches, and a well‑sealed board will last for years. In the next few sections we’ll break down every step, from selecting wood to the final food‑safe finish, so you can feel confident tackling the project yourself.
1. Picking the Perfect Board
Wood type matters
Not all woods behave the same under a laser or a rotary tool. Here are the top choices:
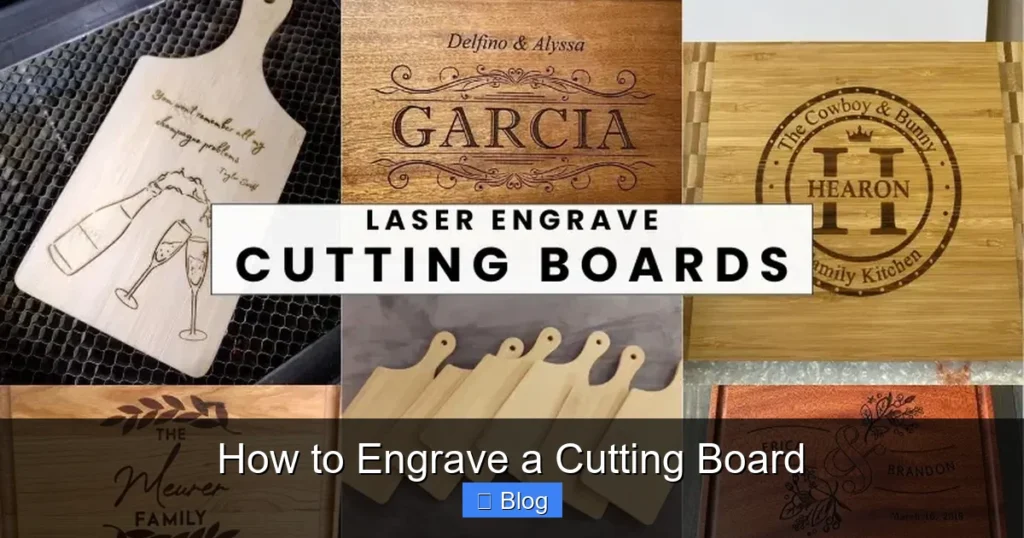
Visual guide about How to Engrave a Cutting Board
Image source: forest-decor.com
- Maple: Light, tight grain; excellent for detailed laser work.
- Walnut: Dark, rich color; great contrast for engraving.
- Cherry: Warm tone; smooth surface that holds fine lines.
- Beech: Hard and affordable; works well with hand‑burning.
Avoid soft woods like pine—they tend to splinter and the engraving may look fuzzy.
Size and shape considerations
Think about the board’s intended use. A 12×18‑inch rectangle gives plenty of room for a name and a decorative border, while a round board works nicely for a simple monogram. Keep the thickness between ¾‑inch and 1‑inch; thinner boards can warp, and thicker ones need more power from a laser.
Buy or make your own?
If you’re comfortable with a table saw, cutting a raw slab to size can save money and let you choose grain orientation. Otherwise, many craft stores sell pre‑finished boards that are already sanded and ready for engraving.
2. Choosing an Engraving Method
Laser engraving
Laser machines are the fastest way to achieve crisp, repeatable designs. They work by vaporizing a thin layer of wood, leaving a dark, permanent mark. Key points:
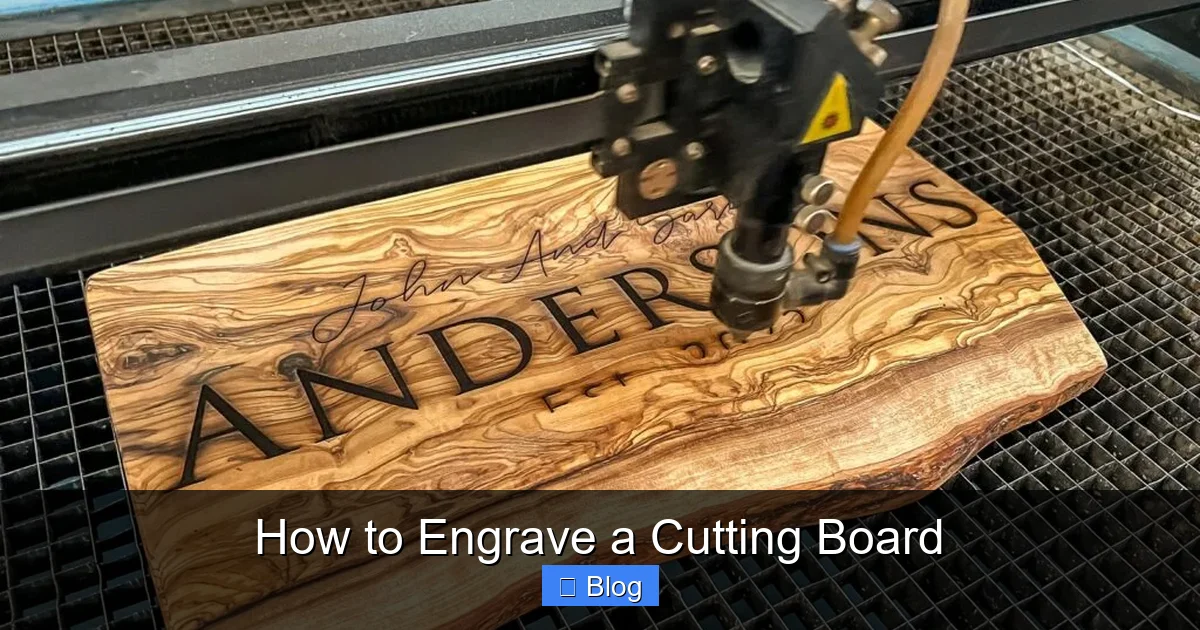
Visual guide about How to Engrave a Cutting Board
Image source: i.ytimg.com
- Power settings: 30‑40% power for shallow lines; 70‑80% for deeper cuts.
- Speed: Slower speeds increase depth but can char the wood.
- Software: Use vector files (SVG, DXF) for clean edges.
Most makerspaces have laser cutters you can rent by the hour. If you own a small desktop laser, a 40‑50 W unit is sufficient for most home projects.
Rotary tool (Dremel) engraving
A rotary tool with a carbide engraving bit offers a hands‑on approach. It’s ideal for one‑off pieces or when you want a handcrafted feel. Tips for success:
- Secure the board on a sturdy clamp.
- Start with a light sketch using a pencil.
- Work slowly; let the bit do the cutting.
Practice on scrap wood first to gauge depth and speed.
Wood‑burning (pyrography)
Pyrography uses a heated tip to scorch the wood surface. It creates a warm, vintage look and is perfect for organic, hand‑drawn designs.
- Choose a fine tip for delicate lines.
- Maintain steady pressure to avoid blotches.
- Burn in a well‑ventilated area; the smoke can be strong.
Wood‑burning works best on light woods like maple or birch, where the brown scorch contrasts nicely.
3. Preparing the Board for Engraving
Cleaning and sanding
Start with a clean, dust‑free surface. Wipe the board with a damp cloth and let it dry completely. Then sand the area you’ll engrave:
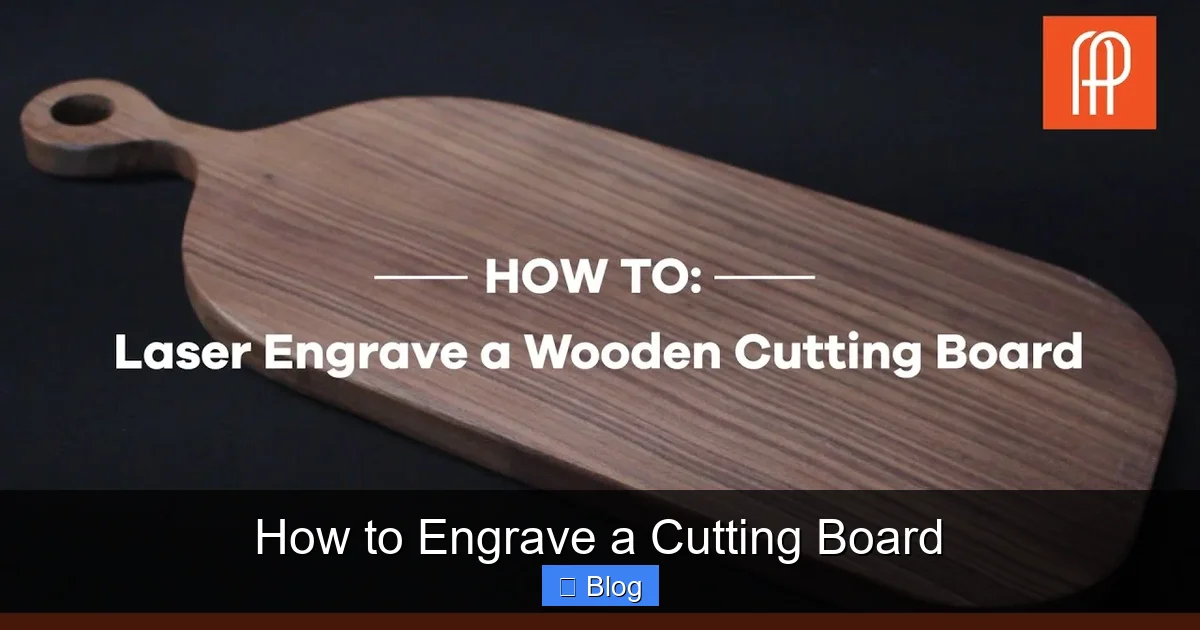
Visual guide about How to Engrave a Cutting Board
Image source: i.pinimg.com
- Use 120‑grit sandpaper for the first pass.
- Finish with 220‑grit for a smooth surface.
- Vacuum or brush away all dust before moving on.
Marking the design
If you’re using a laser, you can skip this step and upload the digital file directly. For rotary tools or pyrography, lightly trace the design with a pencil or a fine-tip marker. A light outline helps keep the engraving centered and proportional.
Securing the board
Clamping the board prevents movement and ensures straight lines. Use a sturdy C‑clamp or a bench vise with padding to avoid marring the wood. Double‑check that the board is level before you start.
4. Engraving Process Step‑by‑Step
Laser engraving workflow
- Upload the file: Open your design in the laser’s software (e.g., LightBurn).
- Set parameters: Choose power, speed, and passes based on wood type.
- Focus the laser: Place the focus point just above the wood surface for clean cuts.
- Run a test: Engrave a small section on a scrap piece to confirm settings.
- Engrave the board: Start the job and watch the process; pause if you see smoke buildup.
- Cool down: Let the board rest for a few minutes before handling.
Rotary tool engraving workflow
- Trace the design: Use a pencil outline.
- Choose the bit: A 1/16‑inch carbide tip works for most fonts.
- Set the speed: Medium speed on the tool; adjust as needed.
- Engrave slowly: Follow the outline, lifting the tool at corners.
- Check depth: Press a fingernail into the groove; aim for a depth of 0.5‑1 mm.
- Clean up: Brush away wood shavings and wipe with a tack cloth.
Wood‑burning workflow
- Heat the tip: Allow the pyrography pen to reach temperature (usually 2‑3 min).
- Practice strokes: Test on a scrap piece to gauge pressure.
- Follow the outline: Move the pen steadily; avoid lingering too long on one spot.
- Layer for depth: Go over the line multiple times if you want a darker effect.
- Cool down: Let the tip cool before storing.
5. Finishing the Engraved Board
Cleaning after engraving
Laser engraving can leave a light ash residue; wipe with a dry cloth. Rotary tools and wood‑burning may leave fine dust; use a soft brush or vacuum.
Applying a food‑safe finish
To protect the engraving and make the board safe for food, use a food‑grade oil or wax:
- Mineral oil: Easy to apply, re‑oil every few weeks.
- Beeswax blend: Adds a slight sheen and water resistance.
- Walnut oil: Natural finish with a warm tone (avoid if allergies are a concern).
Apply a thin coat, let it soak for 15‑20 minutes, then wipe off excess. Repeat 2‑3 times for a deep seal.
Optional protective layers
If the board will see heavy use, consider a food‑safe polyurethane spar urethane. Apply in thin coats, sanding lightly between coats with 320‑grit paper. Remember, the more layers you add, the less the engraving will feel “hand‑crafted.” Choose based on the look you prefer.
6. Creative Ideas and Tips for Personalization
Popular design themes
- Family name + year: Classic for housewarmings.
- Recipe illustration: Sketch a favorite dish or ingredient.
- Silhouette of a pet: Heart‑warming and unique.
- Seasonal motifs: Snowflakes for winter, leaves for autumn.
Layered designs
Combine laser engraving for the main text with wood‑burning for decorative flourishes. The contrast of dark burn marks against the lighter laser lines creates depth.
Using contrast stains
After engraving, lightly apply a dark wood stain (e.g., walnut stain) only to the recessed areas with a fine brush. Wipe the surface clean; the stain settles in the grooves, making the design pop without a full‑board color change.
Gift‑wrapping ideas
Pair the engraved board with a small bottle of infused olive oil, a handwritten recipe card, or a custom cutting board stand. Packaging adds perceived value and turns a simple DIY project into a premium gift.
Conclusion
Now you know exactly how to engrave a cutting board using laser, rotary, or wood‑burning methods. The process starts with the right wood, moves through careful preparation, and ends with a food‑safe finish that showcases your design for years to come. Whether you’re crafting a personalized present or adding a signature touch to your own kitchen, the skills you’ve learned will let you create beautiful, lasting pieces with confidence. Grab your tools, pick a design that speaks to you, and enjoy the satisfaction of turning a plain board into a cherished work of art.
🎥 Related Video: Personalized Cutting Board! Engraved From Start to Finish
📺 StampOut Online
We do all things custom here at Stamp Out Online! Check out our engraved cutting boards for a wedding gift, house warming gift, …
Frequently Asked Questions
What type of wood is best for laser engraving?
Hard, dense woods like maple, walnut, and cherry give the cleanest results because they produce a dark, crisp contrast without excessive charring.
Can I use a regular kitchen knife to engrave?
No. Kitchen knives are not designed for carving and will quickly become dull. Use a rotary tool, laser, or pyrography pen for safe, precise engraving.
Is the engraving food‑safe?
Yes, as long as you finish the board with a food‑grade oil or wax. The engraving itself is simply wood; the finish prevents bacteria from entering the grooves.
Do I need a ventilation system for laser engraving?
Absolutely. Laser engraving releases fine wood particles and fumes. A proper exhaust vent or an air‑purifier with a HEPA filter keeps your workspace safe.
How deep should the engraving be?
For a visible yet subtle look, aim for a depth of 0.5‑1 mm. Deeper cuts are possible but may weaken thin boards and require higher laser power.
Can I engrave a curved or irregular board?
Yes, but you’ll need to adjust the focus point for a laser and may have to create a custom jig to hold the board steady while you work.

