
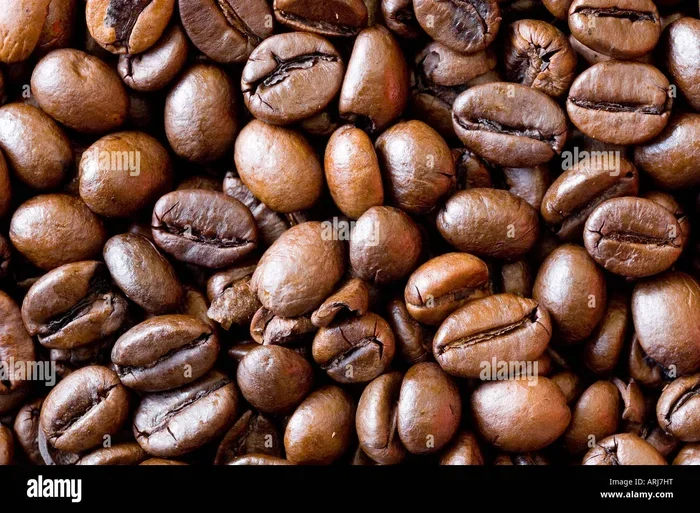
Roasting coffee at home gives you fresh flavors, full control, and big savings on every single cup. You only need basic tools, good green beans, and a simple method to start. This guide shows you exactly how to roast coffee at home with easy steps, safety tips, and storage advice for best results.
Roasting coffee at home is easier than many people think. You do not need a fancy lab or expensive gear. You just need good beans, a heat source, and a little patience. The reward is huge. You get fresh flavors, custom taste, and a fun kitchen project that pays off in every cup.
Most store-bought bags sit on shelves for weeks or months. That wait dulls the bright notes and softens the aroma. When you roast yourself, you control the whole process. You decide the roast level, the batch size, and the flavor direction. You also skip the middleman, which can save money over time. If you love coffee, this is a skill worth learning.
This guide walks you through the basics in a simple, friendly way. We will cover bean selection, equipment choices, roasting methods, timing cues, cooling, storage, and common mistakes. You will learn how to read the beans, listen for key sounds, and shape the taste you want. By the end, you will feel ready to roast your first batch with confidence.
Key Takeaways
- Start with quality green beans: Choose fresh, evenly sized beans from trusted sources for consistent roasting results.
- Pick the right method: Use a popcorn popper, oven, or dedicated roaster based on your budget and batch size.
- Watch color and smell: Listen for first crack, track browning, and smell the changes to gauge roast progress.
- Cool beans fast: Stop the roast quickly with air cooling to lock in flavor and prevent overcooking.
- Rest before brewing: Let roasted beans degas for a few days to improve taste and aroma.
- Store properly: Keep beans in airtight containers away from heat, light, and moisture for longer freshness.
- Practice small batches: Roast small amounts first to learn timing, heat control, and your preferred flavor profile.
📑 Table of Contents
Why Roast Coffee at Home
Home roasting gives you control over freshness and flavor. Green beans stay stable for months when stored well. Once you roast, the clock starts. The oils release, the aroma blooms, and the taste opens up. Brewing soon after roasting often gives you the best experience. That is why many coffee lovers enjoy the process.
Another big reason is customization. Maybe you like a light roast with bright citrus notes. Maybe you prefer a darker roast with a heavier body. When you roast at home, you can tune each batch to your taste. You can also blend beans from different origins to create your own signature cup. This freedom is hard to match with pre-roasted bags.
Cost is another factor. Green beans often cost less per pound than roasted bags. If you drink a lot of coffee, the savings add up. You also reduce waste by roasting only what you need. Small batches mean less stale coffee in the bin. For many households, this is a practical win.
Freshness and Flavor Control
Freshness changes everything. The flavors in coffee come from hundreds of compounds that shift during roasting. Sugars caramelize, acids transform, and oils move toward the surface. When you roast at home, you catch the peak window for your own palate. You can brew within days and taste the difference clearly.
You also learn to read the roast by sight and smell. The color moves from pale green to yellow, then to brown. The smell changes from grassy to nutty, then to deeper caramel notes. These clues help you decide when to stop. Over time, you build a feel for the roast level you enjoy most.
Cost Savings and Custom Blends
Green beans are sold in many sizes and origins. You can try Ethiopian beans for floral notes, Colombian beans for balanced cups, or Sumatran beans for earthy depth. Mixing two or three types lets you craft a blend that fits your morning routine. You can adjust the ratio until the cup feels just right.
This also makes home roasting fun. Each batch becomes a small experiment. You can keep notes on time, heat, and taste. Soon you will know which bean needs a gentler roast and which one can handle more heat. That knowledge turns a simple kitchen task into a rewarding hobby.
Choosing Green Coffee Beans
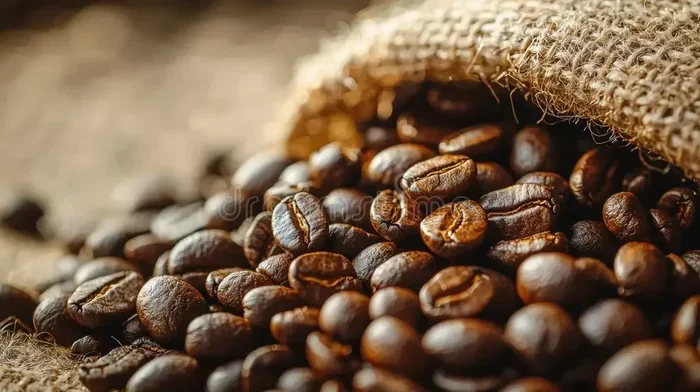
Good beans make the process smoother and the cup better. Start with fresh green coffee that looks even and feels dry. Avoid beans with many broken pieces or a lot of dust. Uniform size helps the roast stay consistent. If the beans vary too much, some will cook faster than others.
Visual guide about freshly roasted coffee beans
Image source: thumbs.dreamstime.com
Origin matters too. Different regions bring different flavor tendencies. Some lean bright and acidic. Others feel soft and sweet. A few taste deep and spicy. You do not need to master every region at once. Pick one or two that sound appealing and learn how they behave in the roast.
What to Look For
Here are simple checks to use before you buy:
- Even color: Look for beans that share a similar green tone.
- Clean smell: Fresh green beans should smell earthy or grassy, not stale.
- Low defect count: Avoid lots with many cracks, chips, or foreign bits.
- Trusted source: Buy from sellers who describe origin, process, and harvest date when possible.
Beginner-Friendly Bean Picks
If you are new to roasting, choose beans that are forgiving and clear in the cup. A balanced medium-altitude bean is often a good first choice. It tends to show clear flavor without demanding perfect technique. Once you feel comfortable, you can explore more delicate or challenging lots.
You may also want to try a small sample bag first. This keeps risk low and learning fast. Sample sizes let you test a new origin without committing to a large bag. That is a smart way to build your palate and your roasting skills at the same time.
Equipment Options for Home Roasting
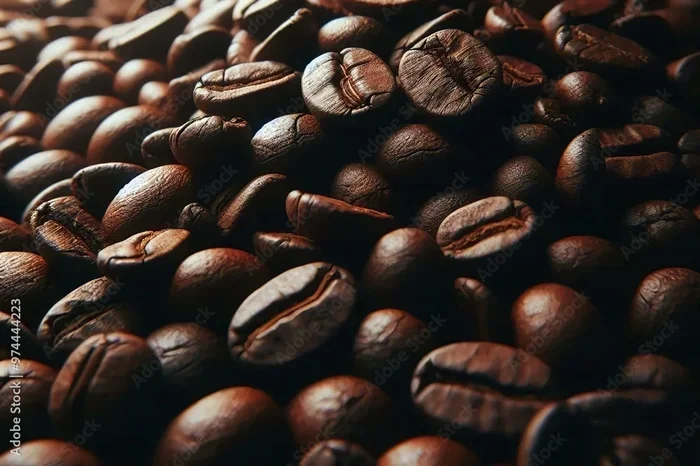
You have several practical paths for how to roast coffee at home. The best choice depends on your budget, space, and how much coffee you drink. Some people start with a simple hot-air popcorn popper. Others use a stovetop method or a dedicated home roaster. Each option can produce great coffee when used carefully.
Visual guide about freshly roasted coffee beans
Image source: as1.ftcdn.net
A popcorn popper is popular because it moves hot air through the beans. That airflow helps the beans roast more evenly. It also keeps the process simple. You can see the beans, hear the cracks, and stop when the color looks right. The tradeoff is batch size. These machines usually handle small amounts at a time.
Oven roasting is another accessible option. It uses a baking sheet and steady heat. This method can work well, but it needs attention. Beans can roast unevenly if they sit too thick on the tray. Stirring helps a lot. A skillet or stovetop pan can also work for very small batches, though it takes more hands-on care.
Popcorn Popper Method
This method is often the easiest entry point. The hot air circulates around the beans and creates a moving roast. You can watch the color change and listen for the cracks. It is important to use a machine that allows the beans to tumble freely. Good airflow leads to a more even result.
Keep the batch small at first. Too many beans can reduce airflow and slow the roast. A smaller batch gives you better control and makes it easier to hear the changes. This method is quick, so stay close and pay attention throughout.
Oven and Skillet Methods
Oven roasting gives you a larger surface area, but it can be less even. Spread the beans in a thin layer and stir often. Use a moderate temperature and check the beans frequently. The goal is steady browning without scorching the outside too fast.
A skillet works for tiny batches and gives you direct control. You can stir constantly and feel the heat with your hand. This is a hands-on approach, but it teaches you a lot about texture, aroma, and timing. If you want to learn the basics, this direct contact can be very helpful.
Dedicated Home Roasters
If you roast often, a dedicated machine can make life easier. These roasters are built for coffee, not popcorn. They often include better temperature control, airflow settings, and chaff management. That extra control can help you repeat a good roast more reliably.
The downside is cost and counter space. For some people, that is worth it. For others, a simple method is enough. Think about how often you will roast and how much convenience matters to you. The right tool is the one you will actually use.
Step-by-Step Roasting Process
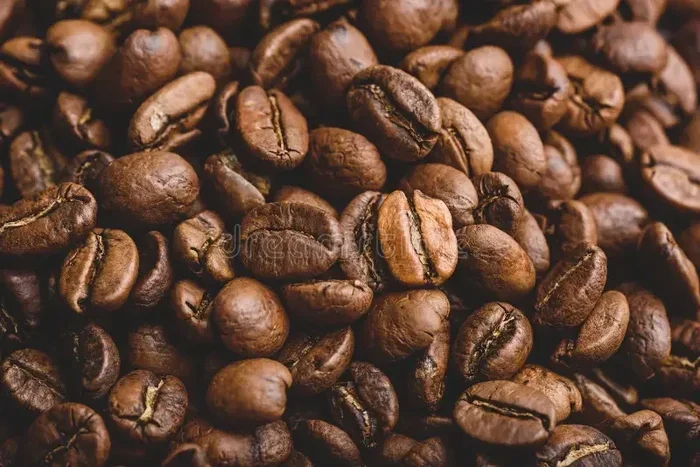
The process is simple once you break it into stages. You can think of it as heating, drying, browning, cracking, and cooling. Each stage changes the bean in a noticeable way. If you watch carefully, you will start to recognize the rhythm of the roast.
Visual guide about freshly roasted coffee beans
Image source: thumbs.dreamstime.com
Before you begin, set up your workspace. Use good ventilation. Keep a fan nearby if needed. Have a cooling tray or bowl ready. Wear light gloves if you want extra protection. A little preparation makes the whole session safer and smoother.
Preheat and Load the Beans
Start with your heat source ready. If you use a popcorn popper, run it briefly first so the chamber warms up. If you use an oven, preheat it to a moderate setting. Then add the beans in a batch size that matches your equipment. Do not overcrowd the chamber or tray.
As the beans heat, they go through a drying phase. You may hear a faint toasting sound at first. The color will shift slowly. This early stage matters because it sets the base for the rest of the roast. A steady start usually leads to a more even finish.
Watching Color, Smell, and Sound
Pay attention to three cues: color, smell, and sound. Color moves from green to yellow and then to brown. Smell changes from grassy to bread-like, then to caramel and deeper roast notes. Sound gives you two important markers: first crack and, later, second crack.
First crack sounds like a soft snap. It tells you the bean structure is changing and the roast is moving into a lighter-to-medium stage. Second crack is sharper and faster. It signals a darker path. Many home roasters stop between these points or shortly after first crack, depending on the taste they want.
Here is a simple way to think about the stages:
- Drying: Beans lose moisture and turn pale.
- Browning: Sugars and acids begin to change.
- First crack: Beans expand and make snapping sounds.
- Development: Flavor deepens as the roast continues.
- Second crack: A darker roast path begins to appear.
Cooling the Beans Quickly
Once you reach the roast level you want, stop the heat and cool the beans fast. Quick cooling helps prevent the roast from continuing on its own. That can make a big difference in the final taste. Spread the beans on a tray or move them to a cooling bowl if your setup allows it.
Stir or shake the beans while they cool. Air movement helps them drop in temperature evenly. When the beans feel warm rather than hot, you can move on to sorting and storage. Fast cooling is one of the easiest ways to protect the flavor you just built.
Cooling, Degassing, and Storage
After roasting, the beans still change. They release carbon dioxide for a while. This is normal. It is called degassing. If you brew too soon, the extra gas can affect extraction and taste. Most beans benefit from a short rest before brewing. The exact timing depends on your preference and the roast level.
Storage matters just as much as the roast itself. Coffee loses freshness when it meets heat, light, moisture, and air. Keep your beans in a container that seals well. Place it in a cool, dark spot. Avoid clear jars in direct sun. A simple, airtight setup works very well for most home roasters.
When to Brew After Roasting
Many roasters wait a few days before brewing. That pause lets the flavors settle and the gas decrease. Lighter roasts may need a bit more time to open up. Darker roasts may be ready sooner. Taste is the best guide. If the cup feels sharp or uneven, give the beans another day and try again.
If you like to experiment, keep small notes. Write the roast date, the bean type, and the flavor you noticed on day one, day two, and day three. Over time, these notes help you find the sweet spot for each bean. That makes your home roasting more consistent and more enjoyable.
Best Storage Practices
Good storage keeps your effort worthwhile. Use containers that close tightly. Keep them away from the stove, sink, and window. If you roast in small batches, store only what you will use soon. Freshness is the real goal, so rotate your supply and use older beans first.
If you want to keep beans longer, you can divide them into smaller portions. That way, you open only what you need. Less exposure means better flavor for longer. For many home roasters, simple habits like these make a bigger difference than fancy accessories.
Common Mistakes and Quick Fixes
Home roasting is forgiving, but a few mistakes show up often. The good news is that most of them are easy to avoid once you know what to watch for. A little attention goes a long way. Below are the most common issues and simple ways to handle them.
One common issue is uneven roasting. This happens when beans are too crowded or not moved enough. The fix is simple: use smaller batches and stir or agitate more often. Another issue is scorching. If the outside darkens too fast, lower the heat or shorten the batch size. A gentler roast usually gives better balance.
A third issue is waiting too long to cool the beans. If the roast keeps going after you stop the heat, the flavor can shift past your target. Cool the beans promptly. A fourth issue is brewing immediately without resting. Give the beans time to degas if the cup tastes rough or overly sharp.
Common Mistakes to Avoid
- Overcrowding the batch: Too many beans reduce airflow and create uneven results.
- Ignoring the cracks: Missing first crack can push the roast farther than you meant.
- Slow cooling: Delayed cooling can keep the roast developing too long.
- Storing in light or heat: Poor storage fades freshness quickly.
- Skipping notes: Without records, it is hard to repeat a good roast.
Quick Tips for Better Results
- Start small: Learn with tiny batches before scaling up.
- Use your senses: Watch color, listen for cracks, and smell the changes.
- Keep a log: Record time, heat, and taste for each batch.
- Clean often: Remove chaff and residue so the next roast stays clean.
- Taste honestly: Let your palate guide your next adjustment.
Expert Insights for Consistent Home Roasts
Consistency comes from repetition, not perfection. The best home roasters usually keep things simple. They use the same bean, the same setup, and the same notes until they understand the pattern. Once the pattern is clear, they change one thing at a time. That steady approach builds skill fast.
Another useful habit is comparing roast levels side by side. Roast one batch a little lighter and another a little darker. Brew them the same way and taste the difference. This teaches you how heat changes the cup in a very direct way. It is one of the fastest ways to improve.
Safety also matters. Roasting creates smoke, chaff, and heat. Work in a ventilated area and keep flammable items away. If you use a machine, follow its basic care instructions and let it cool before storing it. A calm, careful setup makes the process more enjoyable and much safer.
Expert Insights
- Change one variable at a time: Adjust heat, time, or batch size, not everything at once.
- Compare batches: Taste different roast levels from the same bean to learn its range.
- Trust your palate: Numbers help, but your cup is the final judge.
- Stay safe: Ventilate the space and manage chaff and heat with care.
- Clean equipment matters: A clean roaster gives more consistent results.
Final Thoughts on Home Roasting
Learning how to roast coffee at home opens the door to fresher coffee, more control, and a deeper connection to your daily cup. You do not need to master everything on day one. Start with a small batch, pay attention to the cues, and enjoy the process. Each roast teaches you something useful.
The best part is how personal it becomes. You choose the bean, the roast level, and the timing. You learn what your household likes best. Over time, that knowledge turns into a routine that feels easy and rewarding. Home roasting is not just about coffee. It is about making something useful, one batch at a time.
So pick a bean, set up your space, and try your first roast. Keep it simple. Stay curious. Taste carefully. Before long, you will have a method that fits your kitchen and a cup that tastes exactly the way you want it to.
Frequently Asked Questions
What is the easiest way to roast coffee at home?
The easiest way for many beginners is a hot-air popcorn popper or a small oven method. Both are simple, affordable, and easy to watch closely. Start with a small batch so you can learn the timing and color changes without stress.
How long does it take to roast coffee at home?
It usually takes only a few minutes once the beans start heating, but the exact time depends on your method and batch size. Listen for the cracks and watch the color instead of relying on the clock alone. Small batches often roast faster and more evenly.
Can I roast coffee in the oven?
Yes, you can roast coffee in the oven with a baking sheet and frequent stirring. Use a moderate temperature and keep the beans in a thin layer for better results. This method works best when you stay close and check the beans often.
Do I need special equipment to roast coffee at home?
No, you do not need special equipment to get started. A popcorn popper, skillet, or oven can all work for small batches. If you roast often, a dedicated home roaster can make the process easier and more repeatable.
How should I store roasted coffee beans?
Store roasted beans in an airtight container in a cool, dark place away from heat and moisture. Keep only the amount you will use soon, and avoid clear jars in direct sunlight. Good storage helps preserve the flavor you worked to create.
When should I brew coffee after roasting?
Many roasters wait a few days before brewing so the beans can rest and release gas. Lighter roasts may benefit from a little more rest, while darker roasts may be ready sooner. Taste is the best guide, so try the beans at different points and notice the difference.



