Your toaster’s lever keeps popping back up? This frustrating issue usually stems from a faulty spring, worn gears, or misaligned parts. Most problems can be solved without calling a repairman. In this guide, we’ll walk you through the most common reasons why is toaster not staying down and provide practical solutions to get your toaster working smoothly again.
Key Takeaways
- Faulty springs or latches: The most frequent cause of a toaster not staying down is worn-out internal springs or broken latches that fail to hold the mechanism in place.
- Misaligned or dirty components: Over time, crumbs and debris can block the lowering mechanism, while misalignment due to drops or aging affects smooth operation.
- Electrical or sensor issues: Some modern toasters use sensors or motors—problems here may require professional inspection rather than DIY fixes.
- User error: Pressing too hard or releasing the lever prematurely can prevent the toaster from engaging properly.
- Age and wear: Older toasters are more prone to mechanical failure; replacement may be more cost-effective than repair.
- Safety first: Always unplug the toaster before attempting any internal repairs to avoid electric shock.
- Prevention tips: Regular cleaning and gentle use can extend your toaster’s lifespan and reduce malfunctions.
📑 Table of Contents
- Why Is Toaster Not Staying Down? Common Causes and Fixes
- The Spring Mechanism: Heart of the Toaster
- Crumbs and Debris: The Silent Saboteurs
- Misaligned or Damaged Latches
- Electrical and Sensor-Related Issues
- User Error and Improper Use
- When to Replace vs. Repair
- Preventive Maintenance Checklist
- Conclusion: Get Back to Perfect Toast
Why Is Toaster Not Staying Down? Common Causes and Fixes
There’s nothing more annoying than pressing the lever on your toaster to start the toasting cycle—only for it to snap back up before the bread even begins browning. If you’ve ever asked yourself, “Why is my toaster not staying down?”, you’re not alone. This common household hiccup can ruin breakfast routines, waste energy, and leave you staring at a half-toasted slice of bread. But don’t panic—most of the time, this problem has a straightforward explanation and an easy fix.
In this comprehensive guide, we’ll explore everything you need to know about why your toaster won’t stay down. From mechanical wear and tear to simple user mistakes, we’ll break down each potential cause with clear explanations, visual cues, and step-by-step solutions. Whether you own a vintage pop-up model or a sleek digital smart toaster, understanding what’s going wrong can save you time, money, and frustration.
Before diving into repairs, let’s first understand how a standard toaster actually works. Most basic models operate using a spring-loaded mechanism: when you press the lever down, it triggers the heating elements and holds the bread slots closed until the timer completes or the bread pops up. Once done, the spring releases and lifts the mechanism back to its original position. So if the lever isn’t staying down, something in that system has failed or gotten stuck.
The Spring Mechanism: Heart of the Toaster
At the core of every manual toaster is a coiled metal spring designed to keep the lever engaged during the toasting process. When you lower the lever, it compresses the spring, which then applies constant pressure to hold the bread in place against the heating elements. After the preset time elapses (or when you manually release it), the spring relaxes and returns the lever upward.
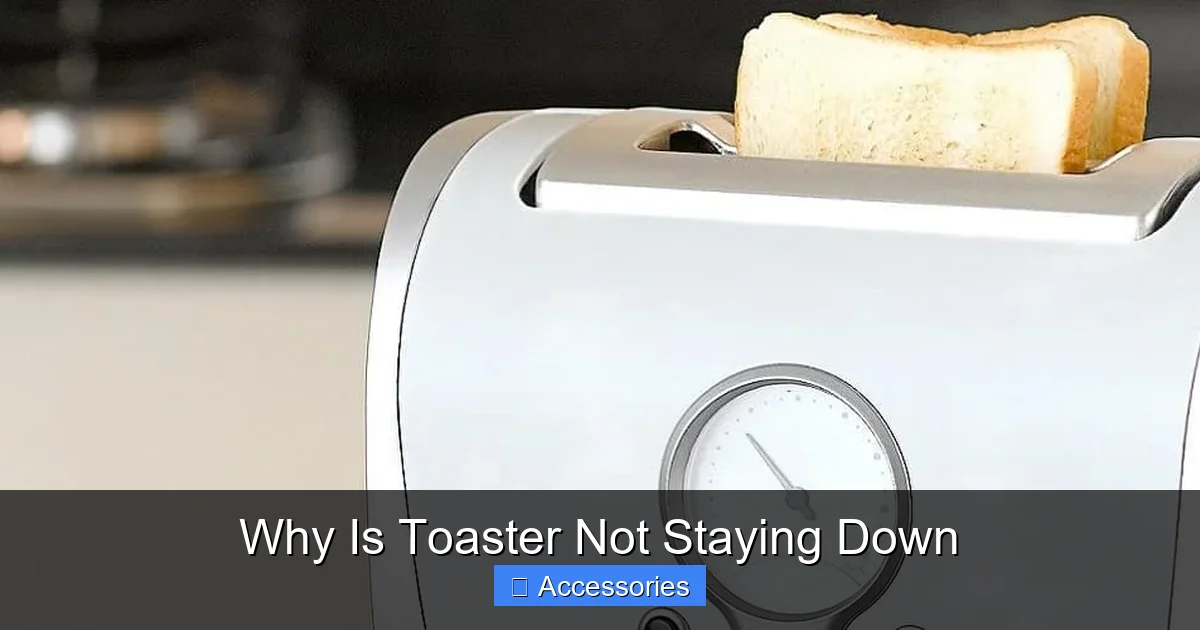
Visual guide about Why Is Toaster Not Staying Down
Image source: applianceanalysts.com
Signs of a Worn-Out Spring
If your toaster isn’t staying down, a failing spring is often the culprit. You might notice one or more of these signs:
- The lever bounces back immediately after being pressed.
- It takes extra force to push the lever fully down.
- After use, the lever feels loose or doesn’t return to its exact starting position.
Springs degrade over time due to repeated compression and exposure to heat. Even gentle daily use can shorten their lifespan—especially if the toaster is used frequently or with heavy bread slices. In older units, metal fatigue makes springs brittle and ineffective. Replacing a spring is relatively inexpensive and involves opening the toaster casing, but always remember to unplug the appliance first!
How to Test Your Spring
To check if your spring is the problem, unplug the toaster and remove the top cover (usually secured by screws at the back or sides). Gently lift the spring assembly and inspect it for kinks, rust, or visible cracks. If it looks misshapen or feels weak when pulled, replacement is likely needed. Many hardware stores carry universal toaster springs, though some brands offer OEM parts online.
Crumbs and Debris: The Silent Saboteurs
You might assume crumbs only affect taste—but they play a major role in mechanical function too. Every time you toast bread, tiny particles fall into the slots and around the lever mechanism. Over weeks and months, these crumbs accumulate, creating friction and blocking movement.
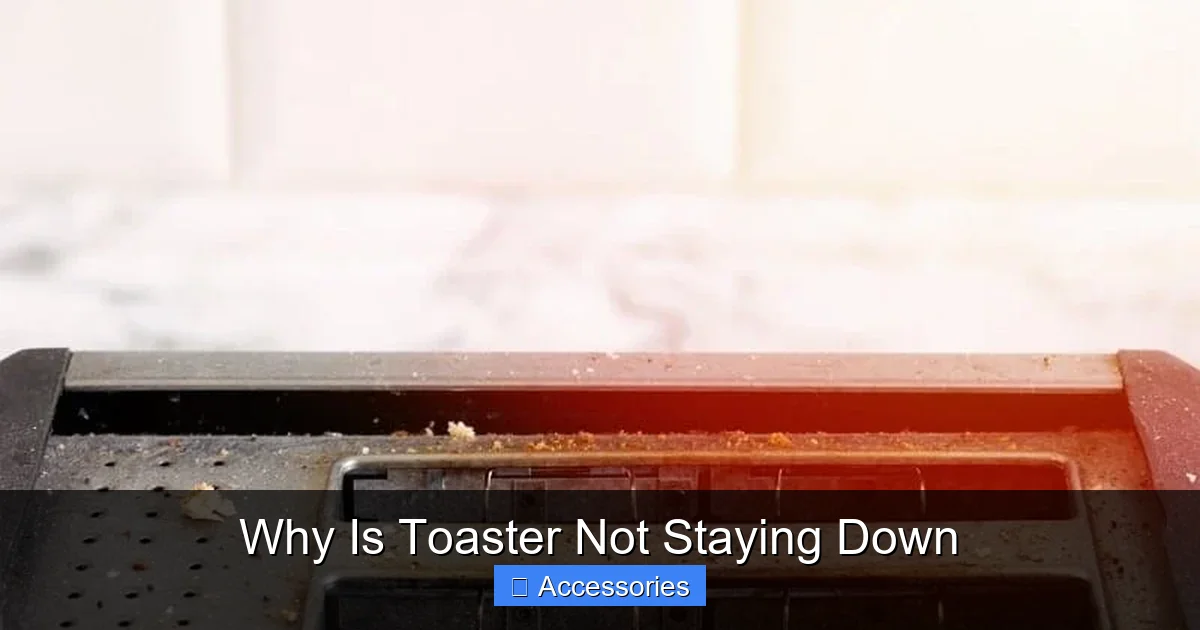
Visual guide about Why Is Toaster Not Staying Down
Image source: applianceanalysts.com
Why Crumbs Matter
When crumbs build up near the lever pivot point or inside the bread slots, they can:
- Prevent the lever from dropping smoothly.
- Catch the mechanism mid-motion, causing it to rebound.
- Corrode metal parts over time, especially in humid environments.
A simple cleaning routine can often resolve this issue instantly. Use a soft brush, compressed air, or a vacuum attachment to remove debris from all accessible areas. Avoid using water directly on electrical components—dry thoroughly afterward.
Deep Cleaning Tips
For a deeper clean, follow these steps:
- Unplug the toaster and let it cool completely.
- Remove the bread slots using a butter knife or specialized cleaning tool.
- Gently tap the toaster upside down over a trash bin to dislodge stubborn crumbs.
- Use a dry cloth or toothbrush to scrub around the lever mechanism.
- Reassemble and test the lever motion before plugging back in.
Regular maintenance every few weeks prevents buildup and keeps your toaster functioning like new. Think of it as part of your kitchen hygiene routine—just as important as sanitizing cutting boards!
Misaligned or Damaged Latches
Beyond the spring, many toasters rely on small metal latches or clips to secure the lever in the down position. These components ensure the mechanism stays locked until the timer finishes. If a latch breaks, bends, or becomes loose, the lever will fail to engage properly.
Visual guide about Why Is Toaster Not Staying Down
Image source: i.ytimg.com
Identifying Latch Problems
Look for these indicators:
- The lever clicks but doesn’t descend fully.
- You hear a “clunk” sound when pressing down, followed by immediate rebound.
- One side of the lever lifts higher than the other.
Latches can fail due to accidental drops, excessive force, or general wear. Unlike springs, latches aren’t always visible without disassembling the unit. If cleaning and spring replacement don’t help, inspecting the latch is the next logical step.
Replacing a Broken Latch
Replacement latches are available for most major brands. The process typically involves:
- Removing the outer casing (unscrew carefully).
- Locating the damaged latch (often near the base of the lever).
- Detaching the old latch and snapping in the new one.
- Reassembling and testing.
Always match the brand and model number when ordering parts. If you’re unsure, consult your user manual or contact customer support. Some manufacturers provide free replacement parts for discontinued models—worth checking!
Electrical and Sensor-Related Issues
Modern toasters—especially those with advanced features like bagel settings, defrost modes, or digital displays—depend on sensors and microprocessors. These devices monitor temperature, timing, and lever position to optimize performance. When something goes wrong in the circuitry, the entire system can malfunction, including the lever mechanism.
Common Electrical Faults
Problems may include:
- Burnt-out thermal fuses that interrupt power flow.
- Faulty control boards that misread lever position.
- Malfunctioning sensors that trigger premature retraction.
If your toaster shows error lights, sparks, or smells burnt, stop using it immediately and seek professional help. Attempting DIY repairs on electrical components carries serious risks, including fire or electrocution.
Sensor Cooking Comparison
For context, similar issues occur in microwaves with sensor cooking technology. If your microwave detects moisture levels incorrectly, it may stop heating prematurely—much like a faulty toaster sensor could retract the lever early. Understanding how sensors work helps diagnose whether your toaster needs a software reset or hardware replacement.
User Error and Improper Use
Sometimes, the issue isn’t mechanical at all—it’s human! How you interact with your toaster matters just as much as how well it’s built.
Common Mistakes
- Pressing too quickly: Jerking the lever down fast can disengage the safety lock before full engagement.
- Using thick or uneven bread: Bulky items like frozen waffles may not fit properly, jamming the mechanism.
- Not waiting for the lever to reset: Trying to toast again before the previous cycle finished resets the spring.
Proper Usage Tips
To avoid user-related issues:
- Press the lever down slowly and steadily.
- Avoid overloading the slots—stick to recommended slice thickness.
- Wait 10–15 seconds between cycles to allow the spring to reset.
- Never force the lever if it meets resistance.
Remember, even the sturdiest toasters have limits. Treating them gently pays off in longevity.
When to Replace vs. Repair
After trying all troubleshooting steps, you may wonder: should I fix this toaster or buy a new one? Here’s how to decide.
Cost-Benefit Analysis
Repair costs vary widely depending on parts and labor (if hiring a technician). For a $30–$50 toaster, spending $20–$30 on a spring or latch may make sense. But for newer, pricier models, replacement might be smarter.
Environmental Impact
Extending appliance life reduces waste. If your toaster still heats evenly and produces good toast, repairing it aligns with sustainable practices. However, if multiple components are failing, investing in an energy-efficient Energy Star-rated model could save money long-term.
Preventive Maintenance Checklist
Keep your toaster running smoothly with these simple habits:
- Clean crumbs weekly using dry methods.
- Avoid submerging any part in water.
- Store in a dry place away from humidity.
- Test the lever monthly for smooth motion.
- Replace filters or seals if your model includes them.
Small actions today prevent big headaches tomorrow. And hey—a little care goes a long way toward preserving your kitchen gadgets.
Conclusion: Get Back to Perfect Toast
If your toaster won’t stay down, don’t assume it’s beyond saving. Most cases stem from identifiable issues like worn springs, clogged crumbs, or misaligned parts—all solvable with patience and basic tools. Start by unplugging the unit, inspecting the spring and latches, and giving it a thorough cleaning. If those steps don’t resolve the problem, consider replacing faulty components or consulting a technician for electrical concerns.
Remember, understanding why your toaster behaves this way empowers you to make informed decisions—whether that’s fixing it yourself or upgrading to a more reliable model. Either way, you’ll soon be enjoying golden-brown toast without the drama.
Frequently Asked Questions
Why does my toaster keep popping back up?
This usually happens because the internal spring is weakened or broken, preventing the lever from staying engaged. Other causes include crumb buildup or a faulty latch. Try cleaning the slots and checking the spring mechanism first.
Can I fix my toaster myself?
Yes, many common issues like spring replacement or deep cleaning can be done at home with basic tools. Always unplug the toaster first and follow safety guidelines. For electrical faults, consult a professional.
How often should I clean my toaster?
Clean your toaster at least once a month to prevent crumb accumulation. Weekly checks help maintain smooth lever movement and extend the appliance’s life.
Is it safe to open my toaster to inspect it?
Only if you’re comfortable handling small parts and the unit is completely unplugged and cooled down. Never attempt repairs while powered on. If unsure, seek expert assistance.
What if my toaster still won’t stay down after cleaning?
Inspect the spring and latches for damage. If they appear worn or bent, replace them. If the problem persists, there may be an electrical issue requiring professional diagnosis.
Should I replace my toaster if it’s old?
Not necessarily. If it still toasts evenly and the issue is isolated (like a spring), repair may be worthwhile. Compare repair costs to the price of a new Energy Star-rated model for long-term value.