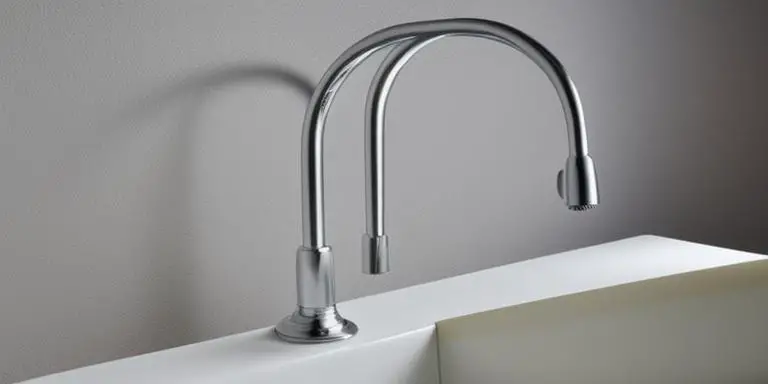
When your home plumbing goes wrong, it can cost you a fortune if you hire an expert to fix it. Unfortunately, even the smallest plumbing problem can cost you plenty of money. Therefore, it is worth knowing how to fix the issues yourself if you wish to save some cash. A loose kitchen faucet base is one of the major issues you are likely to encounter. If not fixed immediately, it may damage lines. Are you in that situation now? Here is how to tighten a kitchen faucet base. Read to the end.
8 Simple Steps on How To Tighten A Kitchen Faucet Base
Immediately you realize your kitchen faucet base is loose, it is worth tightening it. Otherwise, you will be encouraging more damage. Luckily, it is easier to do so. Below are some essential tips you need to follow to tighten the baseplate successfully.
1. Plug the basin drain
This is the essential thing you need to consider when tightening the base of your kitchen faucet. It ensures the bolts and nuts do not fall into the drain when working. Losing the most important nuts as you work on your faucet can be disheartening. This is because it will make you return to the hardware to find the exact match.
It is wise to plug the drain to be on the safe side. That way, you can be sure the entire process will run smoothly. Don’t worry if you do not have a drain stopper. You can use anything safe and capable of covering the drain. For instance, use a rubber disc or a small bowl.
2. Remove what is under your sink
Now that your kitchen faucet baseplate is loose and you want to tighten it start by removing what is under the sink. This will allow you to access the bolts and screws on the sink underside. Some of such things include garbage disposal, P-trap, and drainpipe.
3. Shut off the water supply
Next, turn the knob on the wall to the left to shut off the water supply to your kitchen faucet. You must do that to avoid ending up in a messy situation. The kitchen faucet has a cold and hot water supply; you must turn off the corresponding valves. When both the water supply valves are off, you can now proceed to tighten the faucet base.
4. Open faucet handles
When you are done with turning off the water valves, the next important thing you should do is relieve the pressure in the lines. Please do so to avoid ending up flooding your kitchen. Do this by opening the handles on your faucet and all any remaining water to drain out. If you are sure no more water is flowing, it is now the right time to tighten your faucet’s baseplate.
Doing this also prevents leaks that may take place in the future. Most of the faucets have two nuts. One is at the end of the water line, while the other is at the faucet’s base.
After loosening the nuts, prying the lines of the faucet should be easier. Don’t force the lines if you encounter some resistance. Rather, take time to ensure the nuts are well-loosened. When the water supply lines are removed, go ahead with your repair task.
5. Tighten the loose nuts
This is the major step of the process. When doing this, begin by placing the basin wrench’s jaws around the base of the nut until it has a strong grip. Afterward, turn the wrench handle in a left-to-right direction until you can tell the nut is tight. Use pliers or a socket wrench if you lack a basin wrench. But, if you are in a better position to get a basic wrench, try to use it in this case. And because it is designed for such a purpose, it will give you the best outcomes.
Tighten the nuts carefully and with effort. They will tighten perfectly, and you will experience no more leaks.
6. Check to see if the faucet has been tightened well
After tightening all the nuts, the best way to ensure everything is done perfectly is to turn on the water supply. If you see some water leaks, that is a sign that the baseplate is still loose. Hence, proceed with tightening the bolts and screws once more.
7. Reattach back any objects that were under the sink
At this point, your kitchen faucet base is already tight. So, it is the right time to reattach all the objects you removed under the sink. Such objects include a P-trap, garbage disposal, and drainpipe.
8. Turn the water supply on to check for leaks
If you have done all the above steps perfectly and there are still water leaks, the only remaining solution is to replace the entire faucet base. Worry not; with a new faucet base, the replacement process is easy. Here is what to do.
Step-by-step guide on how to replace a kitchen faucet base
It is easy. You have to be careful. With everything at hand, follow the steps below to have excellent outcomes.
- Use a wrench to unscrew and remove the handle from the kitchen faucet.
- Remove all the screws that are holding on the faucet base using a screwdriver.
- Twist and remove the old base of your kitchen faucet.
- Insert the new base and use a screwdriver to tighten the screws.
- Use a wrench to reattach the kitchen faucet handle.
In case, even after doing all these, the issue is still there, it is advisable to look for an expert plumbing contractor to help you out. The service provider will diagnose the issue and recommend the perfect action.
How to Identify a Loose Kitchen Faucet Base
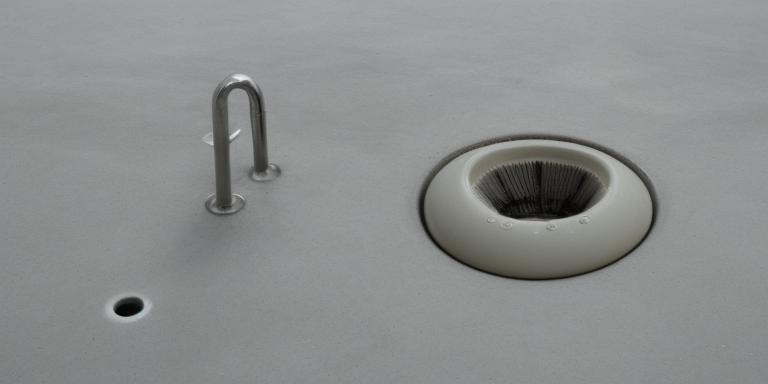
When designing kitchen faucets, manufacturers have them mounted on a sink or countertop. With that in mind, they feature a baseplate to secure them. However, after use, sometimes, the baseplate becomes loose. This result in a leaking or wobbly faucet. Don’t worry if you suspect your kitchen faucet bases are loose. There are several signs you can look out for to be sure it is. Following is a few of them.
- The first essential thing you need to check is to see if the baseplate is well-fixed to the sink or countertop. A sign the baseplate is loose is having loose screws. In this case, consider tightening them.
- Secondly, you can tell the baseplate of your kitchen faucet is loose if there is water damage around the plate perimeter. Mainly, this is caused by a slow leak from the faucet. And, if left untreated, it can be tough to fix it.
- Also, the kitchen faucet base can become loose because of age, wear and tear, loose bolts or screws, build up, rust, sediments, or worn or broken gasket.
If your kitchen faucet’s base is loose, it is worth fixing immediately after realizing it. Take your time to ensure you tighten it properly.
How to Fixing a Loose Kitchen Faucet
Frequently Asked Questions (FAQs)
What type of screwdriver do you need to tighten a kitchen faucet base?
You can use several different screwdrivers to tighten the base of your kitchen faucet. The major one is a flathead screwdriver. Alternatively, you can use a Philips head screwdriver.
What tool do you use to tighten a faucet?
A basin wrench is a major tool you should not miss when tightening a faucet. The tool features a long handle and a tee on one end to help you get leverage. On the other hand, the tool has a spring-loaded adjustable wrench head that grips onto the nut. It is the role of the long handle to allow you to reach up behind the sink basin where nuts are hard to reach.
How do you tighten the screws on a kitchen faucet?
Once you realize the screws of your faucet are loose, it is worth taking a step to tighten them. You do this by turning them counterclockwise using a screwdriver. Otherwise, you can use a wrench to turn the screws clockwise if they are tight excessively.
What should you do if the screwdriver slips while tightening the base?
In case the screwdriver slips as you tighten the base, it is advisable to stop immediately and try again. Never force your screwdriver into the slot. This is because it can damage the faucet. If you are experiencing challenges with tightening the base, consider consulting a certified plumber to help you out. And because kitchen faucets play a significant role at home, ensure they are in the right working order.
Why is my kitchen faucet leaking from the base?
Chances are higher the sealant between the faucet base and the body has worn down if you realize there is leaking from the base of your kitchen faucet. The signs of this are having water seep past the joint. If you want to stop the issue, fix the sealant by applying a new sealant layer or replacing the entire faucet assembly.

