How long to cook chicken thighs in a pressure cooker? The sweet spot is 10–15 minutes under high pressure, depending on size and freshness. For frozen thighs, add 2–3 extra minutes. We’ll walk you through everything—from prep to serving—so your chicken comes out moist, flavorful, and never rubbery.
Key Takeaways
- Fresh boneless chicken thighs: Cook for 10–12 minutes under high pressure; they’ll be juicy and tender.
- Frozen chicken thighs: Add 2–3 minutes to the cooking time, totaling 12–15 minutes.
- Bone-in thighs: Expect 12–15 minutes—they need slightly longer due to the bone retaining moisture.
- Always use the natural release method: Let the pressure drop naturally for 10 minutes before quick-releasing the rest.
- Check doneness with a thermometer: Internal temperature should reach 165°F (74°C).
- Marinate or season ahead: This boosts flavor without extending cook time.
- Overcooking = dry meat: Stick to the timer and avoid opening the lid during cooking.
Chicken thighs are one of the most forgiving and delicious cuts of poultry—especially when cooked with care. Unlike leaner breast meat, thighs have that perfect balance of fat and collagen that turns into gelatin as they cook, resulting in incredibly moist, succulent bites. And when you use a pressure cooker? You’re not just saving time—you’re locking in flavor and tenderness like magic.
But here’s the thing: even though pressure cooking is fast, getting it wrong can lead to dry, stringy chicken or, worse, undercooked meat. So let’s cut through the confusion. In this guide, we’ll walk you step by step through exactly how long to cook chicken thighs in a pressure cooker—whether they’re fresh or frozen, boneless or bone-in—and share pro tips so your results are always restaurant-worthy.
Key Takeaways
- Understanding How Long To Cook Chicken Thighs In Pressure Cooker: Provides essential knowledge
📑 Table of Contents
- Why Chicken Thighs Shine in a Pressure Cooker
- How Long to Cook Fresh Boneless Chicken Thighs
- Cooking Frozen Chicken Thighs in a Pressure Cooker
- Bone-In vs. Boneless: What’s the Difference?
- Common Mistakes to Avoid
- Flavor-Boosting Tips Beyond Timing
- What to Serve With Pressure-Cooked Chicken Thighs
- Choosing the Right Pressure Cooker
- Final Thoughts: Master the Art of Juicy Chicken
Why Chicken Thighs Shine in a Pressure Cooker
Before we dive into timing, let’s talk about why chicken thighs are such a smart choice for pressure cooking. First, they’re naturally more forgiving than white meat. Because they contain connective tissue and intramuscular fat, they stay juicy even after extended cooking. Second, the high heat and sealed environment of a pressure cooker break down those tough fibers quickly, turning what could be chewy meat into melt-in-your-mouth goodness.
Plus, pressure cooking reduces overall cook time dramatically—often cutting what would take 30–45 minutes in the oven down to under 20 minutes. That means you get dinner on the table faster, with less babysitting and fewer dishes. Whether you’re making a one-pot meal, shredding them for tacos, or simmering them in a rich sauce, pressure-cooked chicken thighs are incredibly versatile.
The Science Behind Tender Meat
When you cook meat—especially dark meat like chicken thighs—at high pressure, the intense heat causes the muscle proteins to denature rapidly. At the same time, collagen (the connective tissue) begins to dissolve into gelatin. This transformation is key to tenderizing tougher cuts. With chicken thighs, this process happens quickly because the fat content helps retain moisture while the pressure accelerates cooking.
That’s why following the right timing isn’t just about safety—it’s about maximizing texture and flavor. Overdoing it breaks down the proteins too far, squeezing out all the juice. Undercooking leaves you with pink spots and risky bacteria. Finding that sweet spot takes practice—but once you know your machine and your ingredients, it becomes second nature.
How Long to Cook Fresh Boneless Chicken Thighs
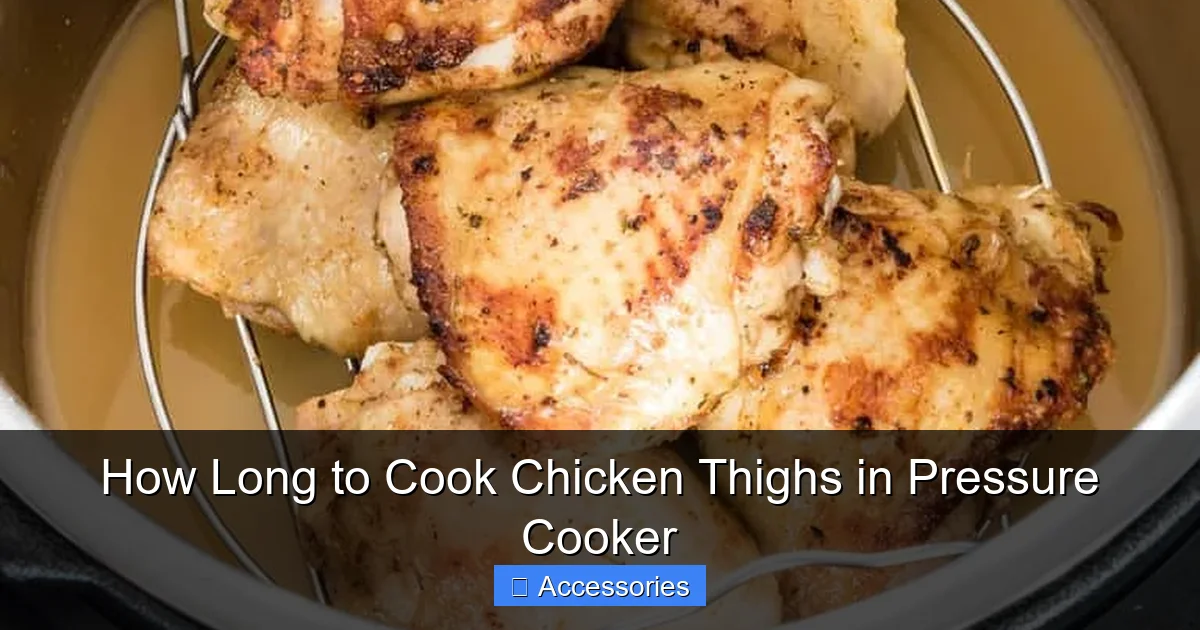
Visual guide about How Long to Cook Chicken Thighs in Pressure Cooker
Image source: recipesfromapantry.com
For most standard pressure cookers, fresh boneless chicken thighs will cook beautifully in just 10 to 12 minutes under high pressure. That’s the magic number for perfectly juicy results every time. But remember: thickness matters. If your thighs are thick—say, over an inch wide—they may need closer to 12 minutes. Thin ones might only need 10.
Here’s a quick rule of thumb:
– Small (½ lb or less): 10 minutes
– Medium (¾–1 lb): 11 minutes
– Large (over 1 lb): 12 minutes
Always pat the chicken dry before seasoning and searing (if desired). Dry skin = better browning if you plan to crisp them up afterward. Also, don’t overcrowd the pot—leave room for steam to circulate. Too many thighs crammed in together can trap moisture and prevent even cooking.
Step-by-Step Instructions
1. **Prep your thighs:** Trim excess fat if needed, pat dry with paper towels.
2. **Season generously:** Salt, pepper, garlic powder, paprika—whatever you love.
3. **Sear (optional but recommended):** Heat oil in your pressure cooker insert over medium-high heat. Sear each thigh for 1–2 minutes per side until golden brown. This adds depth of flavor!
4. **Add liquid:** Pour in ½ cup of broth, stock, or water to create steam.
5. **Lock the lid:** Close it securely and set the valve to sealing.
6. **Cook under high pressure:** Set timer for 10–12 minutes based on size.
7. **Natural release:** Turn off heat and let pressure drop naturally for 10 minutes, then quick-release any remaining pressure.
8. **Test doneness:** Check internal temp with a meat thermometer—should read 165°F (74°C).
Pro tip: If you’re adding vegetables like potatoes or carrots, add them in during the last 5 minutes of cooking so they don’t turn to mush.
Cooking Frozen Chicken Thighs in a Pressure Cooker
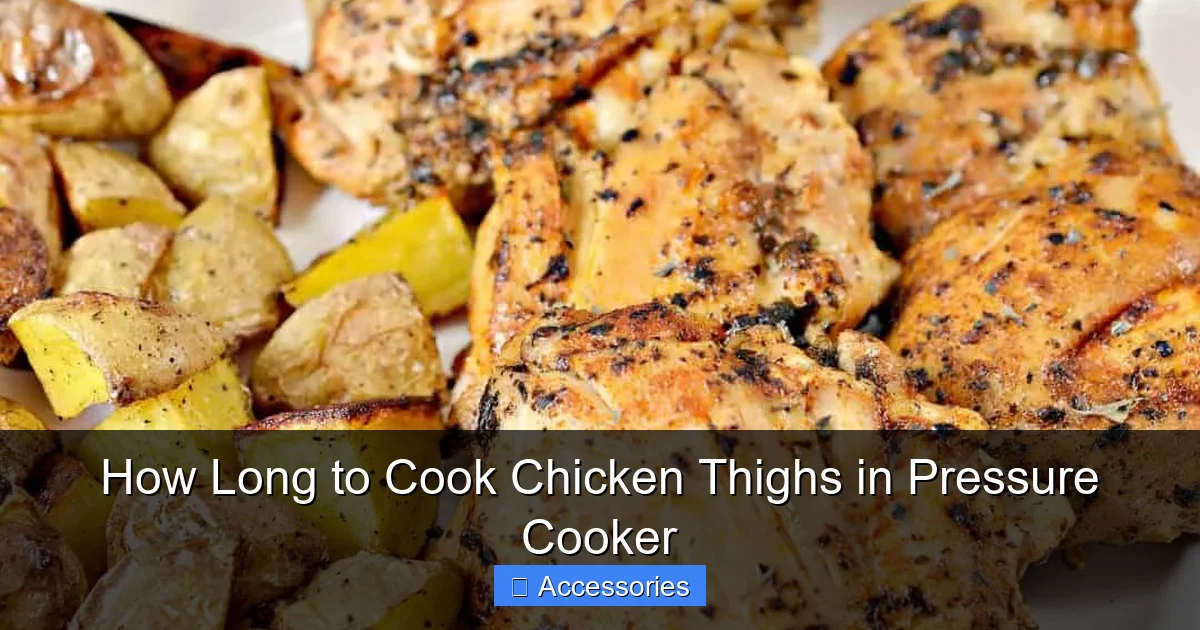
Visual guide about How Long to Cook Chicken Thighs in Pressure Cooker
Image source: sweetpeaskitchen.com
Now, what if you forgot to thaw your chicken? No problem! Pressure cookers handle frozen meat safely and efficiently. Just add 2–3 extra minutes to your usual cook time. So instead of 10–12 minutes for fresh, aim for 12–15 minutes total.
Why does frozen take longer? Water inside the meat turns to ice crystals during freezing, which act as insulators—slowing down heat transfer. The pressure cooker compensates by increasing temperature and pressure, but it still needs a bit more time to penetrate the center.
Important Safety Note
Always ensure frozen chicken thighs are completely submerged or covered with liquid to prevent drying out and uneven cooking. Also, never seal the lid if there’s visible ice crystals forming inside—this can cause pressure issues. Let the frozen pieces sit at room temp for 10–15 minutes before cooking if possible, just to reduce risk.
After cooking, check the thickest piece with a thermometer. It must reach 165°F internally. If not, replace the lid, lock it, and cook for another minute before releasing pressure.
Bone-In vs. Boneless: What’s the Difference?
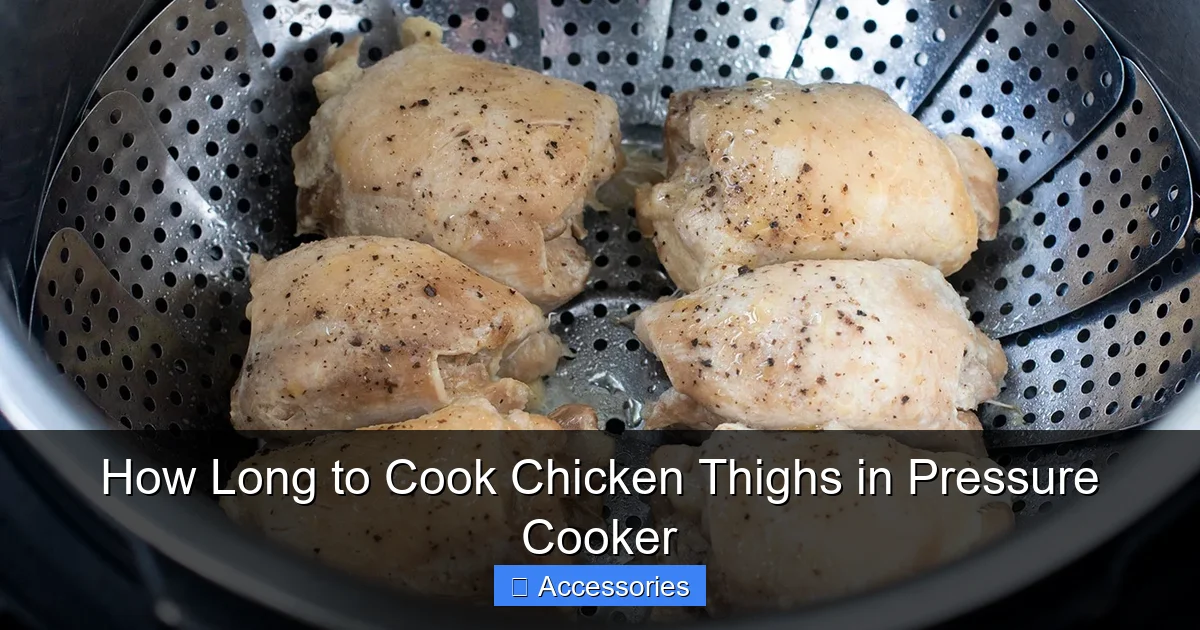
Visual guide about How Long to Cook Chicken Thighs in Pressure Cooker
Image source: storables.com
Bone-in chicken thighs take just a little longer than boneless ones—typically 12 to 15 minutes under pressure. Why? The bone acts as a heat sink, absorbing some of the thermal energy meant for the meat. But it also helps retain moisture, so the final result is often even juicier.
If you’re using bone-in thighs, make sure they’re not overlapping too much. They should fit comfortably in one layer for best results. Also, consider removing the skin if you’re watching calories—though many people find it adds richness and helps keep the meat moist during cooking.
One common mistake is assuming bone-in = automatic longer cook time. Some bone-in thighs are small and cook faster than large boneless ones. Always go by weight and thickness, not just the presence of a bone.
Best Practices for Bone-In Thighs
– Pat dry before cooking
– Optional sear for flavor (bone-in doesn’t brown as well due to moisture)
– Use a trivet or rack to elevate thighs slightly if adding liquid below
– Check internal temp carefully—the thickest part (away from bone) should hit 165°F
Remember, if you’re making soup or stew, the bones can enhance flavor by leaching collagen into the broth—a win-win!
Common Mistakes to Avoid
Even experienced cooks slip up sometimes. Here are the top three mistakes people make when cooking chicken thighs in a pressure cooker—and how to fix them.
1. Opening the Lid Too Soon
Opening the lid before pressure is fully released can cause sudden depressurization, leading to splattering hot liquid and potential burns. Always follow your manufacturer’s instructions, but generally:
– Natural release: Wait until float valve drops
– Quick release: Turn valve carefully while keeping hands safe
Don’t peek! Steam builds up fast, and opening early wastes energy and disrupts cooking.
2. Overcrowding the Pot
Too many thighs crammed into one pot means uneven heat distribution. Some will be overdone, others undercooked. If you’re cooking more than 4–6 thighs, do two batches or use a larger appliance.
3. Skipping the Thermometer Test
Relying solely on time can backfire. A thigh that’s been frozen, marinated, or stored oddly might need adjustment. Always verify with a probe thermometer. Insert it into the thickest section without touching bone or fat.
Also, if you’re adding acidic ingredients (like tomatoes or vinegar), reduce overall cook time slightly—acidity speeds up protein breakdown.
Flavor-Boosting Tips Beyond Timing
Timing gets you close, but flavor makes it unforgettable. Here’s how to elevate your chicken thighs beyond basic seasoning.
Marinate Before Cooking
Let chicken thighs sit in a mix of olive oil, soy sauce, garlic, lemon juice, and herbs for at least 30 minutes—or overnight. Acid and salt work together to tenderize and infuse taste.
Add Aromatics During Cooking
Toss in onion slices, garlic cloves, bay leaves, or sprigs of thyme right before locking the lid. These aromatics steam gently and flavor the meat from within.
Deglaze with Wine or Broth
After searing, pour in a splash of white wine or chicken broth to scrape up all those tasty browned bits. Then use this liquid as your base for sauces or gravies.
Finish with Fresh Herbs
Once released, toss your cooked thighs with chopped parsley, cilantro, or dill for brightness. Cold herbs wilt beautifully into warm meat without losing their pop of flavor.
What to Serve With Pressure-Cooked Chicken Thighs
These tender morsels pair wonderfully with almost anything. Try them in:
– Creamy mushroom risotto
– Tex-Mex black bean tacos
– Mediterranean lemon-garlic bowls with quinoa
– Asian-inspired peanut stir-fry
– Simple roasted vegetables
You can even shred them and toss with barbecue sauce for pulled chicken sandwiches—just add 2–3 minutes more under pressure if you want them really tender for shredding.
Storage & Reheating Tips
Leftover cooked chicken thighs store beautifully in the fridge for up to 4 days or frozen for 3 months. To reheat, place in a microwave-safe dish with a splash of water, cover loosely, and heat in 30-second bursts until warmed through. Or finish them in a skillet with a bit of butter for extra crispiness.
Choosing the Right Pressure Cooker
Not all pressure cookers are created equal. When selecting one for chicken thighs, look for models with:
– Even heating elements (electric preferred over stovetop for consistency)
– Clear lid windows for monitoring
– Multiple preset programs (e.g., poultry, manual)
– Good customer reviews and safety certifications
Popular brands include Instant Pot, Ninja Foodi, and Cuisinart—all reliable for home kitchens. If you already own one, great! Just make sure it’s functioning properly and the sealing ring is intact.
For reference, check out our detailed review of the Cuisinart 6 Quart Pressure Cooker, which performs excellently with poultry.
Maintenance Matters
Clean your pressure cooker thoroughly after each use. Remove the sealing ring, lid, and inner pot. Wash with warm soapy water—never submerge the base unit in water. Replace worn parts promptly to maintain performance and safety.
Final Thoughts: Master the Art of Juicy Chicken
Cooking chicken thighs in a pressure cooker isn’t rocket science—it’s about understanding your ingredients, respecting the machine, and trusting the process. Stick to the 10–15 minute window, use a thermometer, and embrace the natural release. Your family will thank you with requests for seconds.
And hey—if you’re new to pressure cooking, start simple. A batch of tender chicken thighs is the perfect gateway recipe. Once you nail this, you’ll wonder how you ever lived without your trusty appliance.
Whether you’re meal-prepping for the week, whipping up a quick dinner, or impressing guests, these methods guarantee delicious results. So fire up that pot, grab your spices, and enjoy the speed, flavor, and ease that only a pressure cooker can deliver.
Frequently Asked Questions
Can I cook chicken thighs from frozen in a pressure cooker?
Yes, but add 2–3 minutes to the standard cook time. Ensure the thighs are fully submerged or covered with liquid to prevent drying. Always verify doneness with a thermometer—internal temperature must reach 165°F.
Do I need to sear chicken thighs before pressure cooking?
It’s optional but highly recommended. Searing develops deep flavor through the Maillard reaction. However, if you skip it, the meat will still be tender—just less savory.
How do I know if my chicken thighs are done?
Use a meat thermometer inserted into the thickest part (avoiding bone). The reading should be at least 165°F (74°C). Alternatively, the meat should spring back when poked and juices run clear.
Can I overcook chicken thighs in a pressure cooker?
Absolutely. Overcooking squeezes out moisture and makes the meat rubbery. Stick to the recommended times and always check with a thermometer. Natural release helps prevent overdone results.
What liquid should I use in my pressure cooker for chicken thighs?
Any flavorful liquid works—broth, stock, water, or even wine. Aim for about ½ cup to create enough steam. Herbs, garlic, or citrus slices can be added for aroma.
Should I remove the skin before or after cooking?
You can leave it on during cooking for extra moisture, then remove it post-cook if desired. Removing it beforehand helps with browning during searing, though bone-in thighs brown less easily.