A chocolate fountain is a device used in serving fondue chocolate. It closely resembles a stepped cone with stacked tiers on a basin at the bottom part. This basin part of the fountain is heated, so the chocolate remains in a liquid state and then pulled in the center cylinder and then transported to the fountain top, and from there, it flows just like a chocolate waterfall.
Chocolate fountains are great additions to parties and other important events. If you are looking for a way to delight your guests’ taste buds, then try incorporating a chocolate fountain. The guests can dip their fruits and even snacks in the chocolate waterfall, and don’t forget to have several party accompaniments.
Using a chocolate fountain is easier than you might think! Let us learn how to do it:
Using Your Chocolate Fountain
Do you already have this device at your home but wondering how to use it? Then keep reading to understand how.
- To use this device, first set it in place, preferably in the middle of a table. Ensure that the table is sturdy and there is an electric plug on the nearby walls. Your electric chords should be at ground level, so no one trips over them. It is discouraged from using chocolate fountains outdoors due to the winds and insects that might get trapped in the fondue.
- Due to the dipping, your table might get messy fast. So placing a tablecloth under the fountain is the saver to lots of cleaning up thereafter. The tablecloth should be in darker colors; no one wants to dip some fruits and find a white tablecloth with chocolate drips on it.
- The dipping should include great snacks like pound cake and pretzels and should be well sized for easier dipping and biting.
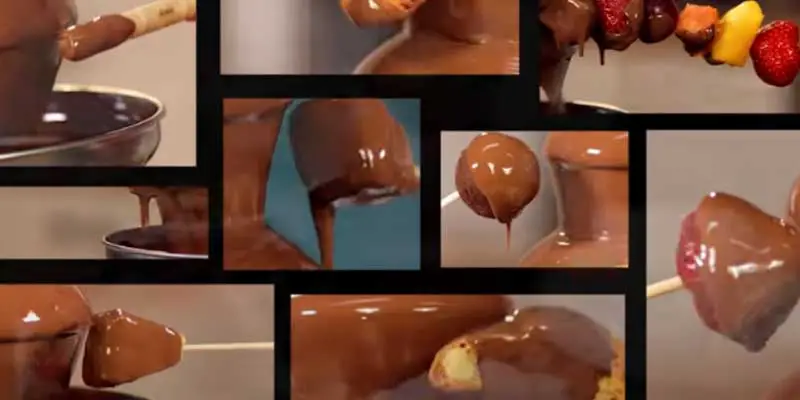
- Other accompaniments that will go well with the chocolate are fruits. From berries to cherries to bananas, these fruits are just perfect dipping options.
- For guests to enjoy your chocolate fountain, provide them with skewers, plates, napkins toothpicks enough for all of them. Do not forget to place a garbage can near, so they throw away the used skewers and toothpicks without messing up around.
- To do the dipping, poke your snack or fruit with a skewer or toothpick, lift it to the fountain and then place the snack/fruit onto the running chocolate until it covers the food. To ensure that the whole food is covered by chocolate, rotate the skewer or toothpick till chocolate drips from them. Use a plate, so you do not mess up your clothes.
- The last important thing to note is that the fountain should be checked when in use. In some cases, food may fall into the basin and jam the fountain. In such a case, one should unplug the fountain and remove the piece of food, then plug the fountain back.
Related Topic:
- Best electric fondue pots review and buying tips.
- How to use a fondue pot like Pro
- Best chocolate fountain reviewed and buying guide.
Video for How to Use Chocolate Fountain
How to set up a Chocolate Fountain
You might find some chocolate fountain brands assembled, but there are others you will need to set up by yourself. Here is how to assemble it.
- The first thing should be washing up the different parts with warm soapy water to eliminate any accumulated dust particles. Allow it to dry.
- Begin by assembling the base bowl, which is the reservoir for holding chocolate.
- The next part is the Auger tube or tower, which is attached to the base bowl. The tower also sits on three pins and stands up and down from the base bowl center. You will find some Auger tubes with two or three pieces that should be locked together to create a long tube.
- Next are the tiers. To attach these tiers to the auger tube, pick the larger tier and slide it face down on top of the auger tube until it is well locked in the bottom position. You will then pick the other large tier and slide it over the auger tube in position.
- Tip: assemble the tiers face down so that they do not trap chocolate. Level up the tiers in a good position, so the chocolate flows freely.
- The next part is the Auger that resembles a corkscrew. The part is responsible for driving up the chocolate through the Auger tube and over the tiers. If your model has two auger parts, assemble them together, so you have two parts.
- The bottom part is the one with a notch. Other fountains might have a round knob at the top that usually acts as a handle. The auger should be slid at the center of the auger tube with the notched side down. The auger can then be twisted in a clockwise direction until it gets in the right position and engages with the base bowl’s central mechanism.
- Lastly, fit the crown on the top part and set it where you shall be operating it. Go ahead and test the fountain by plugging it in electricity.
- Before pouring the chocolate fondue, turn the fountains heating element and let it warm up for 15 minutes.
- Melt your chocolate in the microwave for 3 to 5 minutes till it gets liquid.
- You can then go ahead and pour your chocolate mixture into the preheated base bowl of your fountain. Then turn the auger control and let the beautiful chocolate fountain mesmerize you.
How to set up a Chocolate Fountain Properly
How to use a Nostalgia Chocolate Fountain
The secret to the best chocolate dipping is using quality chocolate. Fill up a microwave-safe bowl with up to 5 pounds of chocolate chips.
For that even flow of chocolate on your fountain, add ½ cup of oil in every 5 pounds of chocolate before starting the warming process.
Place the bowl into the microwave and set the heat to high, and let it warm for 3 minutes. Check the chocolate halfway through the cooking process and stir the mixture. Once finished, remove the bowl from the microwave and ensure you end up with a smooth mixture.
How to Operate the Nostalgia Chocolate Fountain
Now it’s time to fill the chocolate. Here you will hold the bowl with chocolate over the bowl of the fountain.
Pour the chocolate into the bowl section of the fountain.
Scrap out any remaining chocolate onto the bowl and repeat the filling process until the fountain bowl is filled with chocolate.
Set the fountain heat to 1250 and switch on the motor.
Check the chocolate temperature. It should range from 106-108 degrees. If it doesn’t range as required, adjust necessarily. If, in any case, you don’t get the right chocolate temperatures, switch off the motor for seconds, then turn it back on again.
How to use Sephra chocolate fountain
Sephra chocolate fountains make parties great. These fountains are easy to use and clean, and serve users for a long period of time.
Before you start the Sephra chocolate fountain, check to ensure that:
- The fountain basin is well tightened.
- The fountain is in level for easy operation.
- The fountains vent holes at the base are not covered or clogged, so heat escapes easily when the fountain is in use. If the holes are obstructed, it means that your motor and internal electrical components will get damaged.
Firstly, melting chocolate is the starter pack on how to use the Sephra chocolate fountain. Melting it takes up to an hour. For the best results, add 1 to 2 pounds’ chocolate at a time and stir for 2 to 3 minutes while scraping the bottom of the basin to prevent scorching.
When your chocolate has melted into a liquid state, pour it onto the fountain basin and press the toggle switch to start it. This triggers the auger to turn and push the chocolate up via the cylinder, causing it to flow over the crown and tiers and back to the basin.
How to Clean a Chocolate Fountain
Now that you have served your guests with the best chocolate fondue, it’s time to do the clean-ups. Here is how to:
Unplug the power chords from the electrical outlet and turn off the toggle switch. Disassemble the fountain- tossing every dishwasher-proof part right into the washer. For the rest of the parts, use a sponge wetted in a water and detergent solution.
One rule, however, is that the motor and the pump must not be exposed to water, so DO NOT wash them in the dishwasher.
The manufacturer’s manual may also contain specific cleaning instructions. Be on the lookout for this.
Conclusion
That is all about using a chocolate fountain. If you ever felt uncomfortable about setting up one, I’m sure you have a different stand now. Start today, and you could soon be engaging those artistic fountains you always envy.

