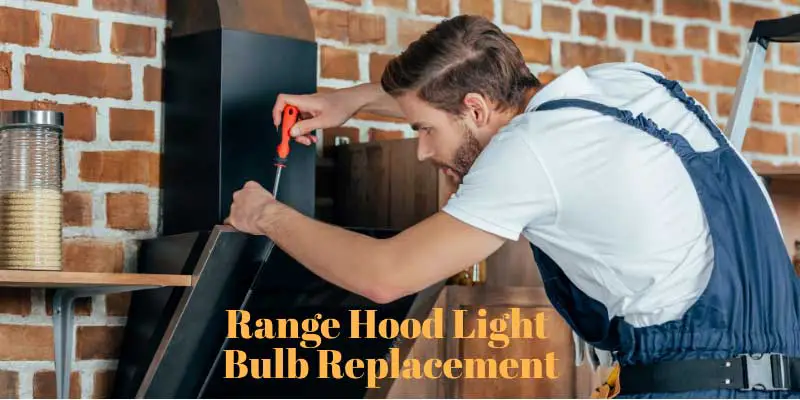
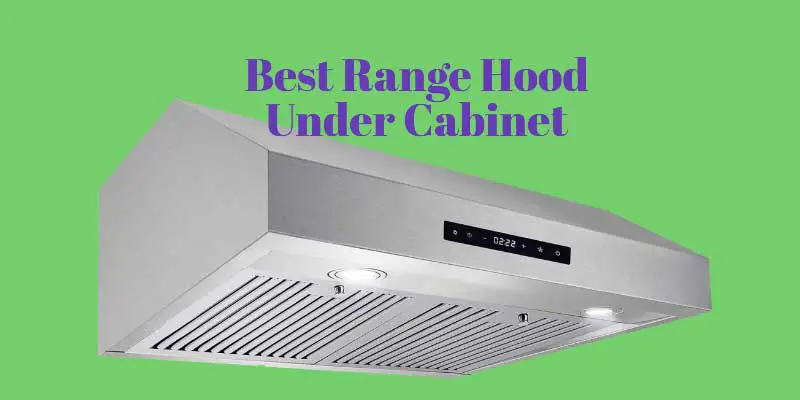
The most modern kitchen range hoods, whether ducted or ductless, come with a lighting system. The lighting system consists of several bulbs that light up above the cooktop. These bulbs are quite helpful when cooking as they supply the necessary light even after the hood’s obstruction.
Normally, light bulbs have a lifespan, depending on the type of bulb. Once in a while, you will need to change a burnt-out bulb from the range hood. In this article, I shall explain to you how to replace a range hood light bulb, how to choose the best bulb for your range, and finally some pro tips on getting the best of your kitchen range hood lights.
Before we get into everything else, let us investigate how the problem occurs in the first place. Lets we find how to perform range hood light bulb replacement
[tcb-script async=”” src=”//z-na.amazon-adsystem.com/widgets/onejs?MarketPlace=US&adInstanceId=8d3d63e8-a3ee-4c49-bf94-25045806f6e2″][/tcb-script]
Why do kitchen extractor hood lights fail?
Apart from ordinary wear and tear, certain factors can expose the hood lights to rapid wear. One such factor is moisture from the cooking pot and the burning gas. The moisture corrodes the exposed conductors, making the bulbs fail prematurely.
Another thing is the periods of continuous usage. The modern luxury hoods that come with lighting systems are not designed to be used for long periods. Ordinarily, the hood gets really hot when in use- if you have ever accidentally or willingly touched it after cooking, you can attest to this. The modern types have circuit boards and a wiring system inside, alongside the light bulbs. When the hood gets too hot, the wires inside can short-circuit, or the bulb’s filament can snap, rendering the lighting system non-functional.
When either of the above causes your bulb to fail, you may want to troubleshoot to establish the exact cause of failure, but that’s a topic for another day. Today, we assume that the wiring is working fine- you just want to change the bulb. So, do you know what the right bulb for your hood is? Let’s see how to choose one.
Bulb selection
Selecting the right bulb assures that there will be no discrepancies in specifications. The two most common ones are the candle type and halogen (12V) bulbs on newer models. Modern LED lamps are more advanced and can be a better alternative to halogen.
Even though halogen lamps can project light better, they cannot beat LED lamps on the energy economy. LED bulbs are also instant start, meaning there is no warm-up lag as in CFL lamps.
LED bulbs have the longest lifespans, doing up to 50,000 hours, whereas halogens do slightly over 800 hours. This makes the halogens quite inferior to the LEDs, except for cases where the hood has a dimmer. Halogen bulbs are dimmable, so this would be your best option if your hood has a dimmer.
A portion of the energy spent by halogen bulbs is converted into heat. This explains why after a few ON hours, the bulb would feel very hot, unlike the LED that’s always good to touch. You do not have to worry about accidentally touching the hot bulb.
Ensure you also buy the right size bulb. Be careful here, especially when buying LED bulbs, which can be oversized on halogen bulb holders.
After you have the right bulb, you should remove the failed one then install a good one. let’s see how to do this.
Range hood bulb replacement
Removing the burnt-out bulb;
Removing the old bulb gives room for the new one. follow these simple 7 steps.
- Step-1: Turn of the hood lights and power down the vent hood system. Not doing this first would put you on the risk of an electrical shock as well as a possibility of damaging the vent hood
- Step-2: Put on safety gloves preferably leather ones. This is especially necessary if the hood has not been allowed enough time to cool off, or the bulb has just blown out and needs immediate replacement.
- Step-3: If you don’t have some gloves, wait for the system to cool and then with a piece of masking tape, form a loop by sticking both its ends on the bulb, while the sticky side faces outwards. This forms a simple handle you can grasp when removing the bulb. A bulb suction cup would do better but you do not have to buy it just for the hood lights.
- Step-4: Grasp the tape and push the bulb upwards. You should feel some force springing the bulb back. Turn the bulb in a clockwise direction, about a sixth of a full round. This should release the bulb from the contact hooks. Be careful here as excessive force can break the bulb in your hands.
- Step-5: Once the bulb is released, gently pull it out of the holder, and the hood. Dispose of it appropriately.
- Step-6: Some hoods have a plastic fixture over the bulbs. In this case, you’ll need to unscrew the fixture(s) first, then proceed to remove the bulb(s).
- Step-7: Some vent hood lighting systems also come with starters. In this starter has also failed, removing it is necessary. You only need to turn the starter counter-clockwise and it comes off just like the bulb. Make sure you replace it with a compatible one. Look into the user annual for more insights on this.
Installing a new bulb on the range hood
- Slide the new bulb into the bulb holder, in the same manner, that you removed the spoilt one.
- With the masking tape, you used to remove the burnt-out bulb, push the new bulb, and turn it counter-clockwise. You should feel it rest with some grip.
- After the bulb is well installed, power on the vent hood system and switch the lighting system on. Your new bulb should light up. If there was a plastic fixture holding the bulbs, fix it back.
- If the bulb doesn’t work, it is time to ensure your wiring system is still intact. For this task, you’ll need an electrical tester. One such should cost you less than a dollar.
Troubleshooting
You should first determine if electricity is flowing to the terminals. This is how you do it:
- Turn off the range hood system.
- Remove the bulb just like you removed the spoilt one.
- Turn on the system but switch off the blower or the fan.
- Switch on the lights.
- Carefully test the two terminals of the bulb holder. If none of the two is live, the bulb holder might be faulty too. notify your supplier if the equipment is still under warranty, else, hire an electrician to fix it for you.
Pro tips:
- LED lamps are usually rated at 50’C ambient air temperature. Since the temperatures under the hood normally average 70-80C, the lifespan of a LED lamp is shortened. You should therefore use LED lamps designed to withstand those temperatures.
- There is an uptrend of range hoods designed with LED lighting fixtures. If you have an old system with halogen lamps and want to replace it, go for a vent hood with LED lights. It’ll be easier to replace these light bulbs, and the lifespan is awesome.
Conclusion
Changing a vent hood light bulb should not take you much time. In fact, if there are no additional fixtures to remove and assemble back, it should take you less than a minute. Knowing how to do it correctly is what makes the difference. Follow the steps and precautions discussed in this article for the best experience.
Rita C. Donnell (Jennifer) has spent the last 26 years studying and practicing nutrition science. She has used a larger part of this time in improving people’s livelihoods. She has done so by coming up with unquestionable ideas on how to tackle food problems in her community. Readmore


